MAXILLARY COMPLETE EDENTULISM TREATED WITH IMMEDIATELY LOADED STRAIGHT AND TILTED IMPLANTS AND A SCREWED FULL-ARCH TEMPORARY PROSTHESIS
INITIAL SITUATION
A 65 year-old female patient presented with maxillary complete edentulism. During the anamnestic interview, the patient reported a clinical history of adult chronic periodontitis; the patient has been edentulous for 9 years. Good general health and oral hygiene conditions were reported; the patient was a moderate smoker (about 10 cigarettes per day).
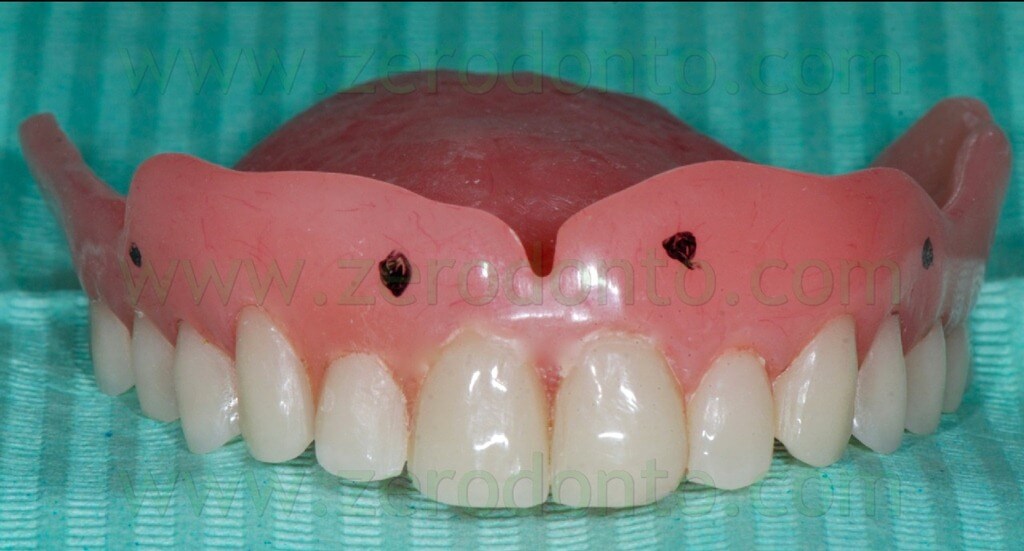
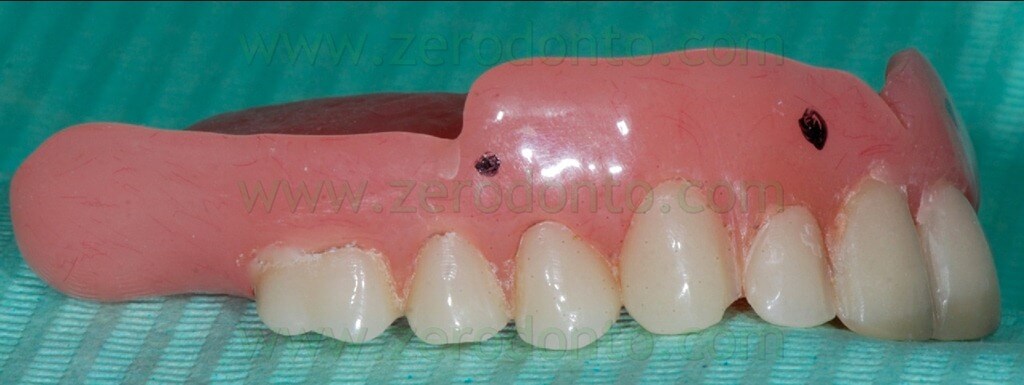
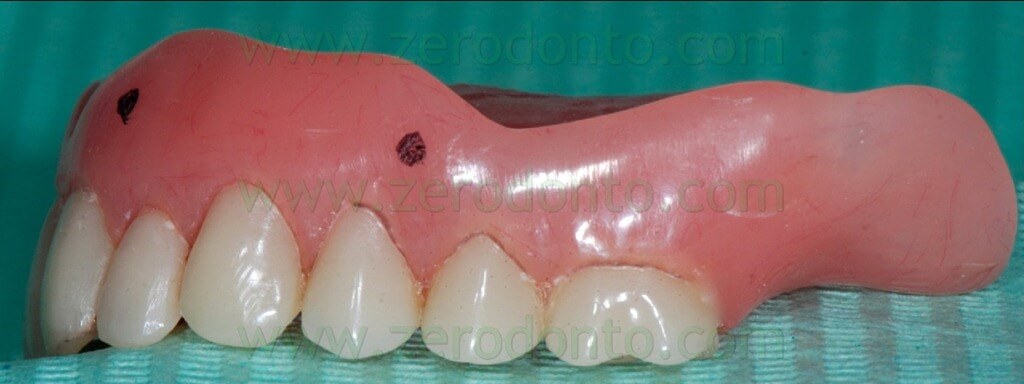
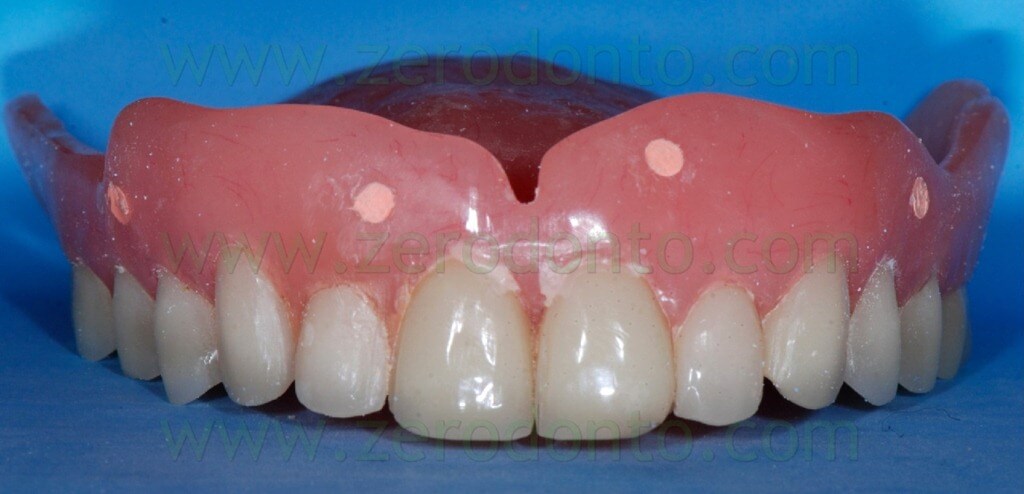
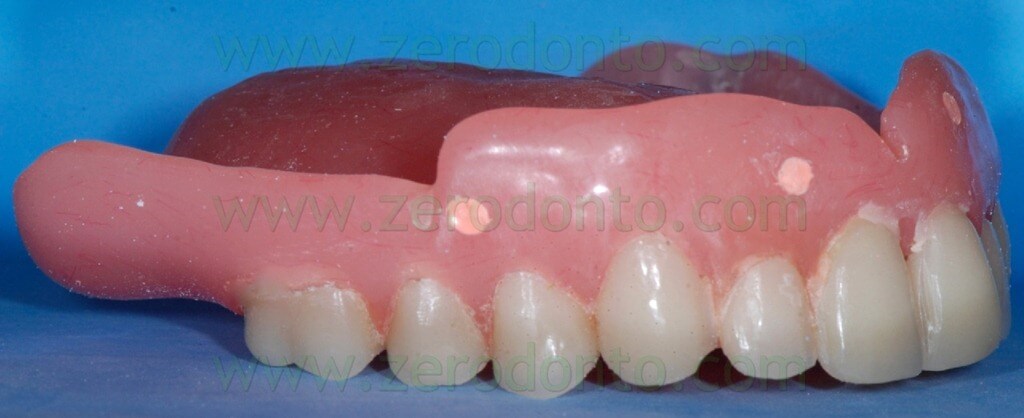
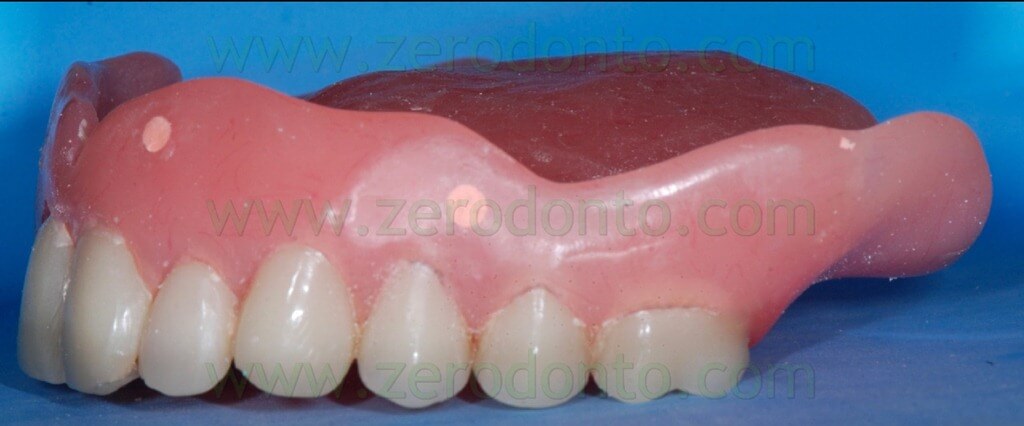
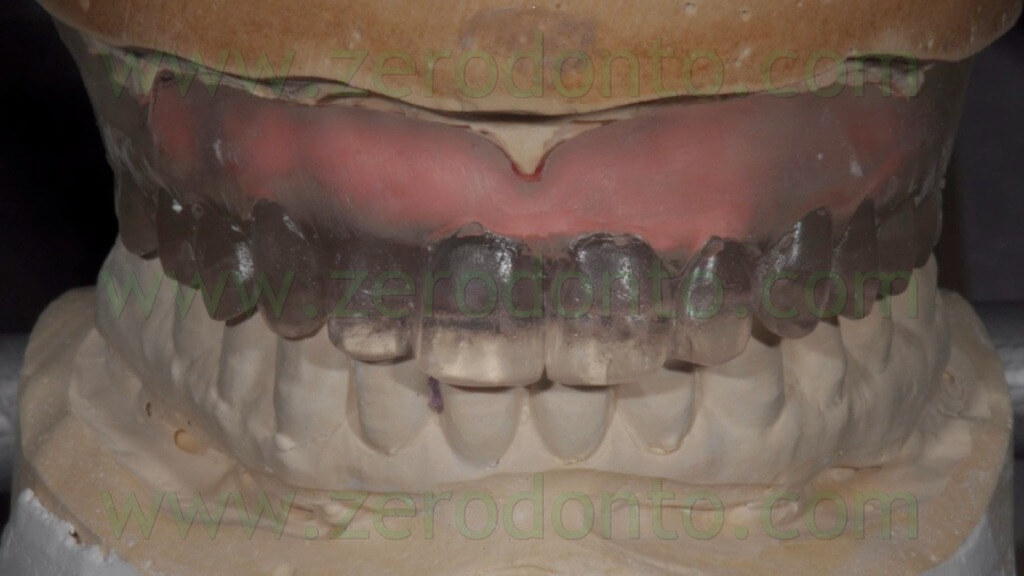
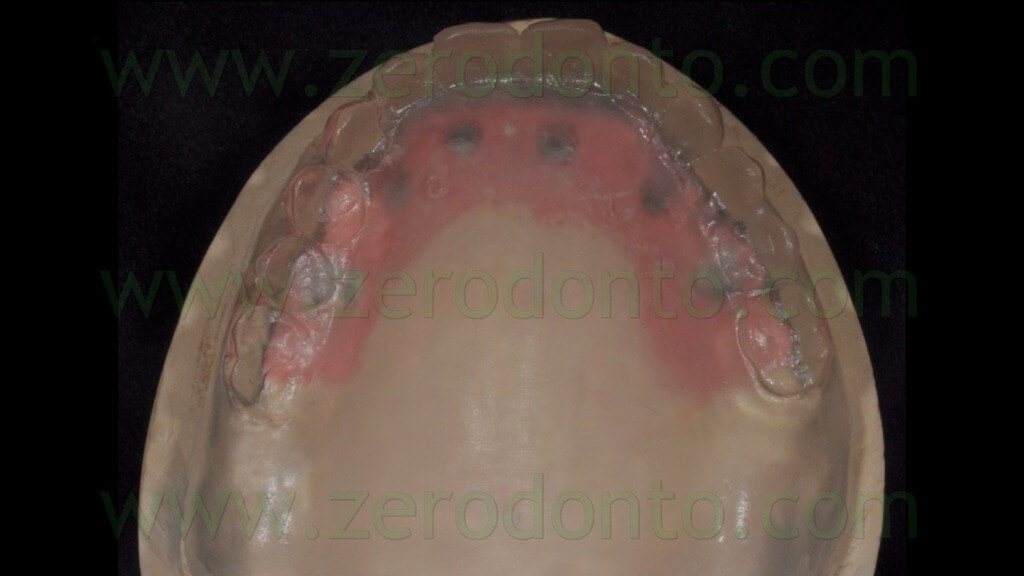
During the clinical examination, a complete maxillary denture was noticed (figg. 1-2) and it was considered satisfactory for occlusion and morphology; on the contrary, such denture was unsatisfactory from an aesthetic point of view, showing wear and pigmentation of the prosthetic teeth.
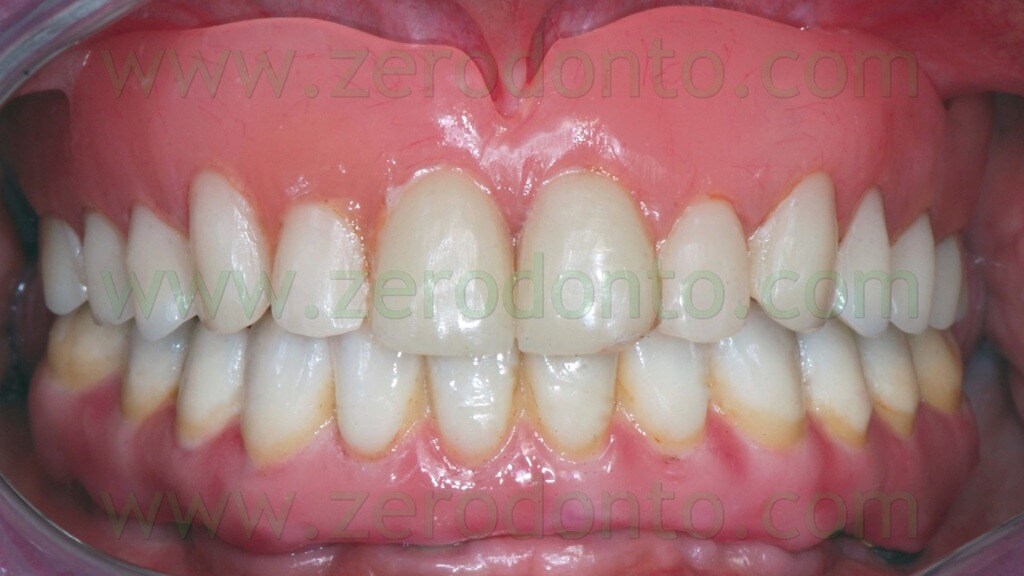
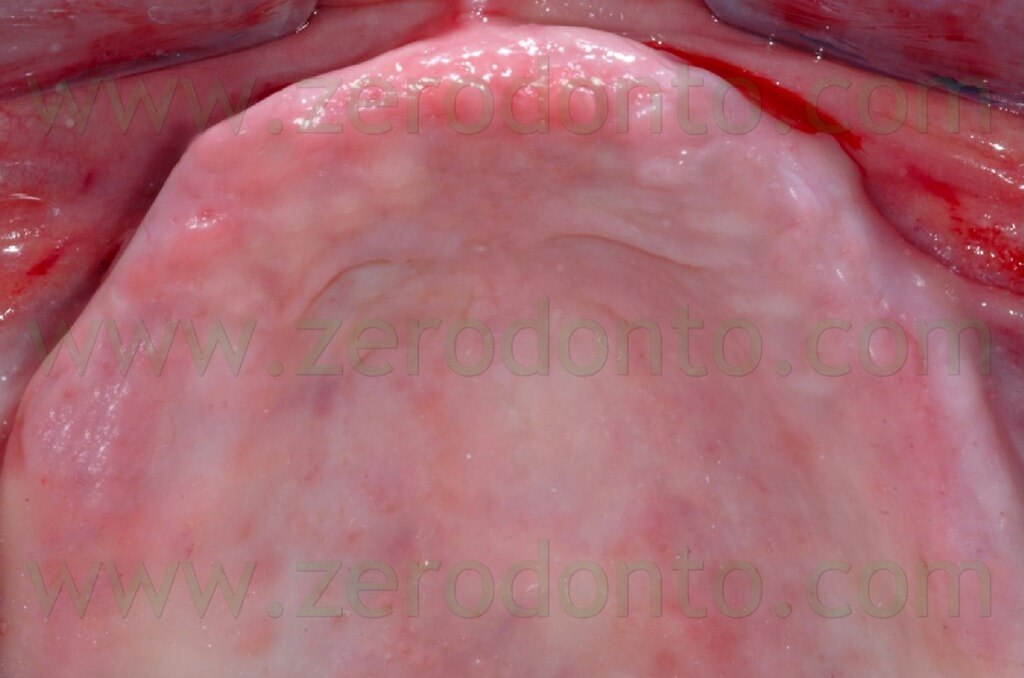
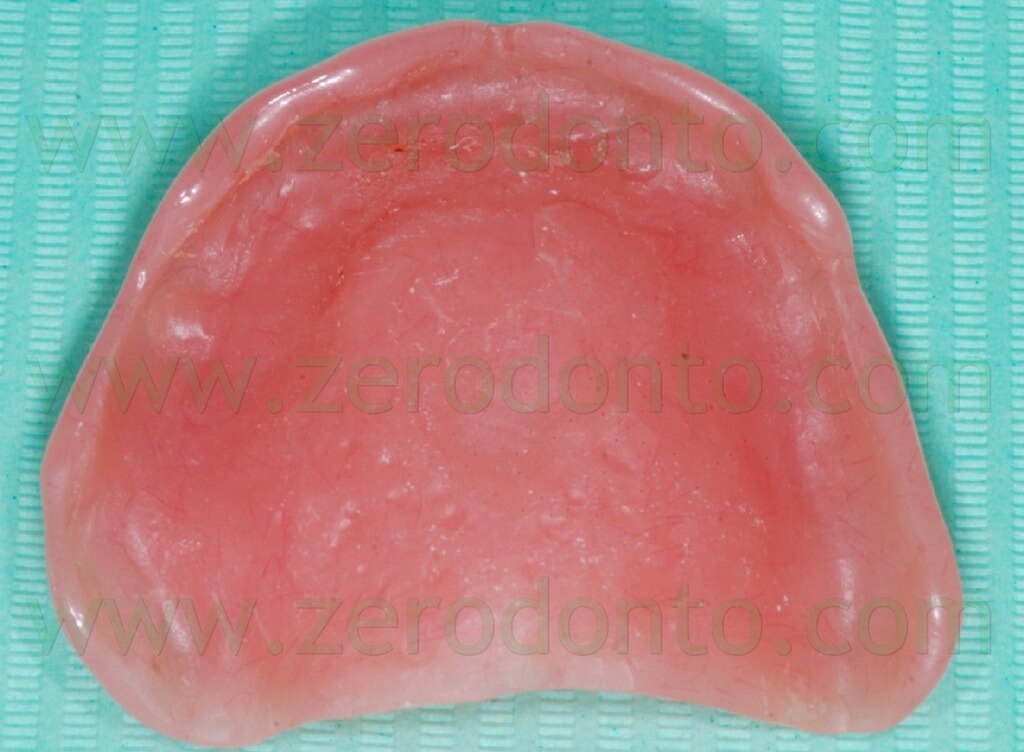
The masticatory effectiveness was considered satisfactory both subjectively and objectively. The patient required a fixed rehabilitation but refused any sinus augmentation procedure. Consequently, after obtaining a written consent form, an implant-supported prosthesis with immediate loading was planned. According to the above mentioned functional and aesthetic considerations, the occlusal scheme and position of teeth were kept unaltered for the temporary prosthesis. The denture was relined (fig. 3) and the soft tissues conditioned for 6 weeks before implant surgery.
The mandibular arch had been previously restored by means of an implant-supported fixed full-arch prosthesis. The mandibular occlusal scheme had been balanced and compensated in order to match the maxillary rehabilitation.
INTERMAXILLARY REGISTRATIONS
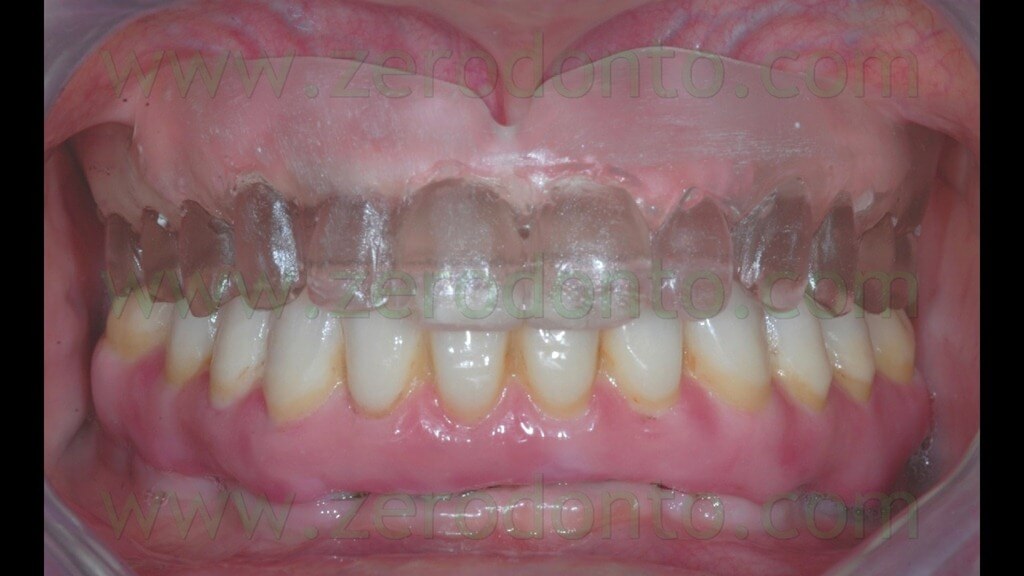
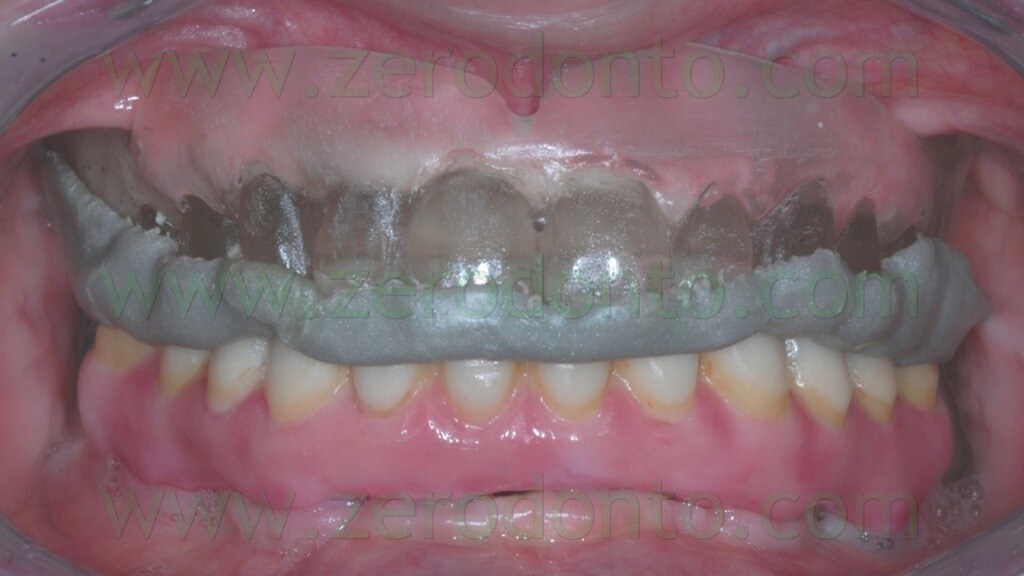
The registration of the centric occlusion was made using a silicone impression material (figg. 4-6).
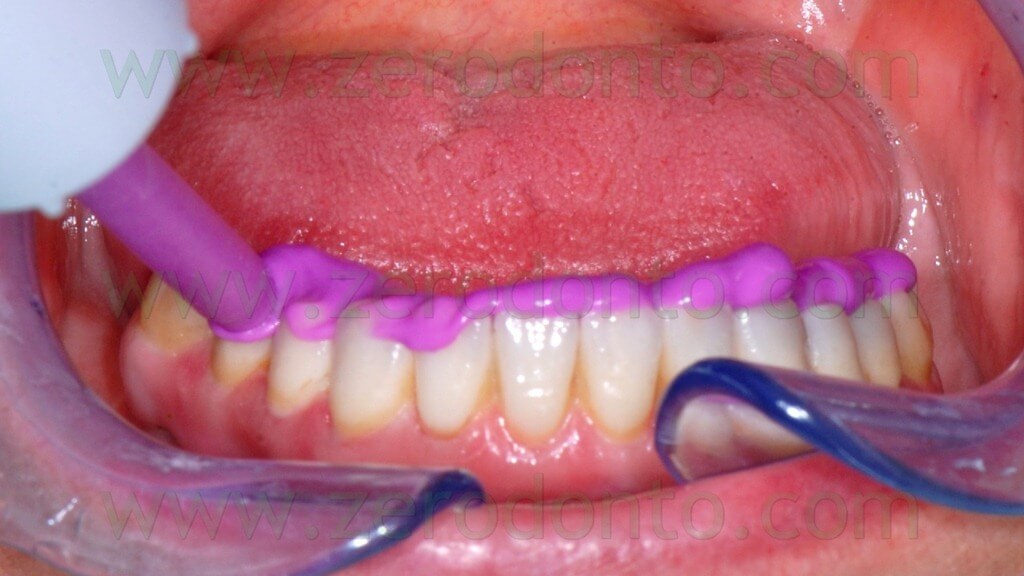
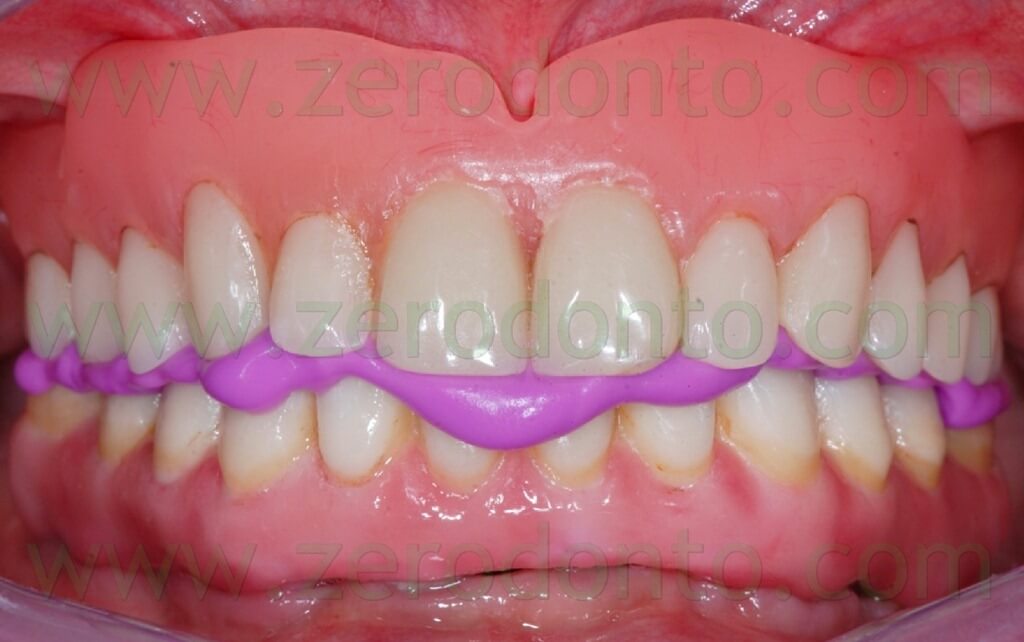
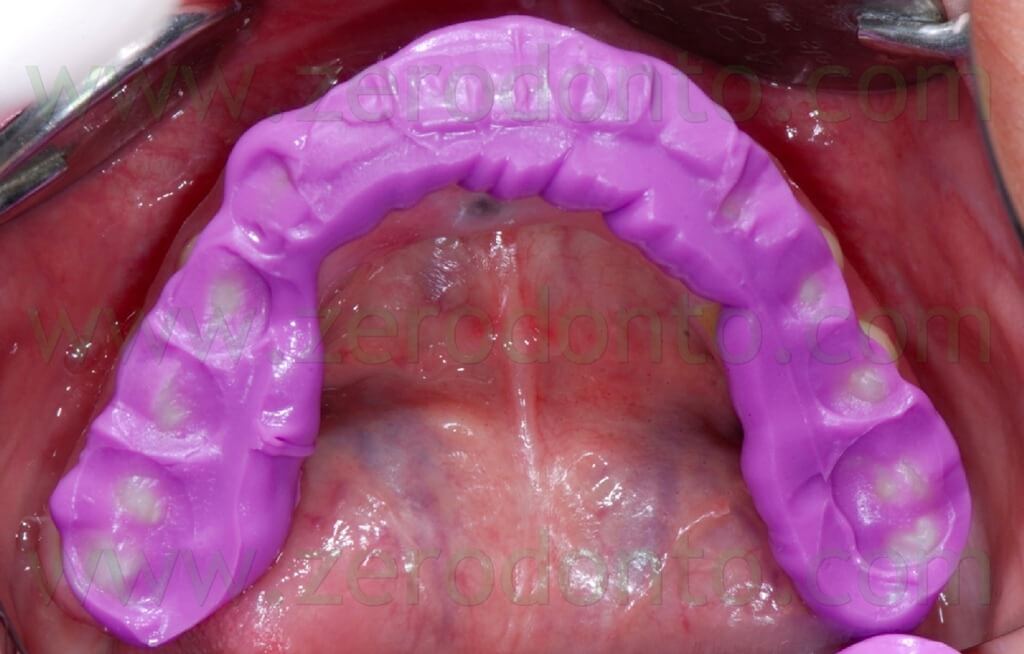
The occlusal index was refined (figg. 7-9) in order to facilitate the Computerized Tomography (CT) Dental Scan procedures.
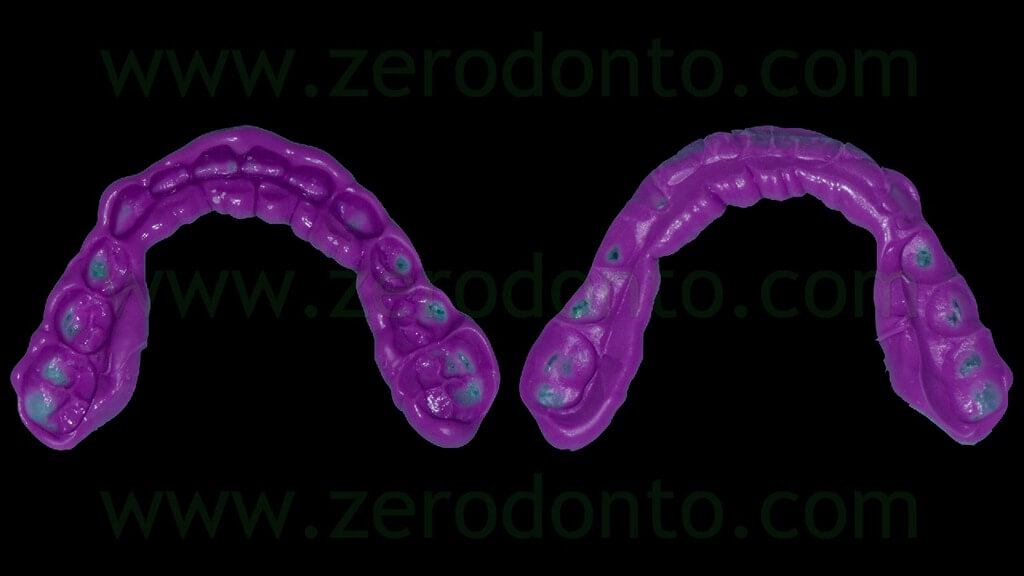
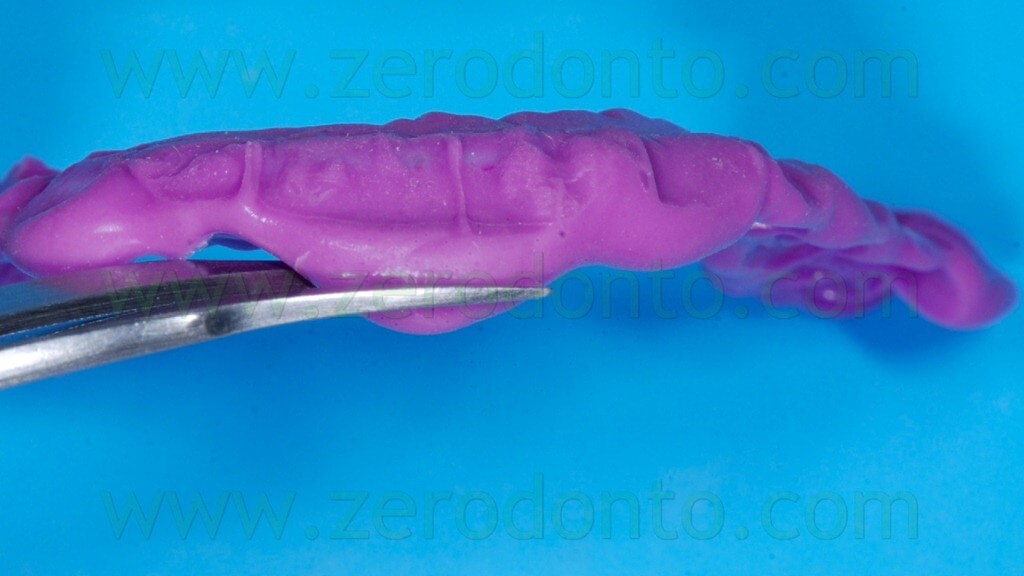
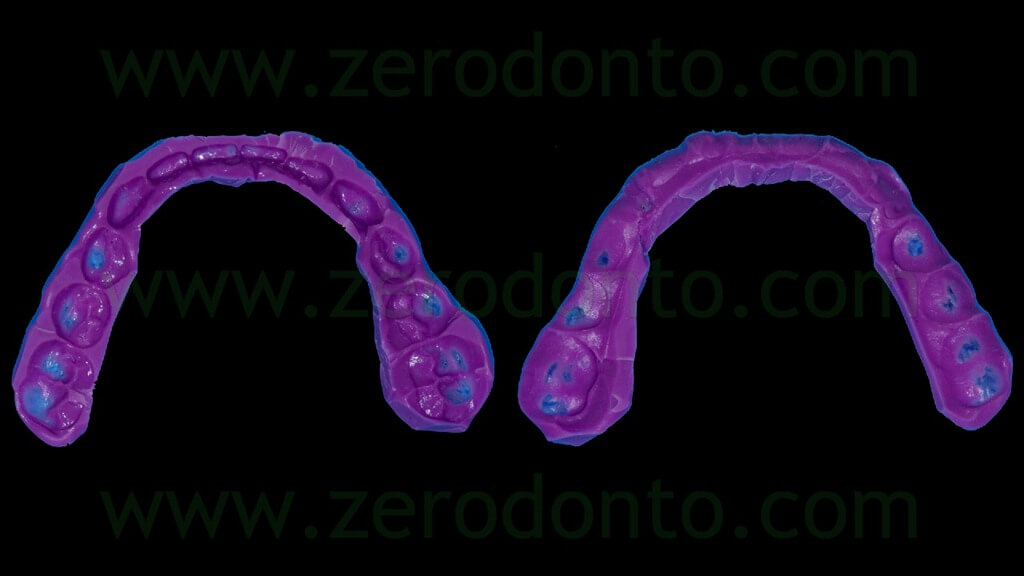
It is paramount to reduce the thickness of the silicone index without affecting its precision and stability, in order to limit as much as possible the cleaning of the CT images due to tissues and materials overlapping.
Alternatively, it is possible the perform the inter-maxillary registrations using an occlusal wax with good dimensional stability; however, such material is not as precise as elastomers. If the patient is not provided with a valid prosthesis and a diagnostic denture made up of traditional or transparent resin is required, the latter can be used for the occlusal registrations (figg. 10-11).
PREPARATION OF THE RADIOLOGICAL TEMPLATE AND CT DENTAL SCANNING
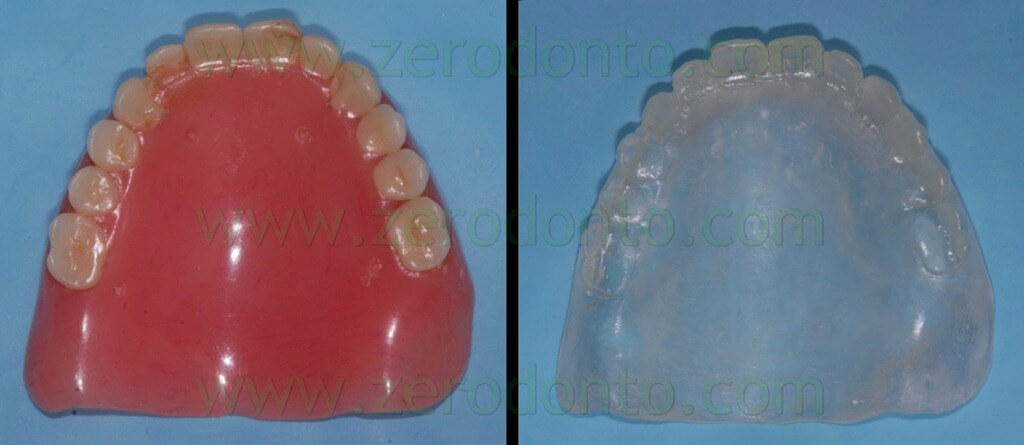
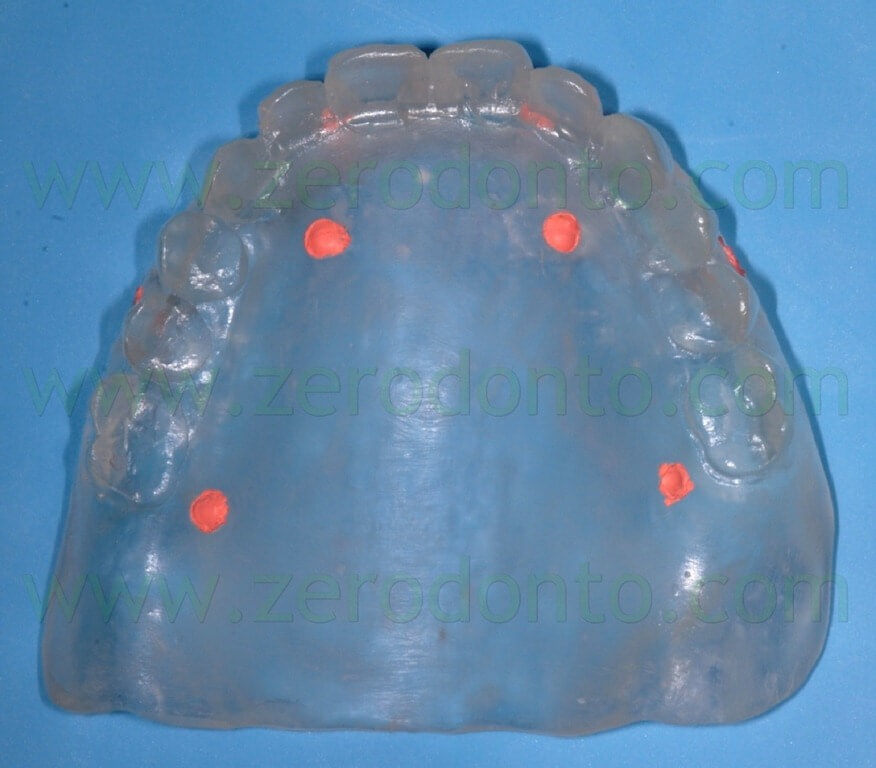
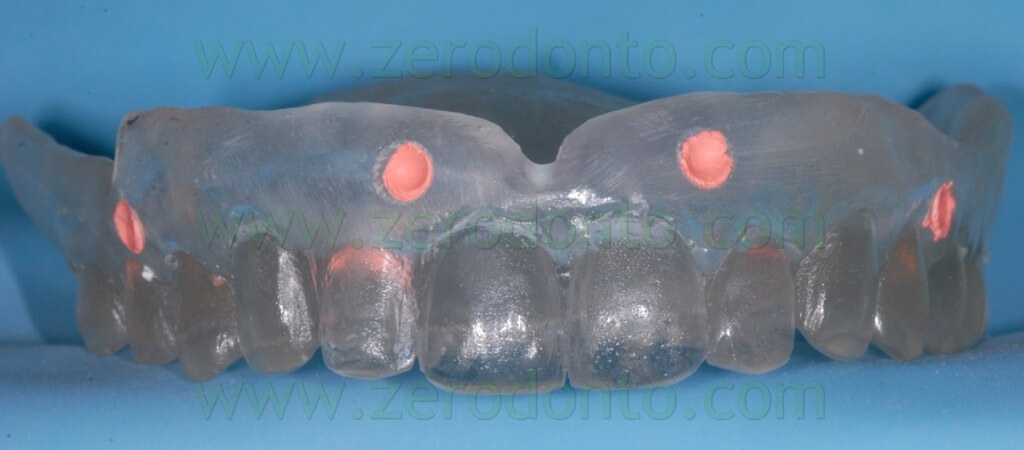
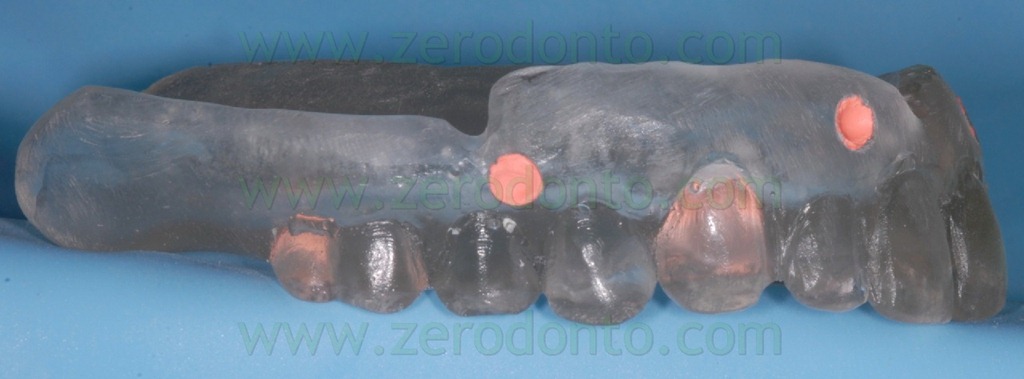
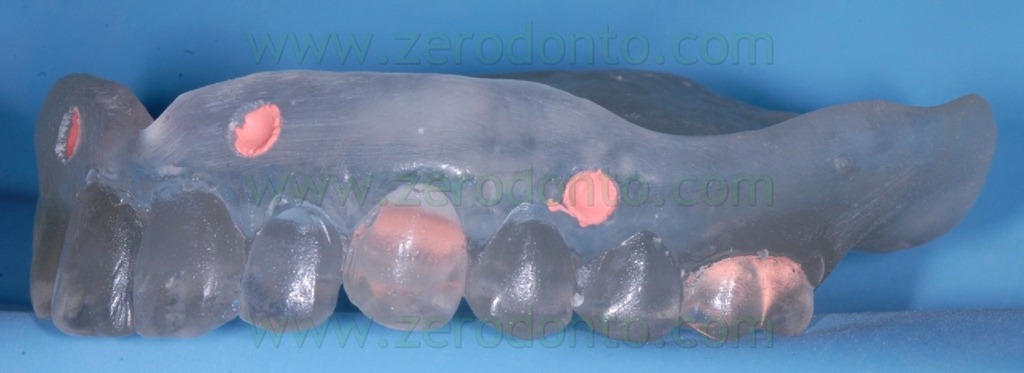
The NobelGuide guided-surgery system (Nobel Biocare) requires the fabrication of a radiological template with 6-8 radiopaque reference points. This can be achieved using both the patient’s denture or a duplicate of the prosthesis (fig. 12).
The radiopaque reference points have to be placed on the buccal and palatal surfaces of the radiological template; it is better to position them on different coronal-apical levels (figg. 13-16).
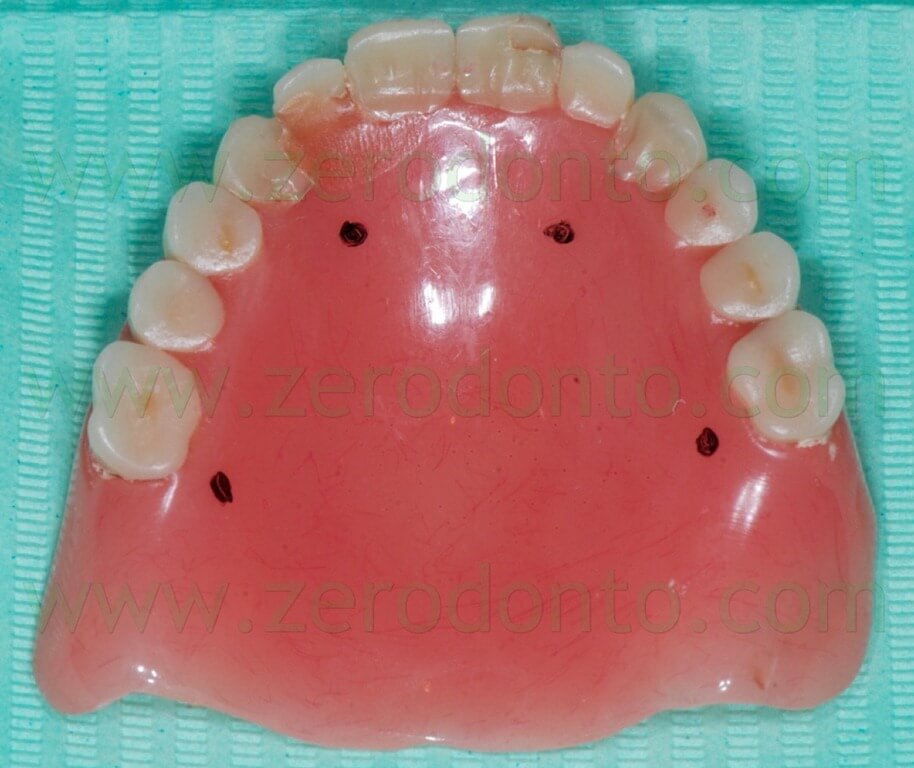
Such reference points should have diameter and depth of about 2 mm and can be easily made using burs with known dimensions (figg. 17-19).
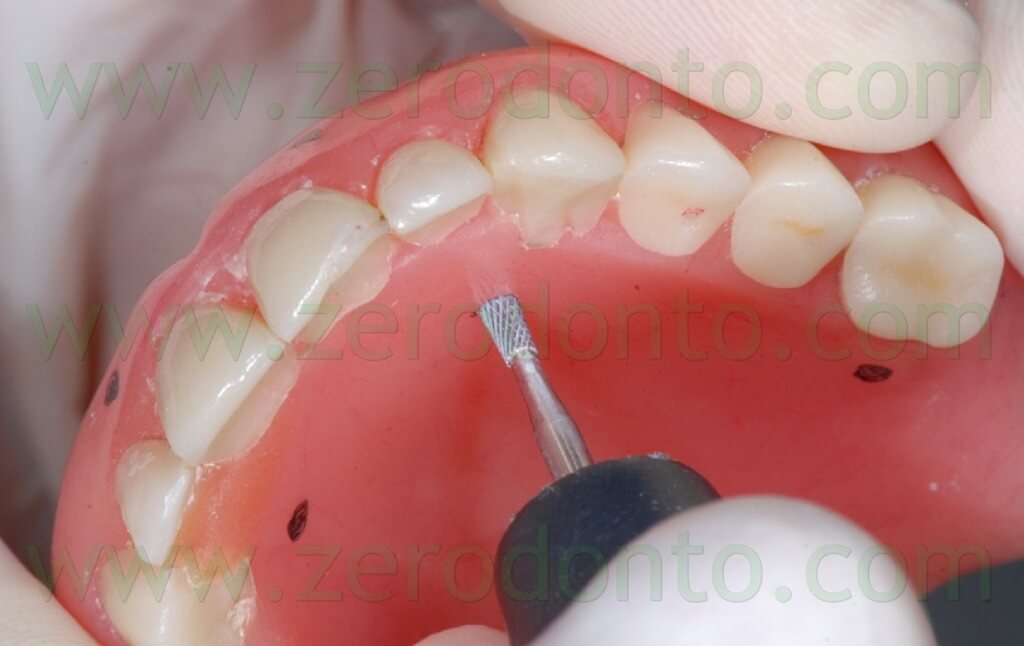
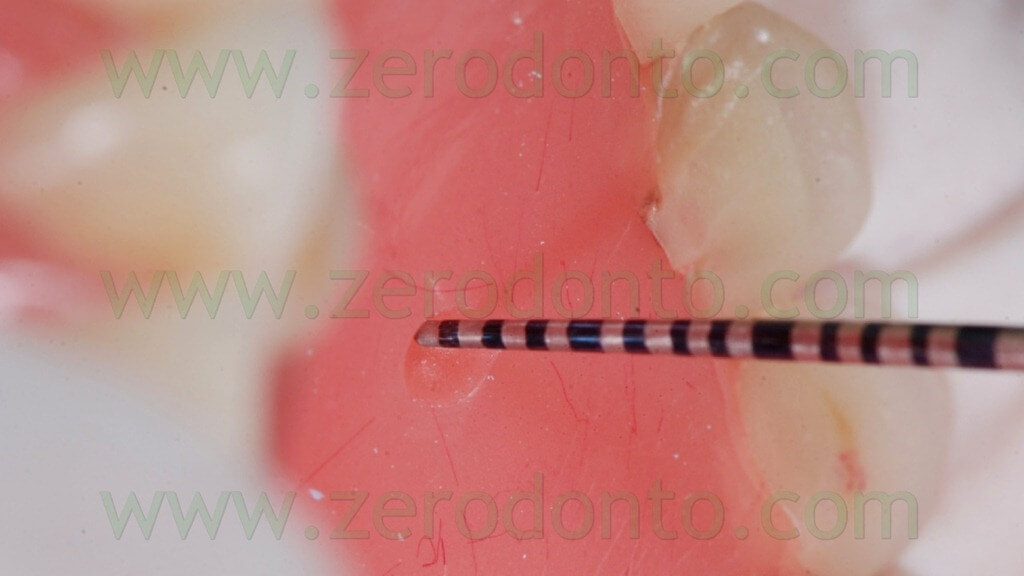
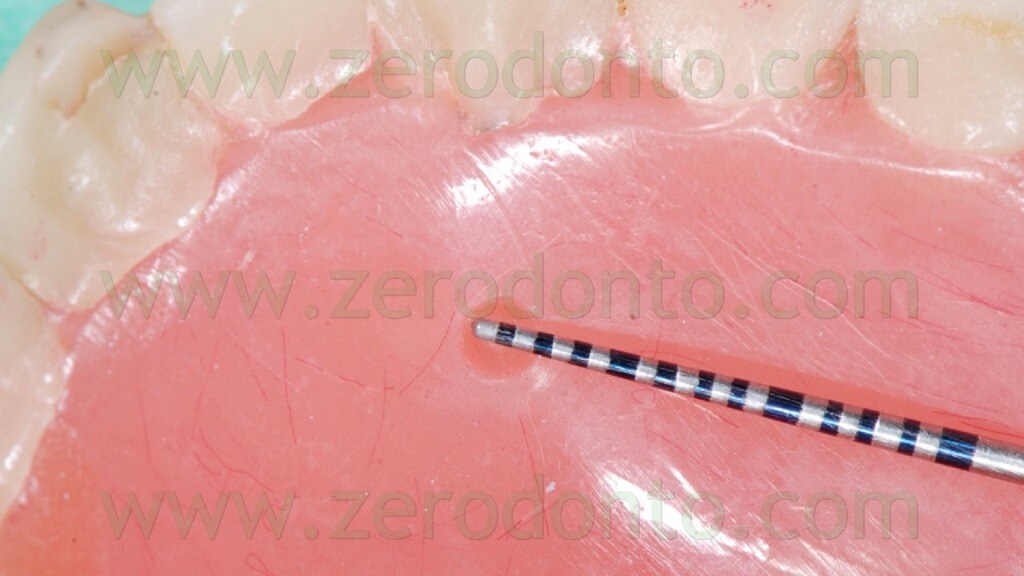
Then, the reference points have to be filled with an inert radiopaque material, just like guttapercha (figg. 20-23).
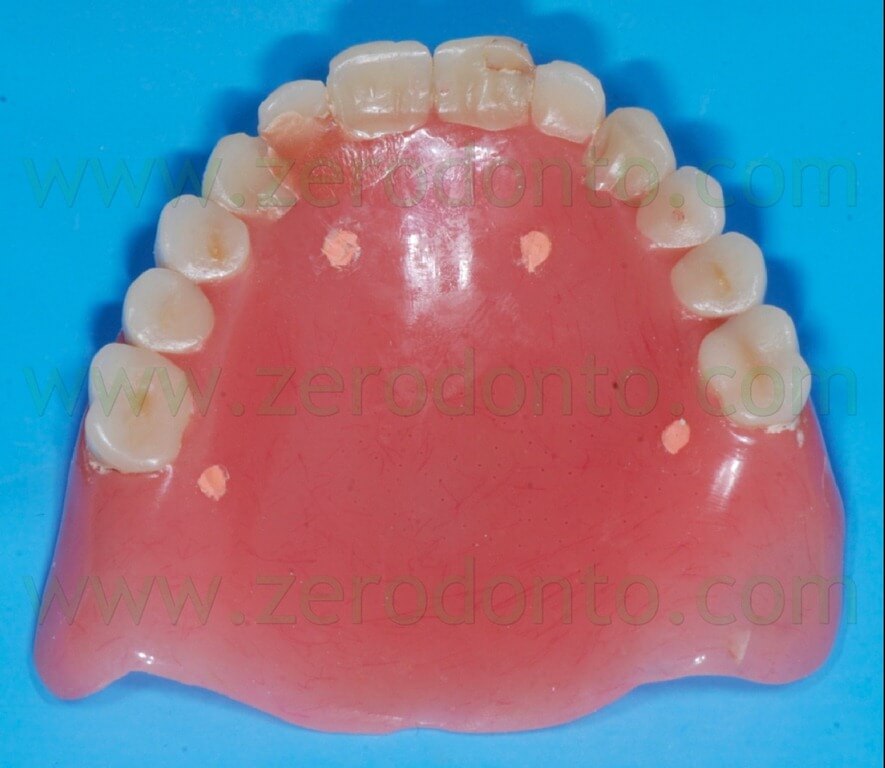
If the patient is already provided with a proper prosthesis, just like in the present case, it can be modified and used as a radiological template; conversely, if the patient does not have a correct denture or does not have one at all, the radiological index can be produced fabricating a new prosthesis or a simple resin template on the basis of a functionally and aesthetically correct diagnostic wax-up (figg. 24-27).
As regards the CT Dental Scan procedures, the NobelGuide protocol requires a double scanning: a first scanning of the patient’s head with the radiological template in the oral cavity and an occlusal index used to stabilize the vertical and horizontal inter-maxillary relationship and a second scanning of the radiological template itself. The scanning procedures can be performed using the patient’s hard palate (as in the present case) or occlusal plane as reference.
GUIDED PLANNING USING THE NOBEL CLINICIAN SOFTWARE (video)
(VIDEO)
GUIDED PLANNING USING THE NOBEL CLINICIAN SOFTWARE
The doubler CT scanning was uploaded in the innovative Nobel Clinician software (Nobel Biocare). The working area was delimitated, highlighting the bone volumes to work with. The scanning of the prosthesis was matched to the bone by means of the radiological reference points. Then, an arch line was identified as reference of the working area on the horizontal plane. A few new functions of the software were particularly useful, just like the linear, angular and bone density (HU units) measurements, since they allowed not only to measure thicknesses and distances but also to manage bone concavities and avoid areas with poor bone quality.
Analysing each single radiographic section of the maxillary bone, type, diameter and length of the implants to be inserted were selected; subsequently, the fixture position was set by means of micrometric movements in the software. Similarly, the abutments were selected and positioned onto the implants, selecting the proper height. Once the implants were virtually positioned in the aesthetic area, the fixtures were rotated with a manual function, in order to make slight movements in the palatal direction so as to preserve a good quantity of buccal bone, avoiding bone dehiscences and fenestrations. Then, a reference implant was selected and a new automatic function of the software allowed to make the three adjacent fixtures parallel to the reference one; after that, the position of each implant was carefully checked manually in the cross sections. The software navigator made the modification of the layout easy and user friendly, in order to verify the three dimensional placement of each fixture. As requested by the patient, no sinus augmentation procedure was planned; consequently, two tilted implants were placed in the posterior segments.
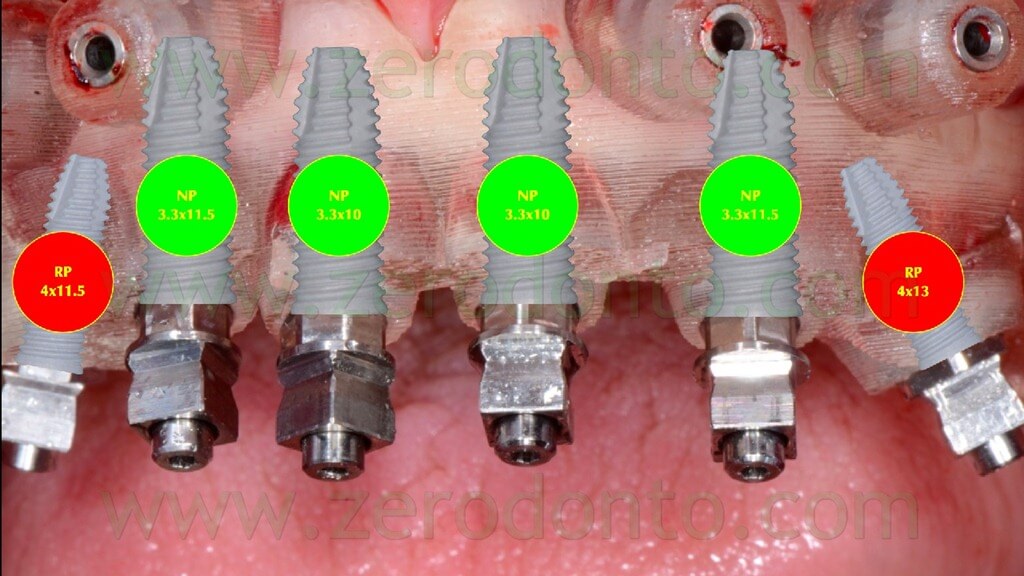
At the end of the guided virtual planning, 6 Nobel Speedy Groovy implants with external connection were placed: 4 axial NP (Narrow Platform) implants in the anterior area (mesial fixtures: 3.3×10 mm, distal fixtures: 3.3×11.5 mm) and 2 tilted RP (Regular Platform) implants in the posterior segments (right fixture: 4×11.5 mm, left fixture: 4×13 mm).
Similarly to the procedure followed for the fixtures, the axis of each Multi Unit Abutment (MUA) was manually rotated in order not to interfere with the occlusal morphology of the restoration.
Once the guided planning was performed and carefully checked, 4 anchor pins for the surgical template were positioned; particular care was dedicated to avoid any interference between their location and the position of the fixtures.
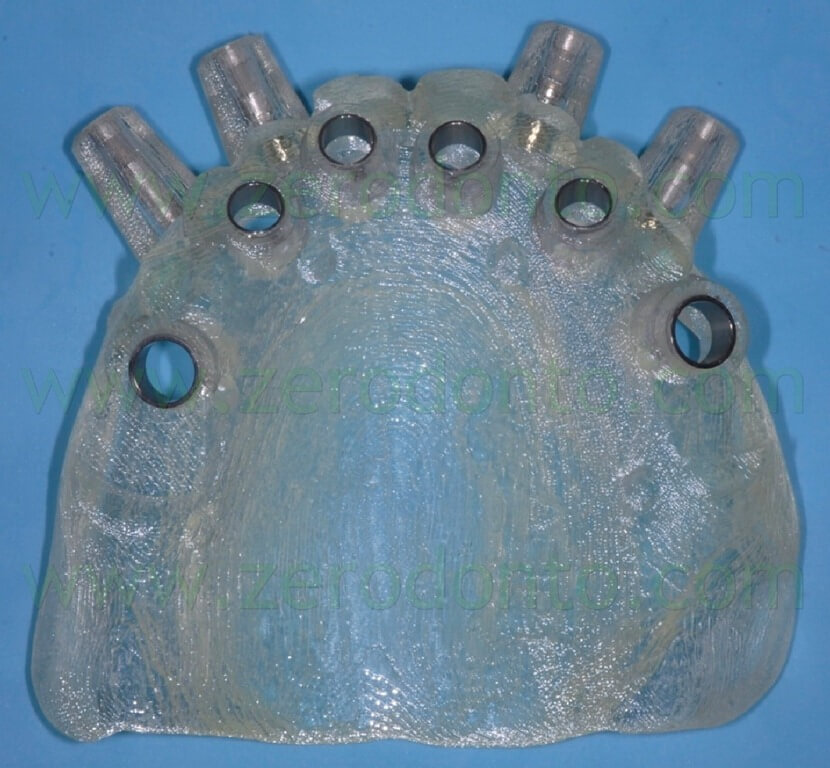
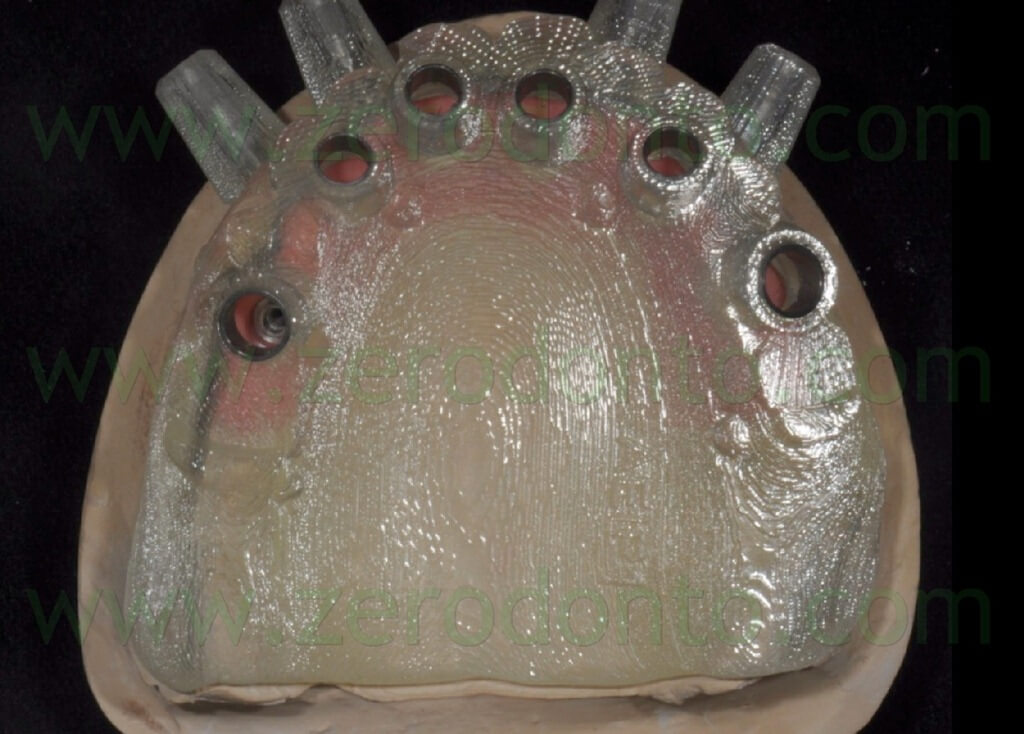
Finally, the software automatically generated the modelling of the surgical template on the basis of the virtual guided planning (fig. 28).
PREPARAZIONE DEL MODELLO DI LAVORO E DELLA PROTESI PROVVISORIA
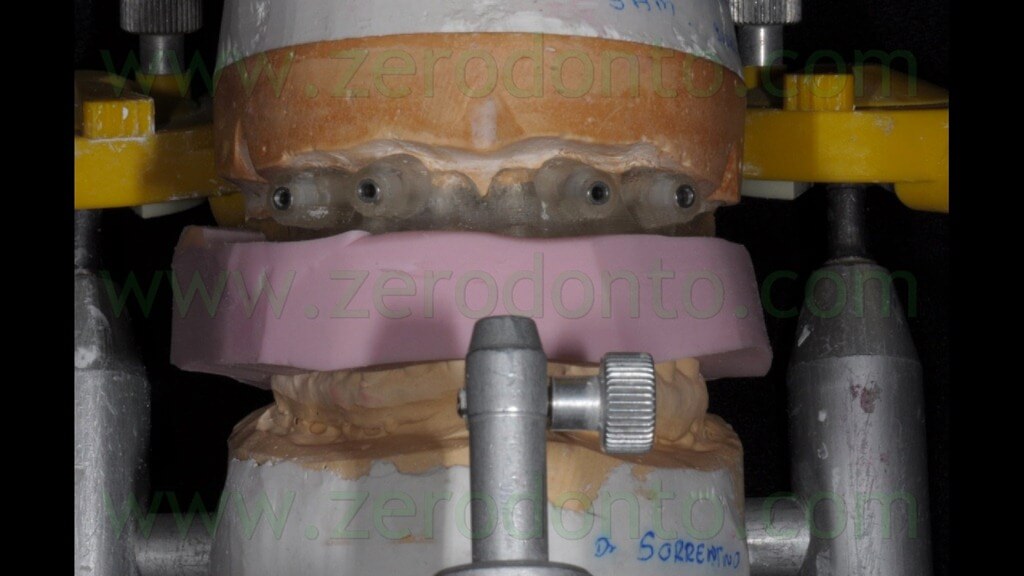
Using the surgical template, the dental laboratory fabricated the master model (figg. 29-31) and mounted it in an articulator, in order to create a silicon occlusal index to be used to stabilize the surgical template during implant placement (fig. 32).
Then, 4 straight MUAs were screwed onto the implant analogs in the anterior area (figg. 33-34) while 2 30°-angulated MUAs were screwed onto the fixtures in the posterior regions (figg. 35-37).
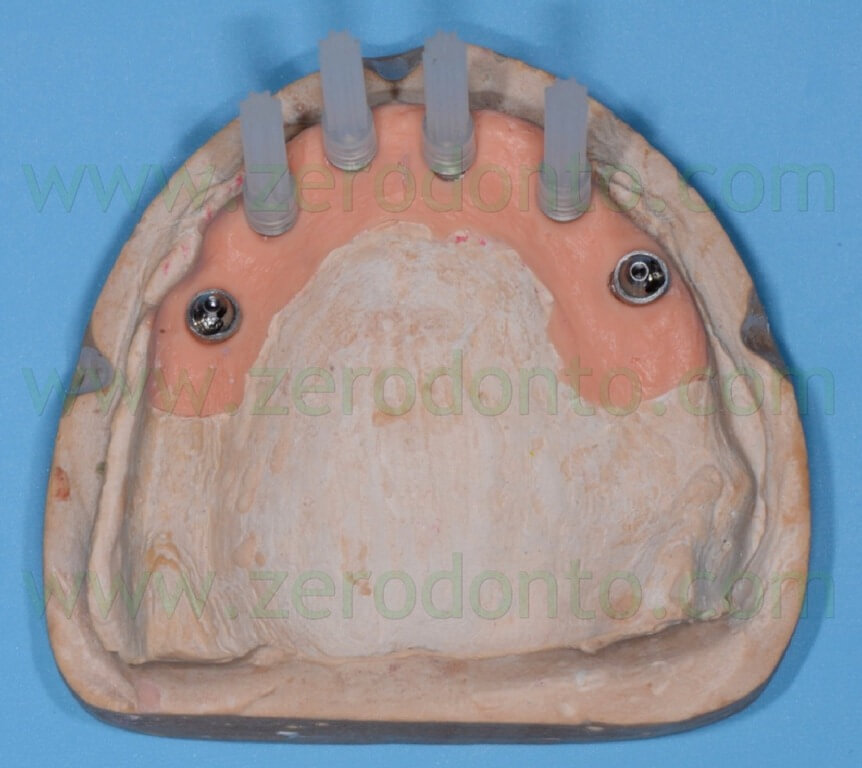
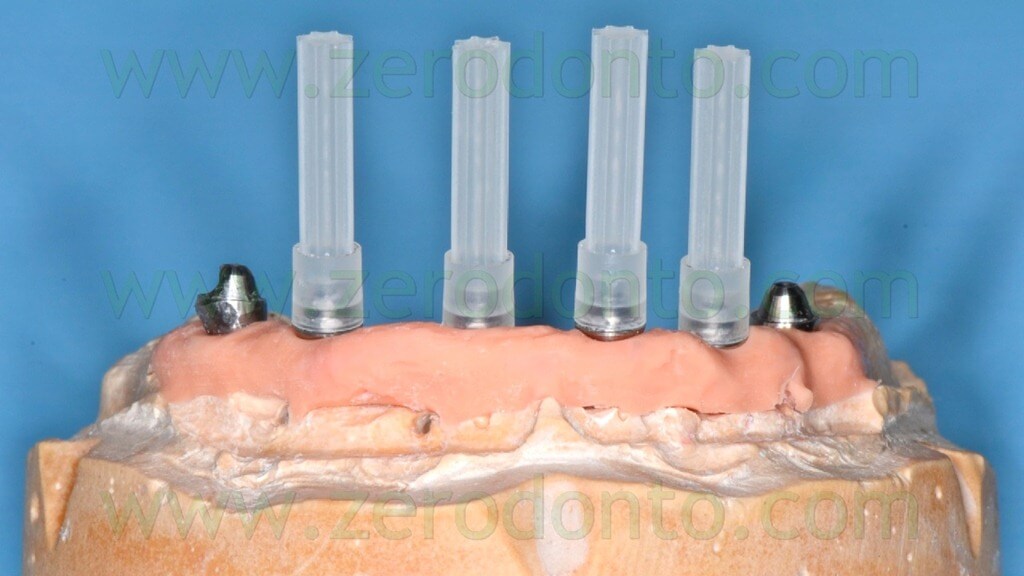
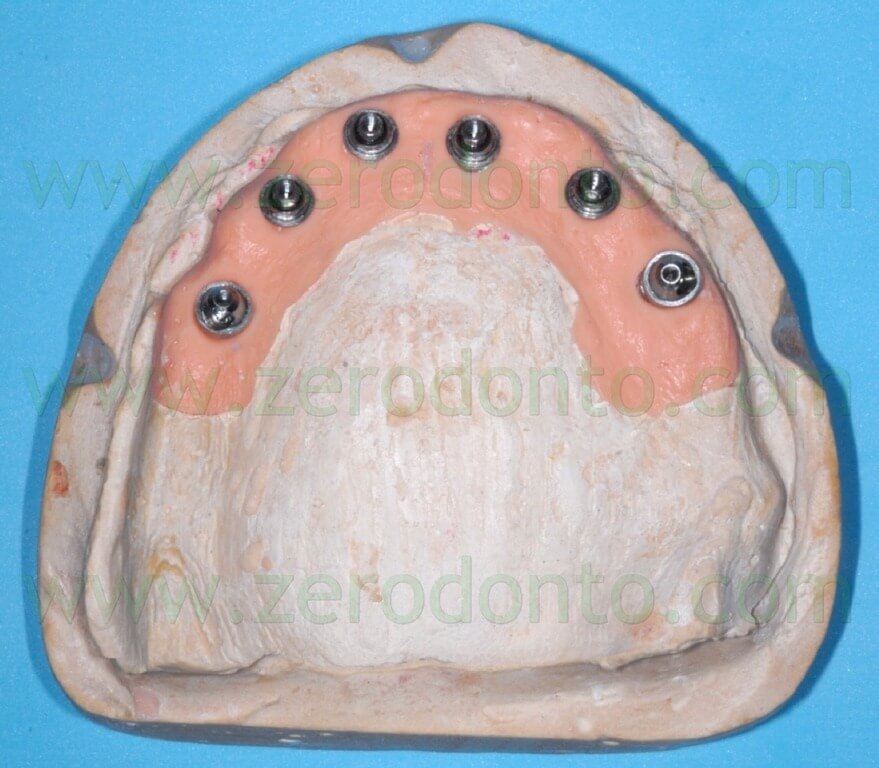
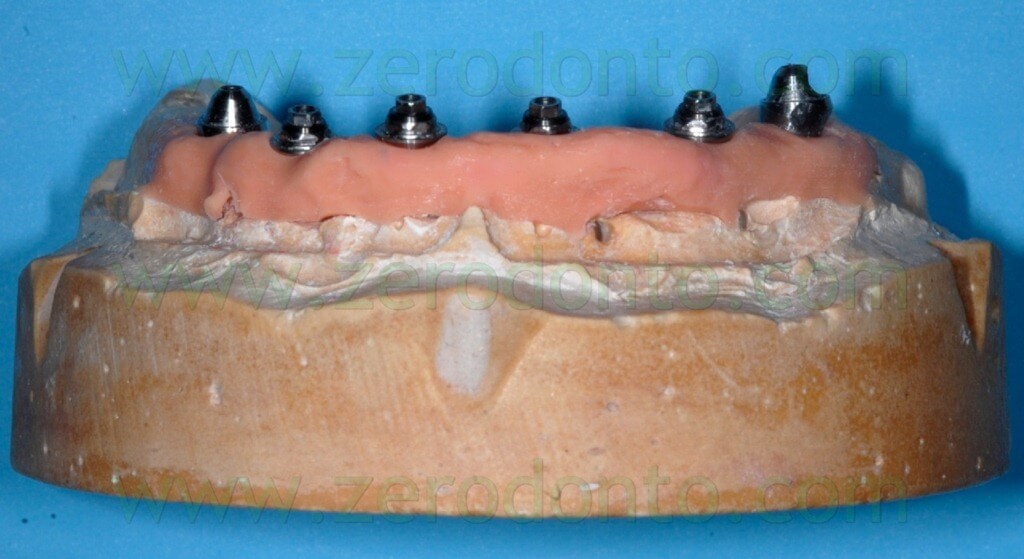
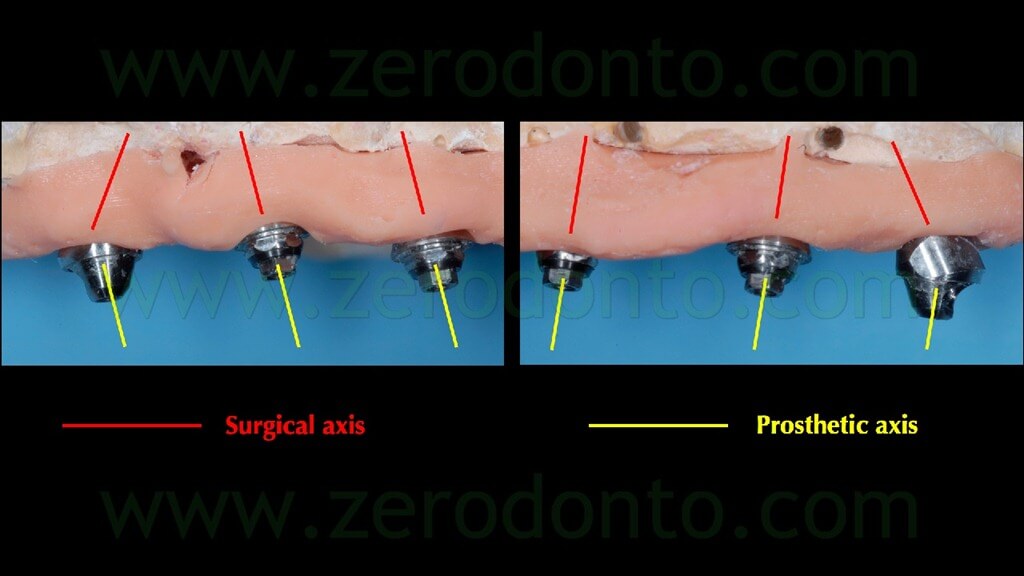
Finally, two resin checks were fabricated to screw the angulated MUAs intraorally in the same position obtained on the master model (fig. 38).
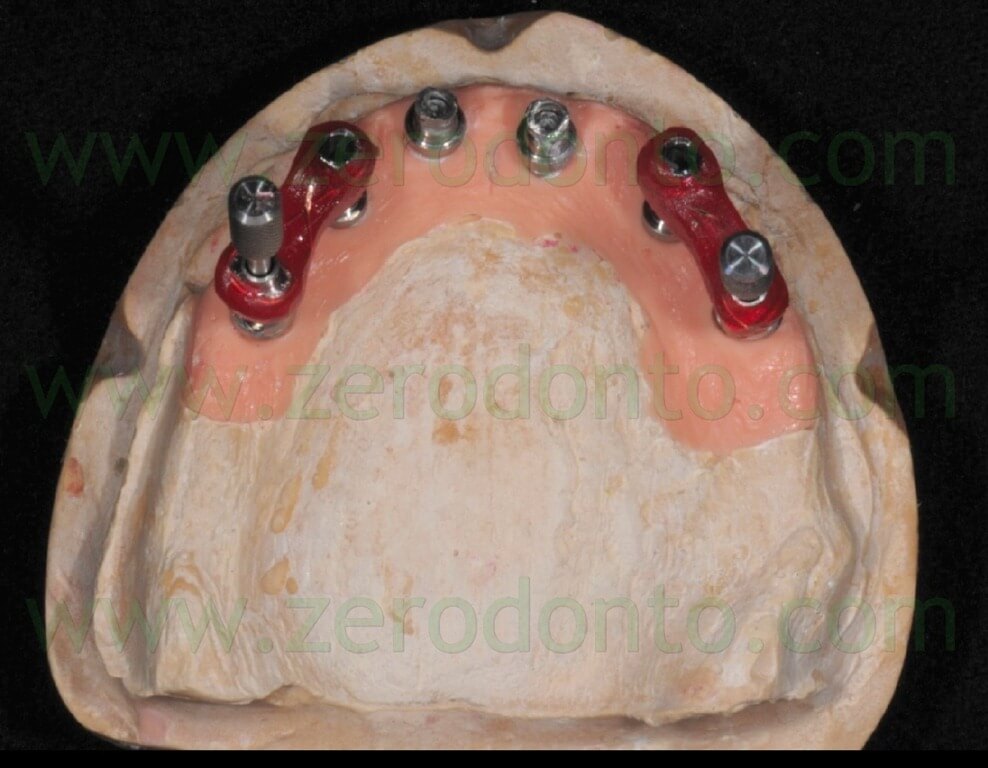
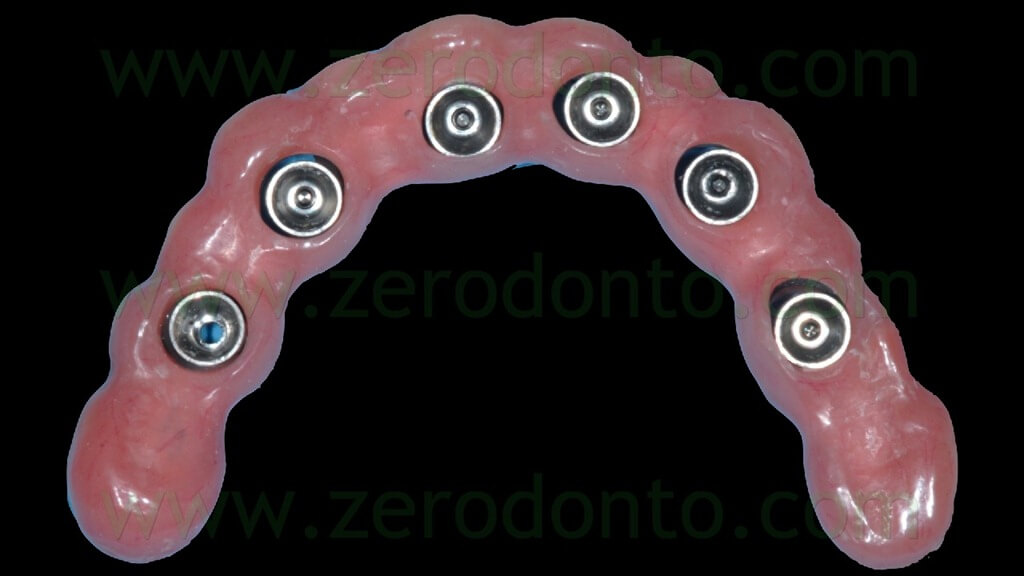
The day before the surgery, the patient’s denture was modified so as to use it as a temporary prosthesis with immediate loading. A nickel-chromium framework was fabricated onto the temporary abutments and was inserted in the patient’s denture avoiding to damage the occlusal surfaces (figg. 39-45).
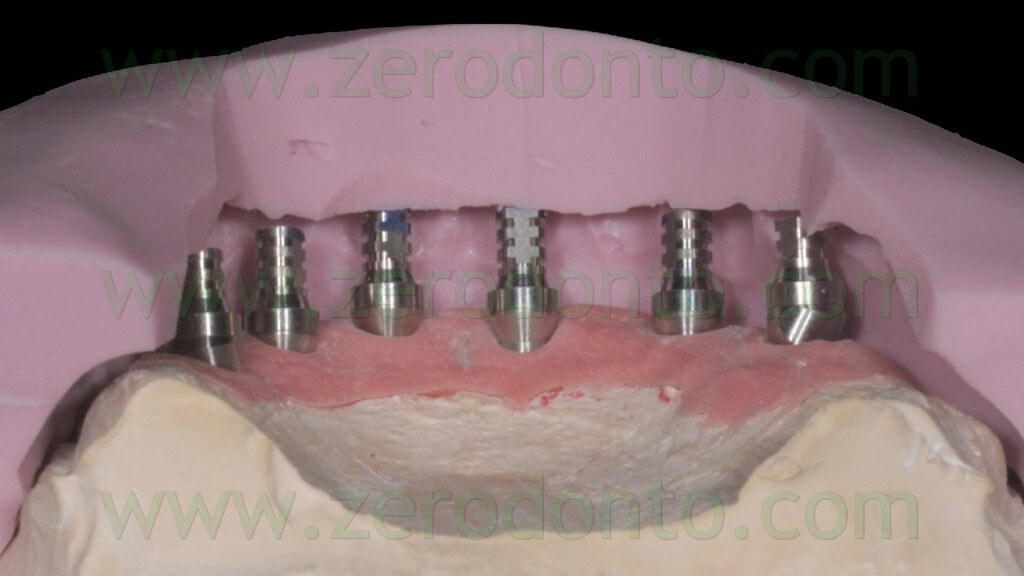
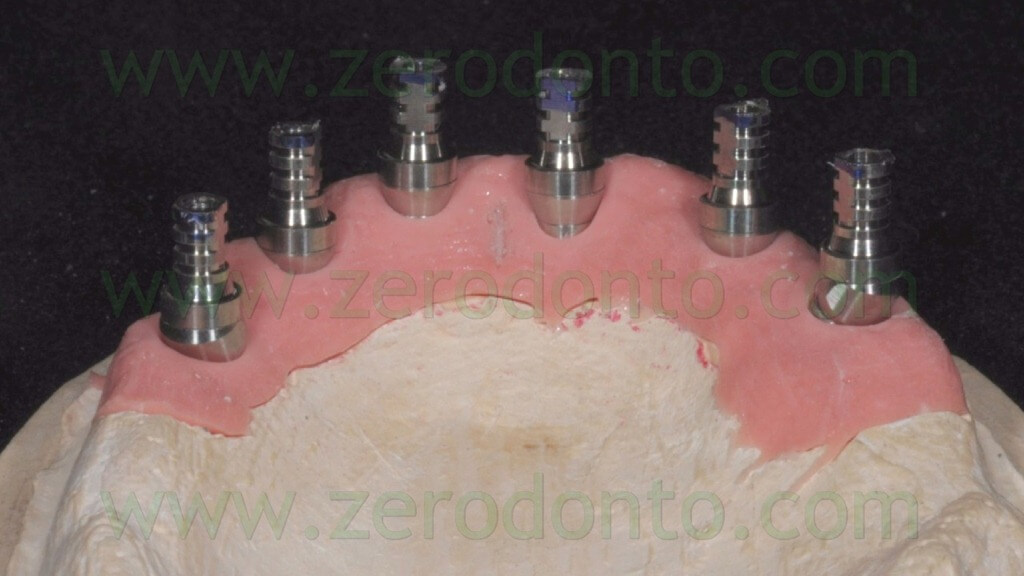
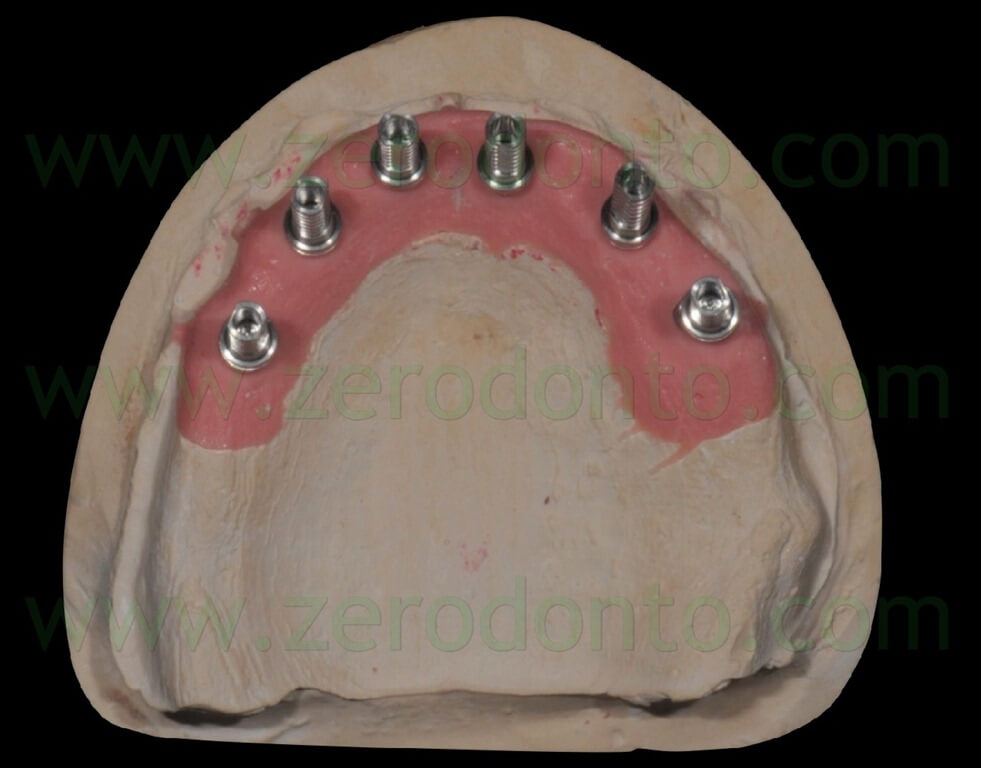
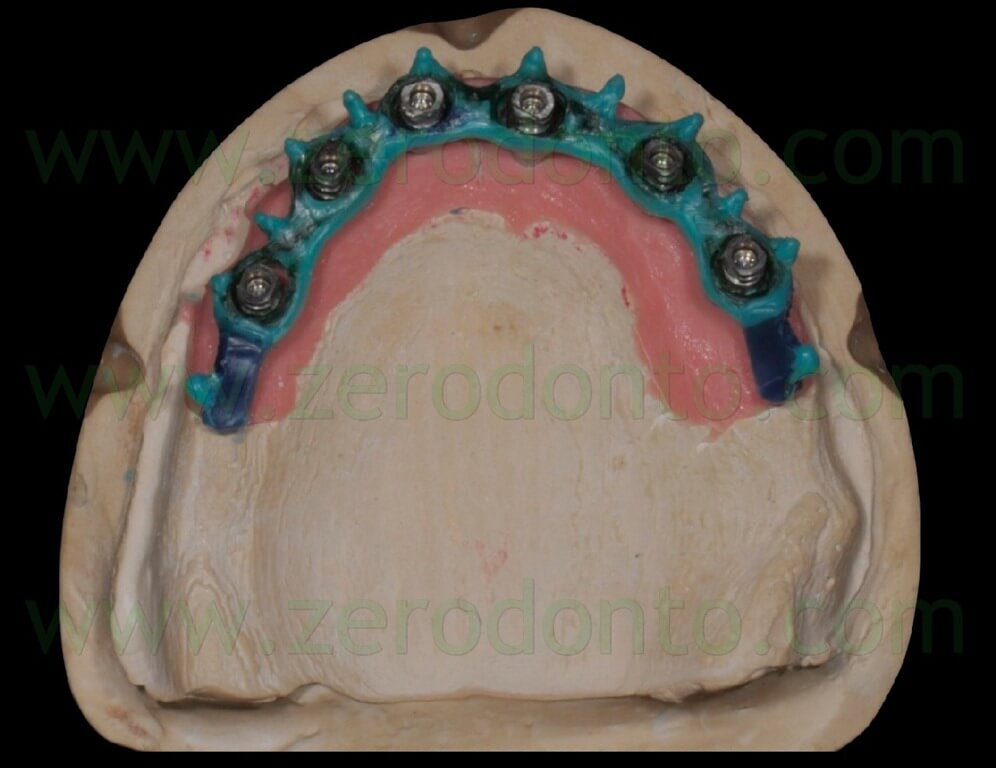
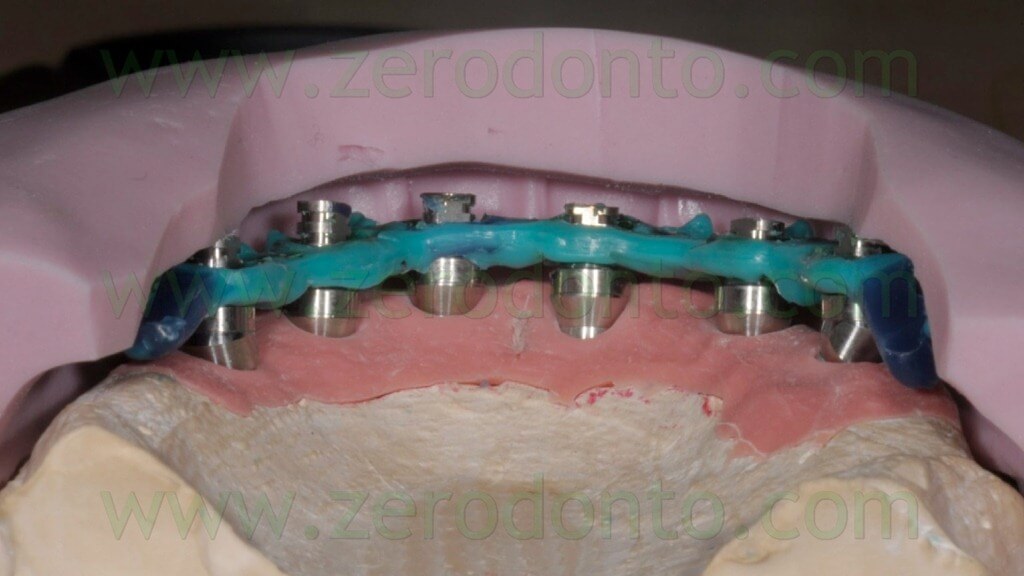
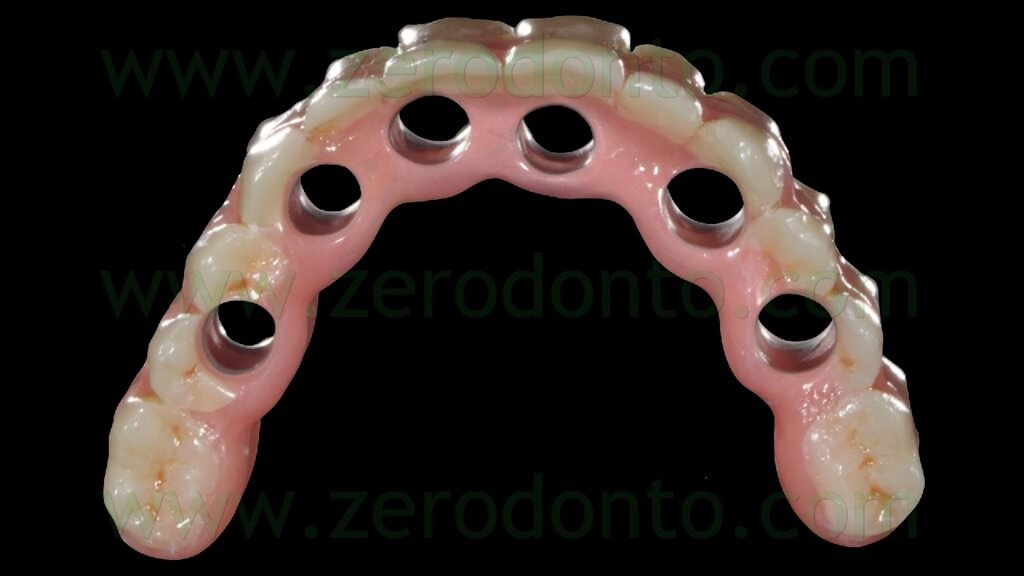
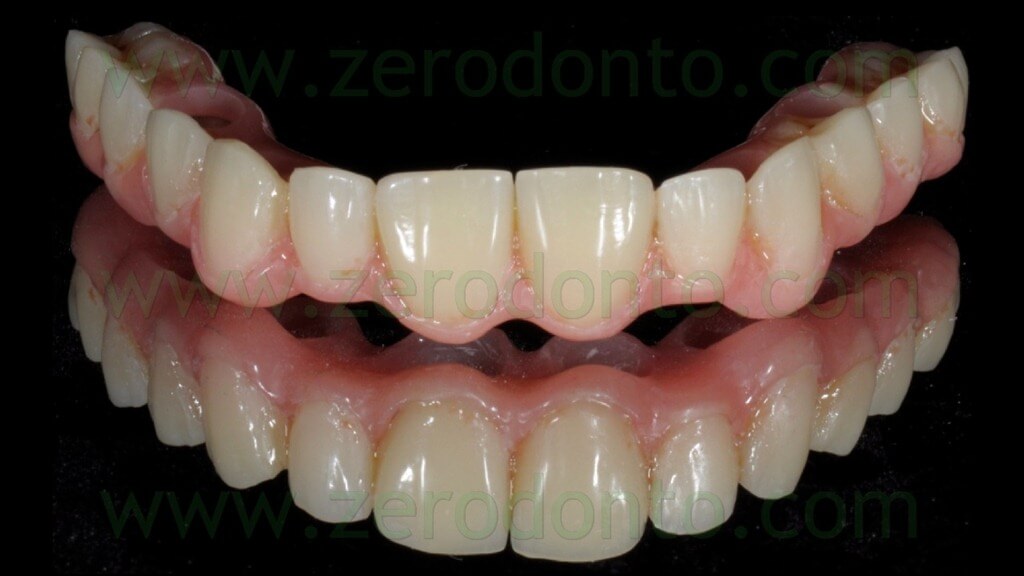
The blocking of the temporary abutments to the temporary full-arch prosthesis was performed with an indirect-direct technique: the dental laboratory performed the blocking using of little amounts of flowable composite resin (figg. 46-48) and such a procedure would be completed by means of a conventional intraoral relining as reported in the following paragraphs.
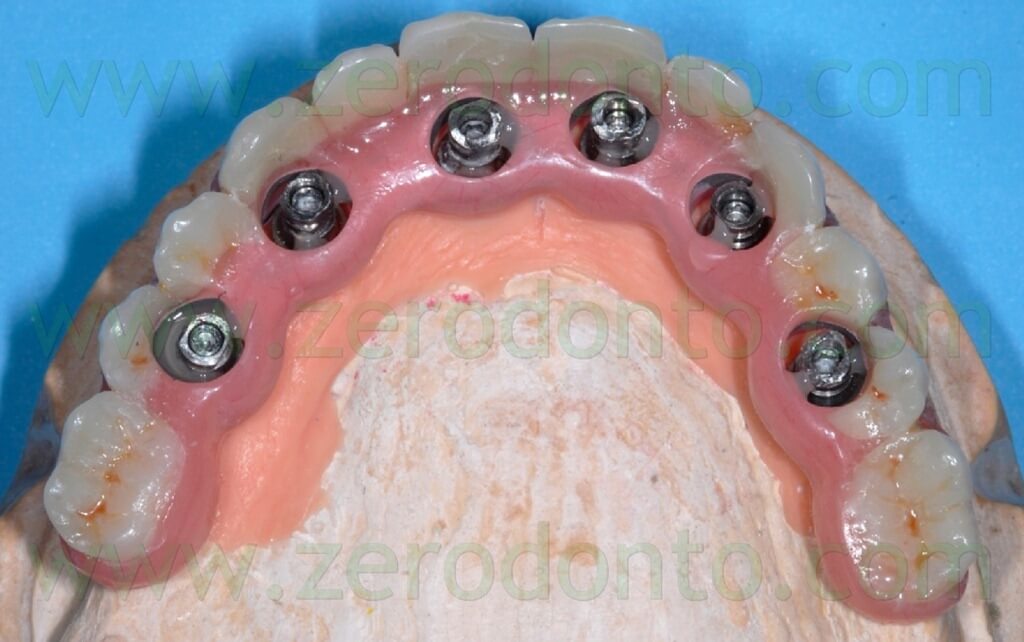
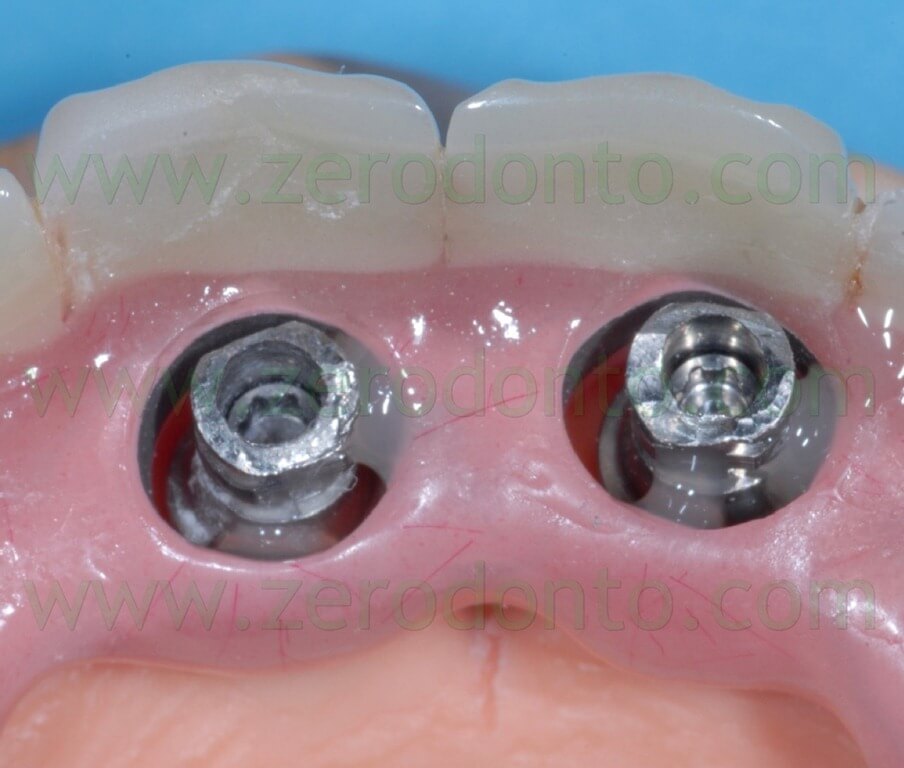
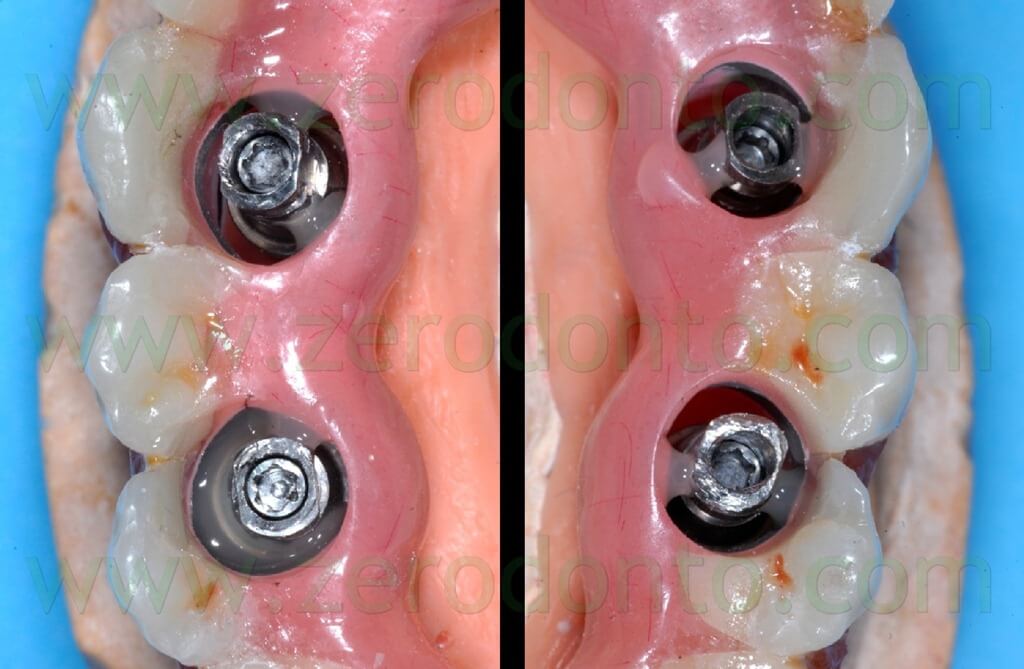
This kind of procedure was adopted since the risk of introducing misfits becomes higher and higher as the number of implants increases, due to radiographic distortions and/or clinical variables, although the virtual planning is very precise.
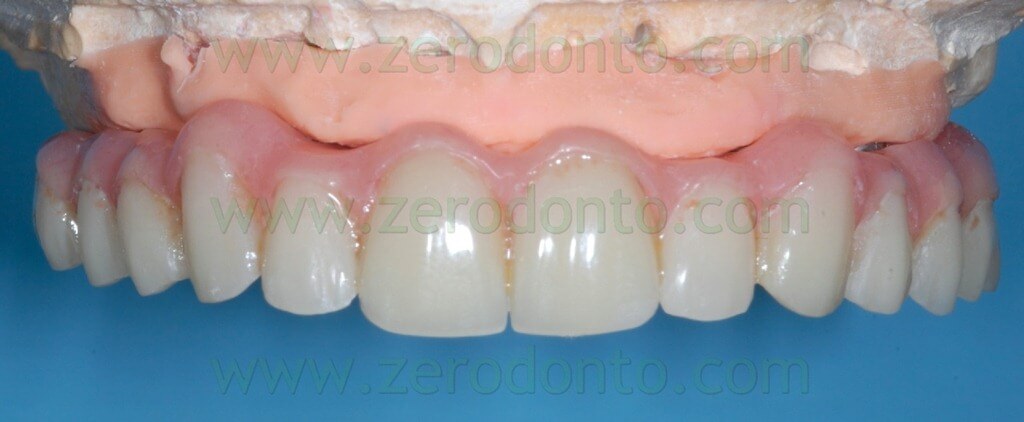
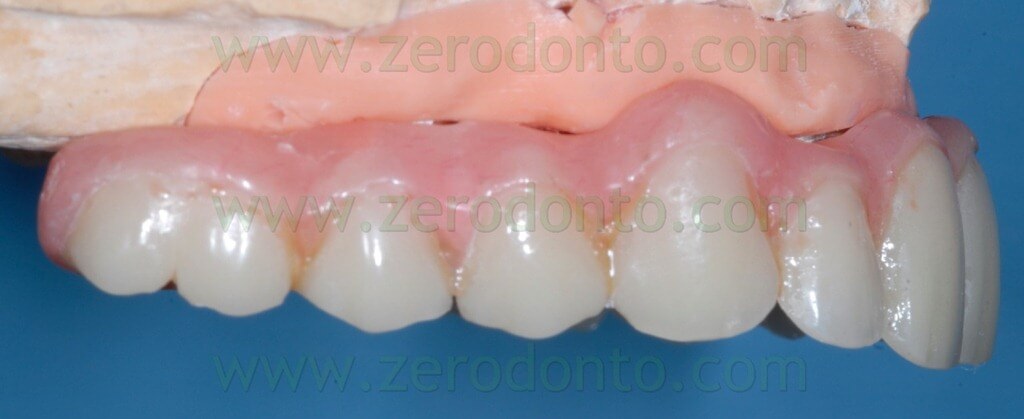
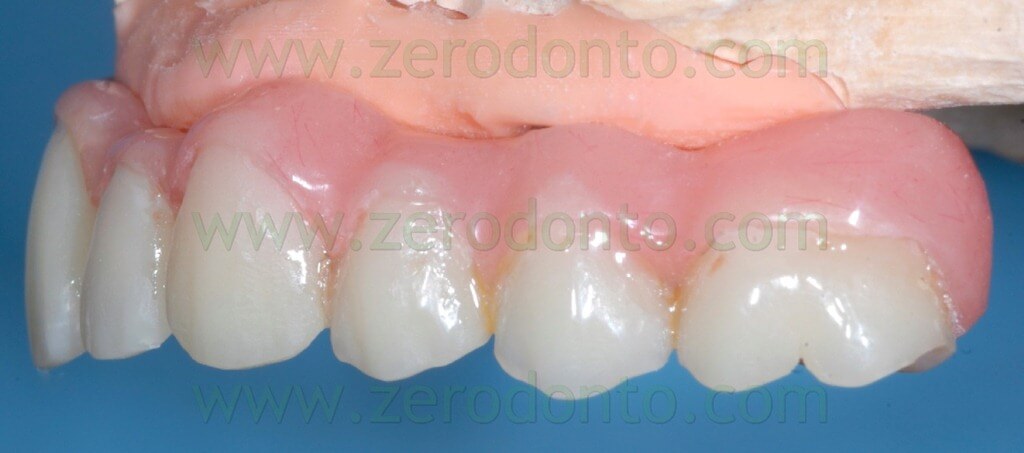
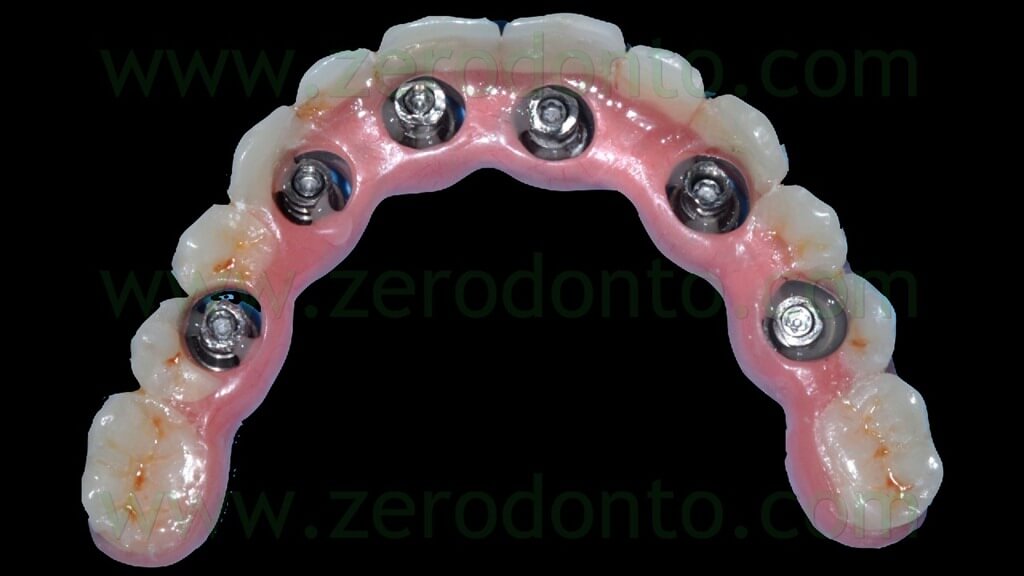
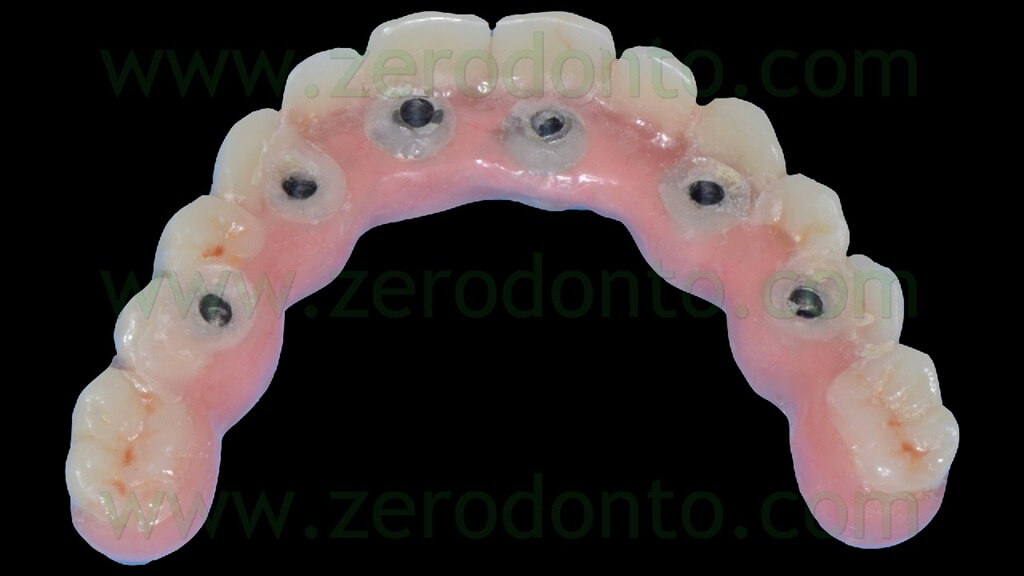
The temporary prosthesis was finished and polished and particular care was dedicated to the access to implant necks for oral hygiene maintenance (figg. 49-53).
SURGICAL PROCEDURES
The surgical template was subjected to cold sterilization and was stabilized using the above mentioned silicon occlusal index (fig. 54).
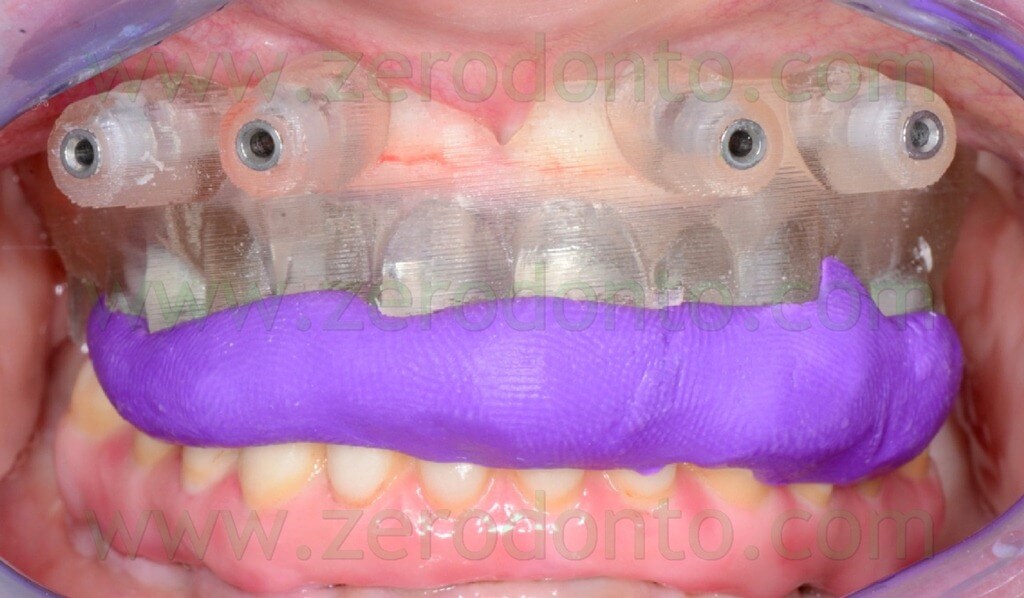
Local anaesthesia was injected buccally and palatally; moreover, the anaesthetic solution was injected through the anchor pins and implant holes (figg. 55-56).
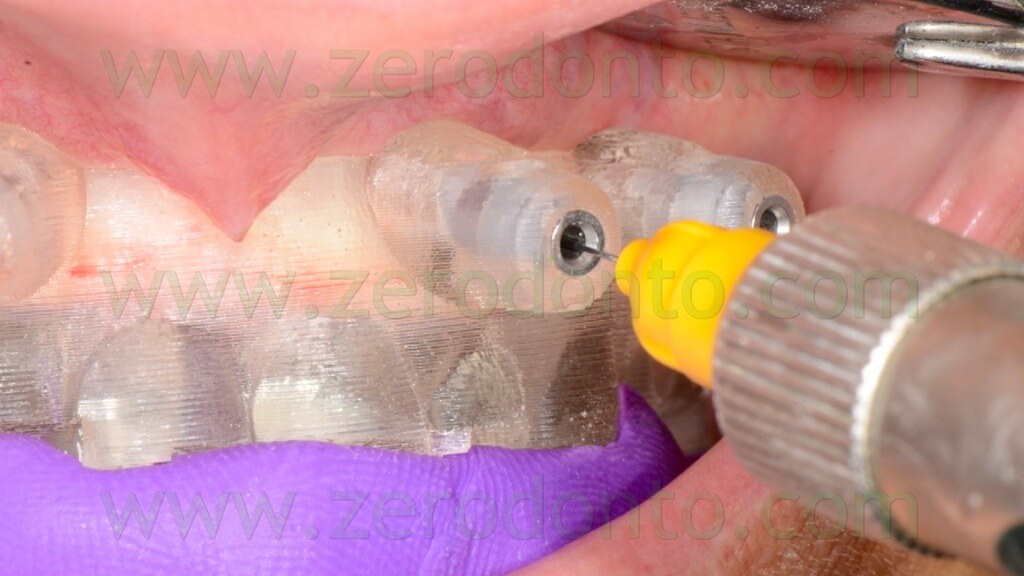
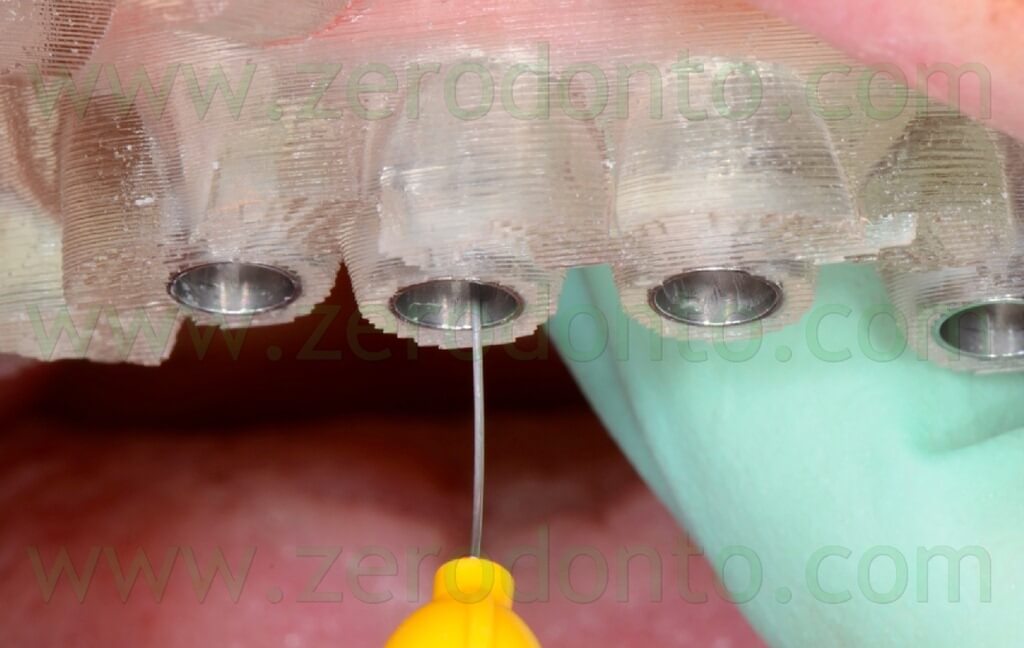
The anchor pins were positioned using the dedicated guided twist drill (figg. 57-64).
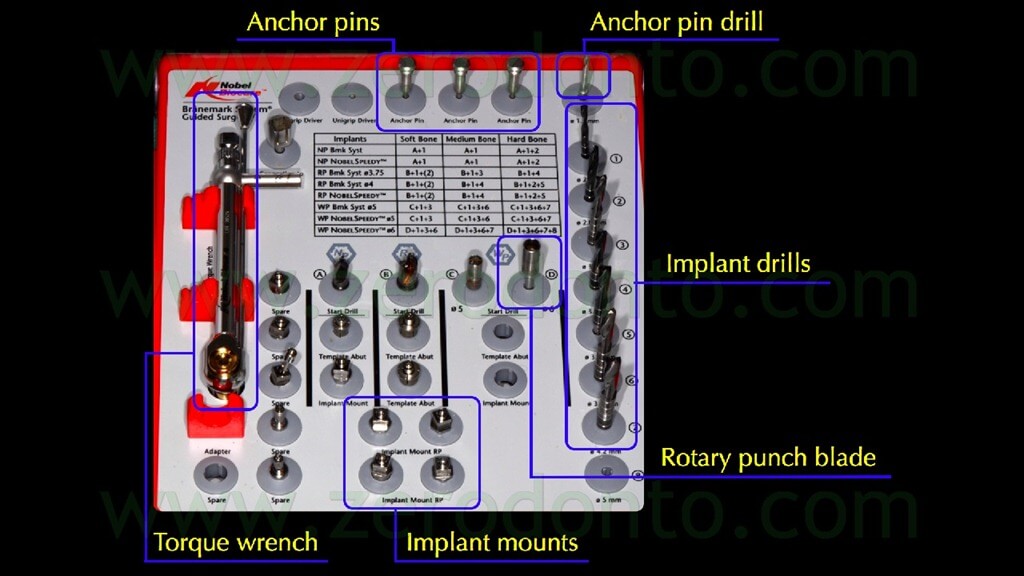
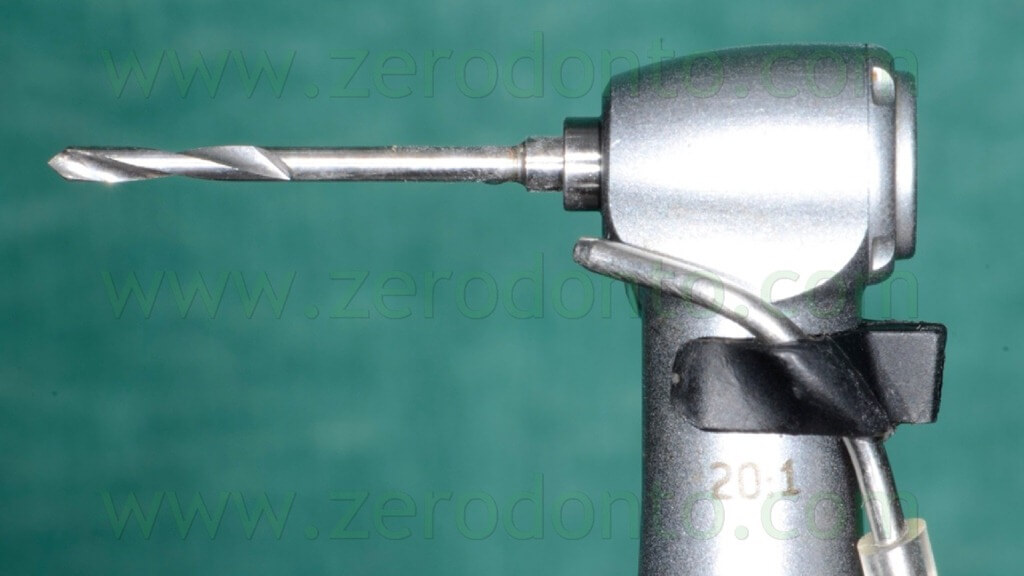
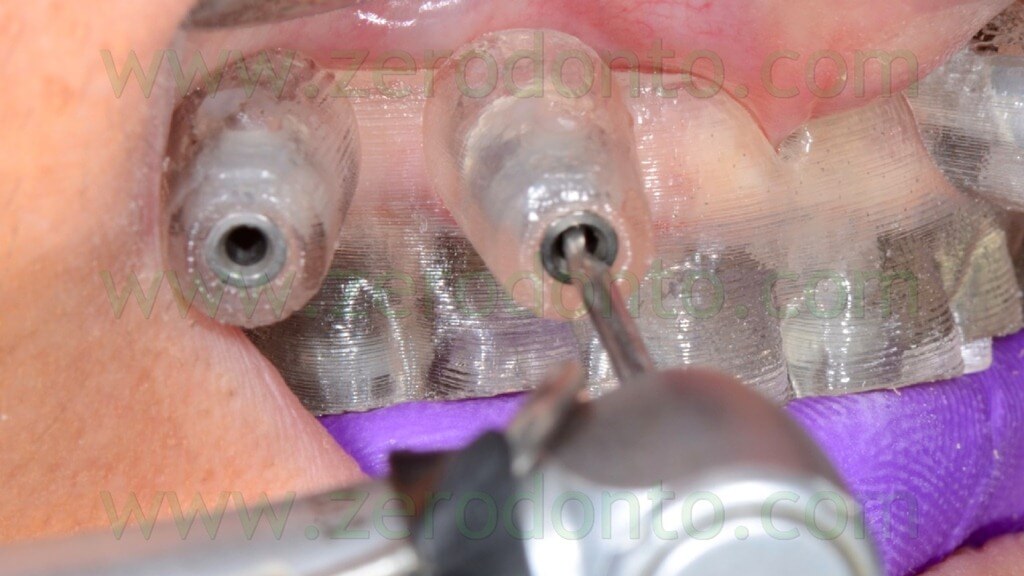
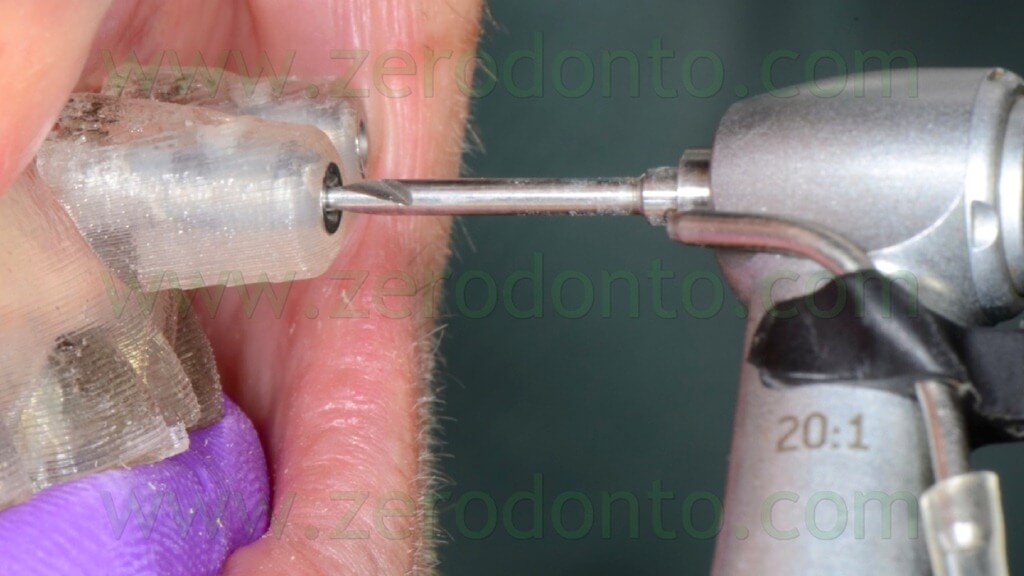
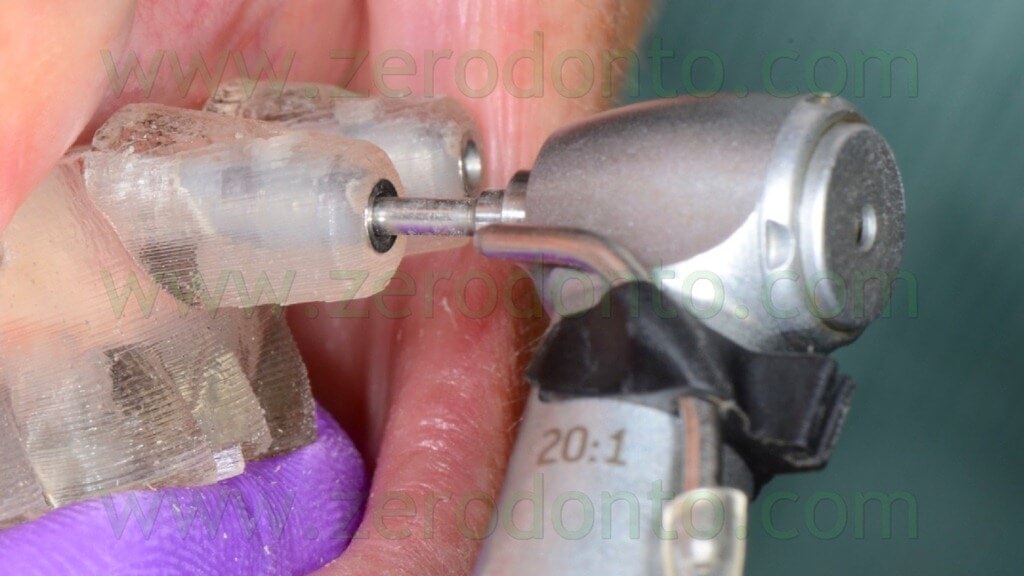
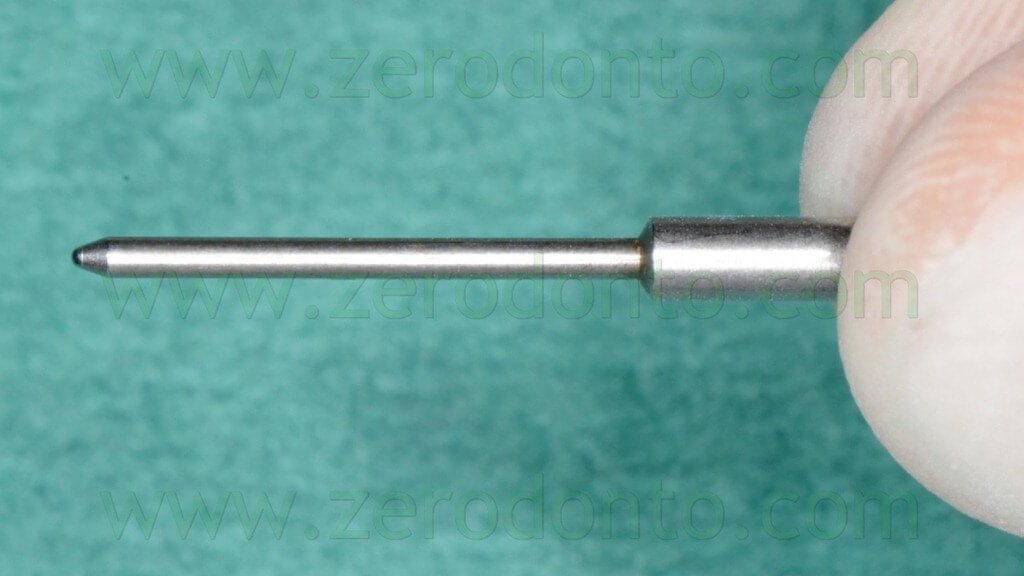
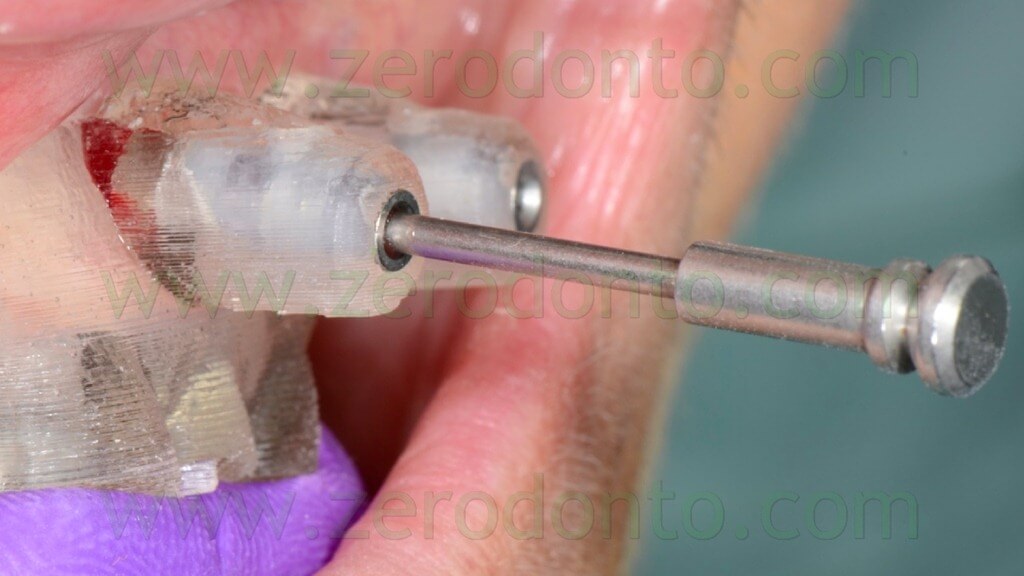
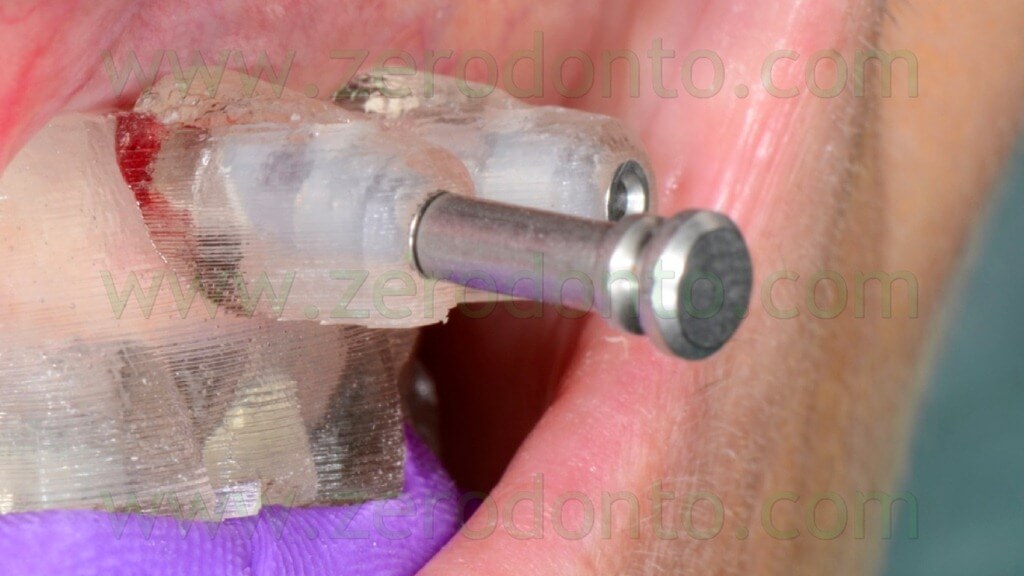
Particular care was dedicated to the position of the implant hand piece, since the head of each anchor pin could interfere with the correct placement of the adjacent pins (figg. 65-66).
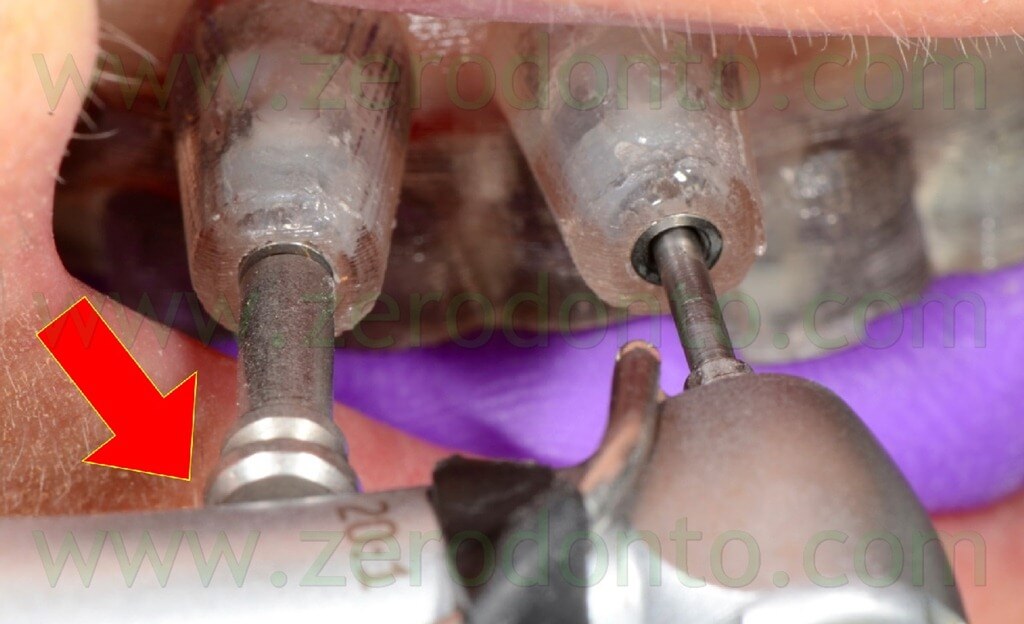
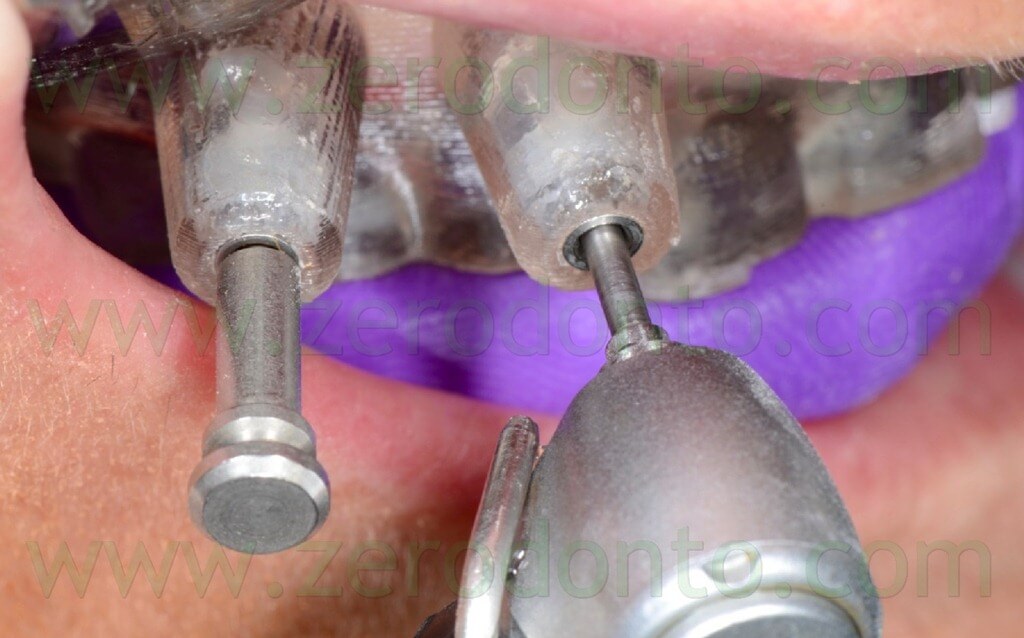
In order to ensure a proper contact between the surgical template and the soft tissues, this first stage was performed keeping the surgical template in occlusion by means of the silicon index (figg. 67-69).
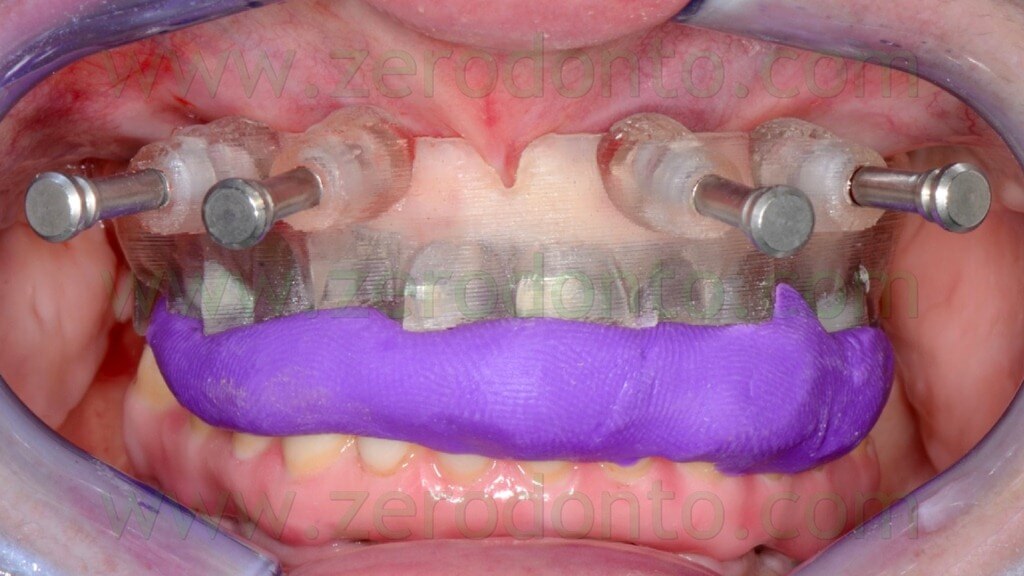
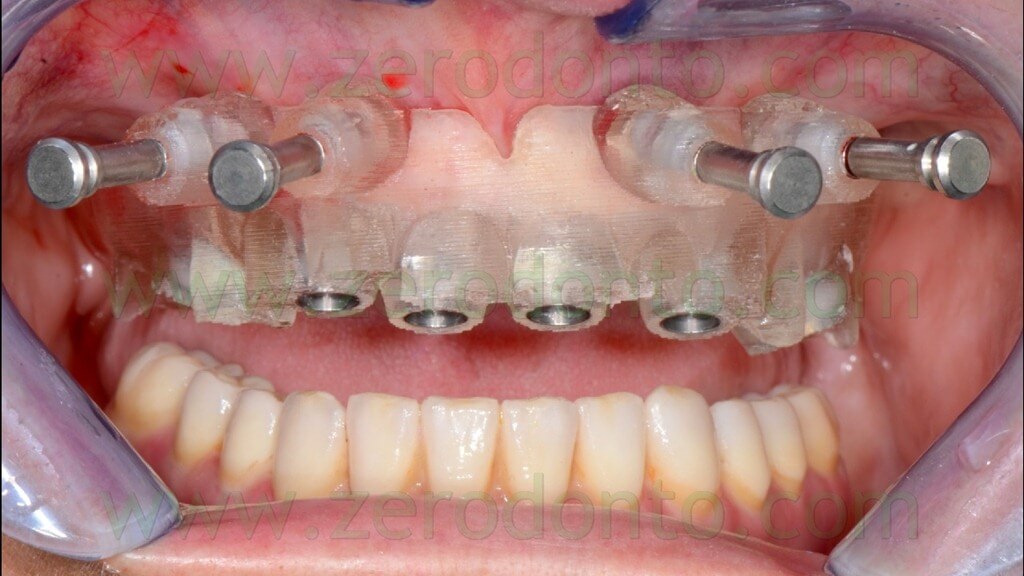
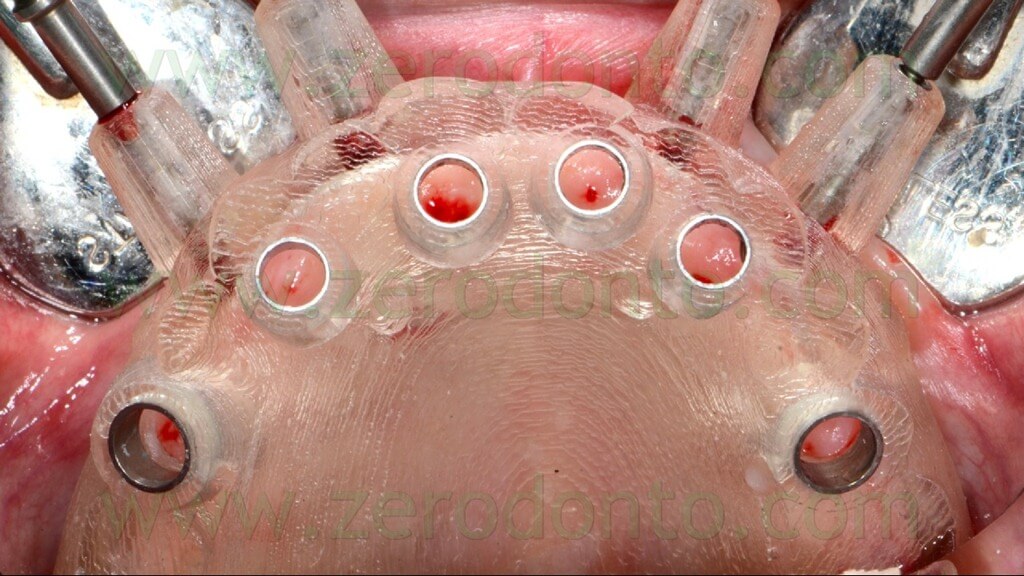
A rotary tissue punch was used to perform the mucotomy at level of the implant sites (figg. 70-74) and hand instruments were used to remove the soft tissues (figg. 75-76).
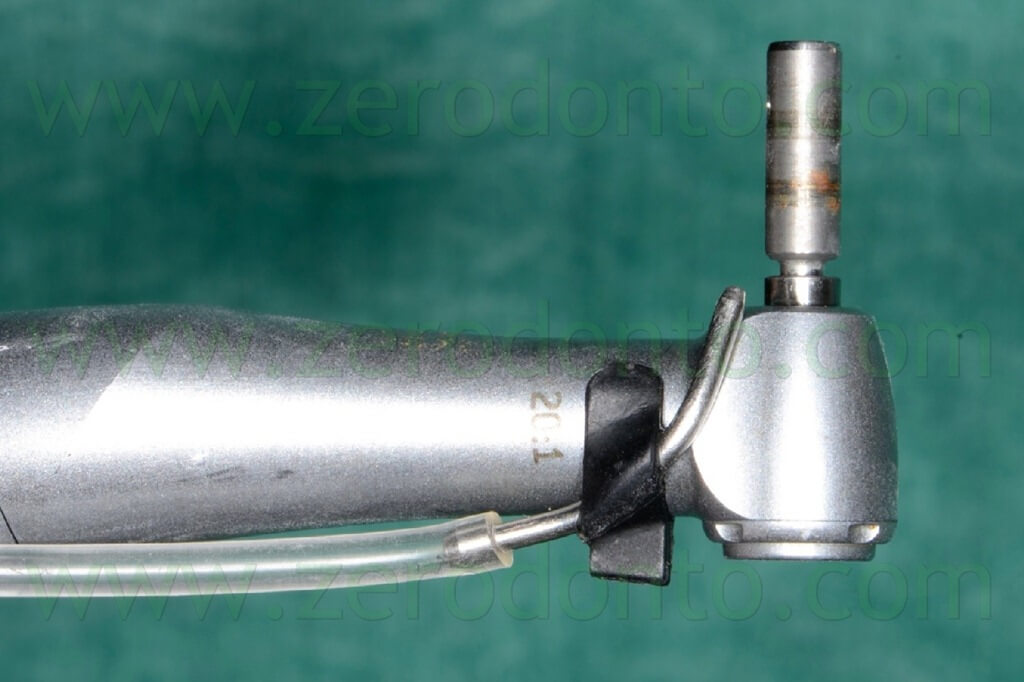
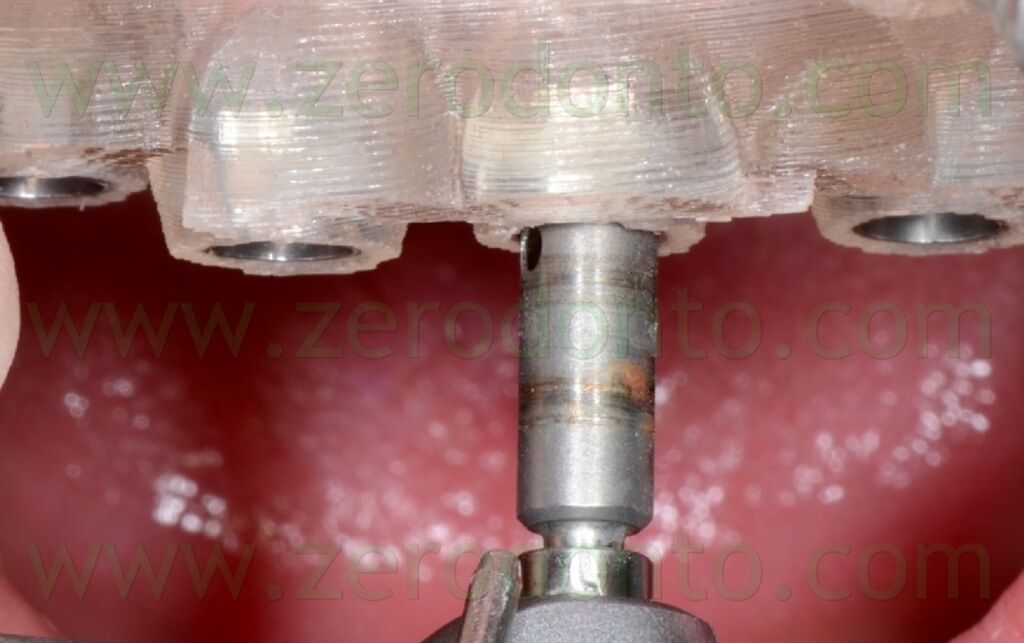
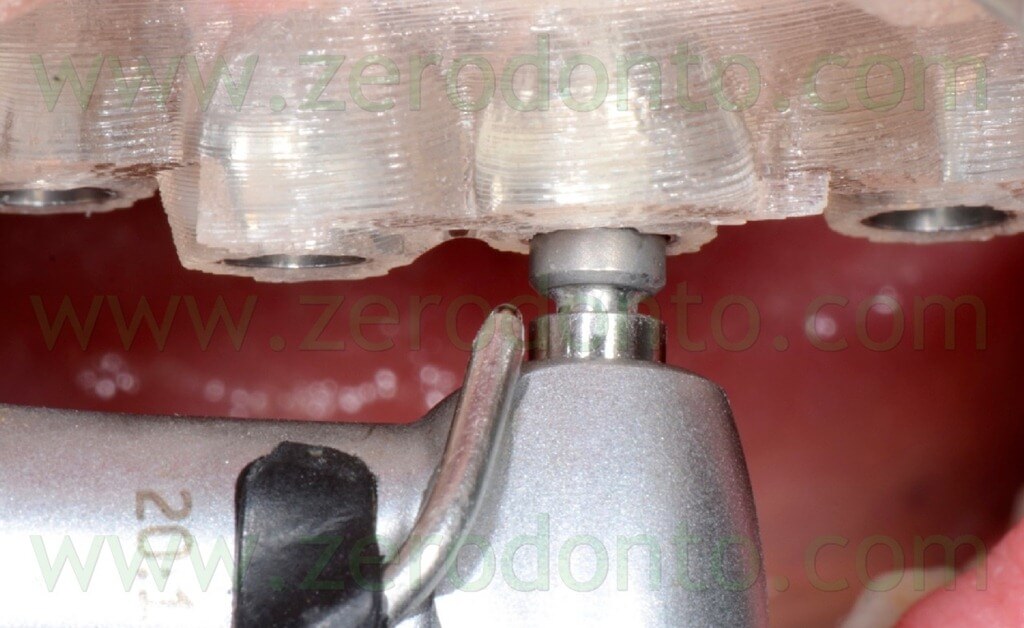
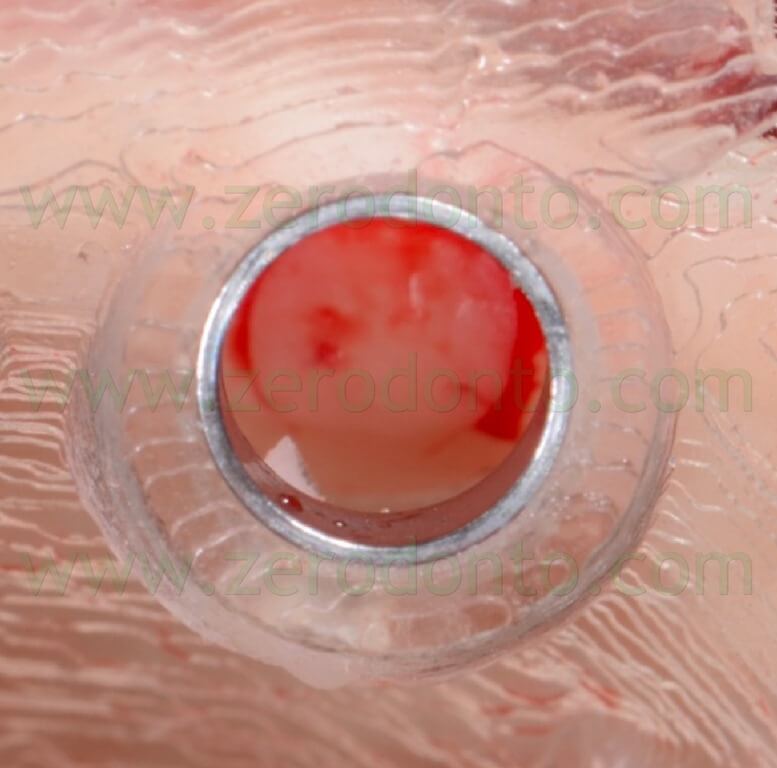
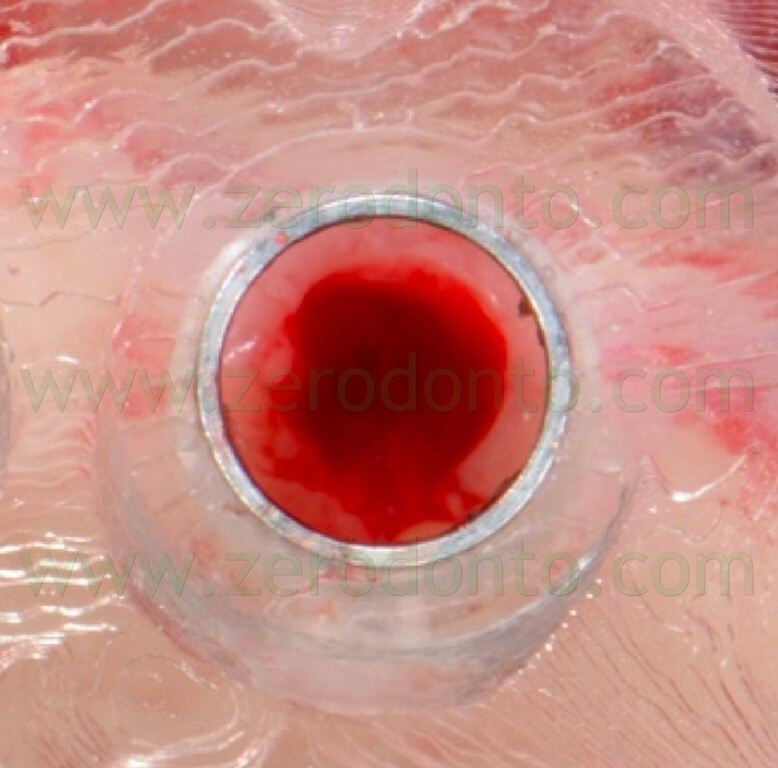
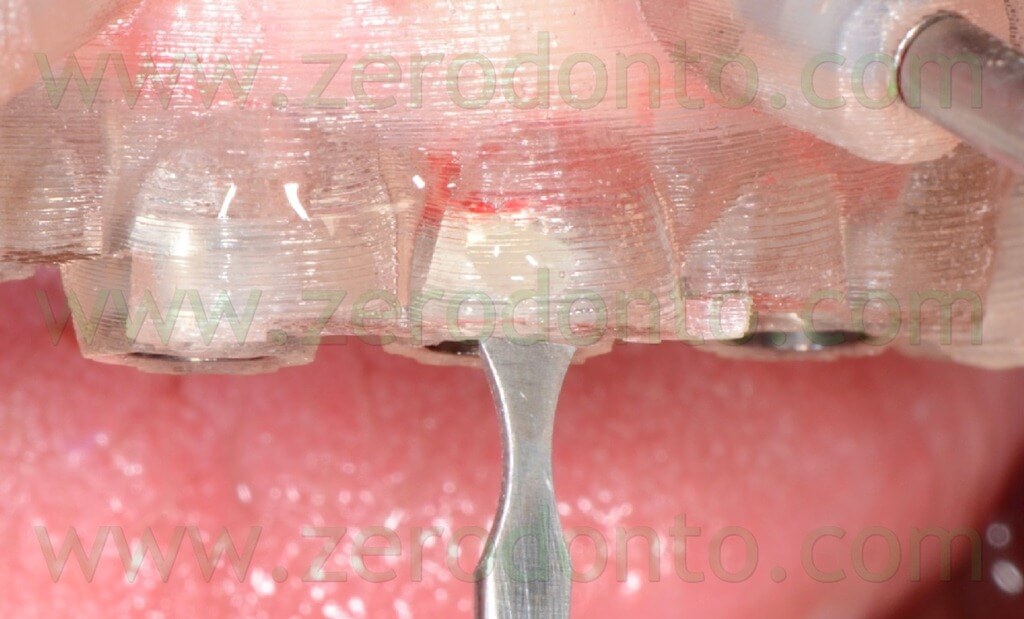
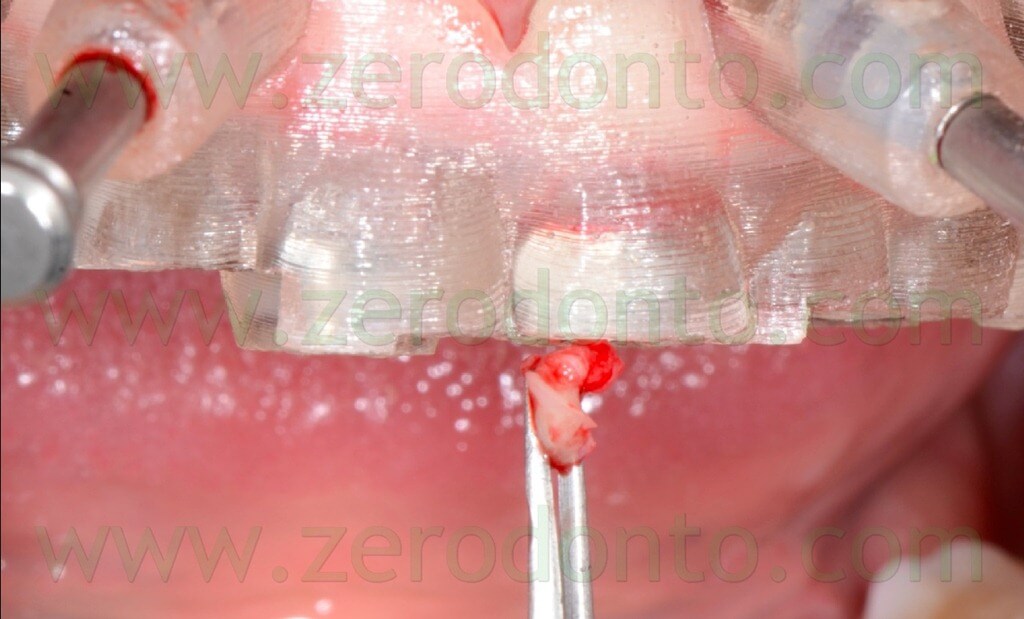
This procedure allowed not to drill the mucosa, avoiding the risk of transportation of infected tissues in the bone.
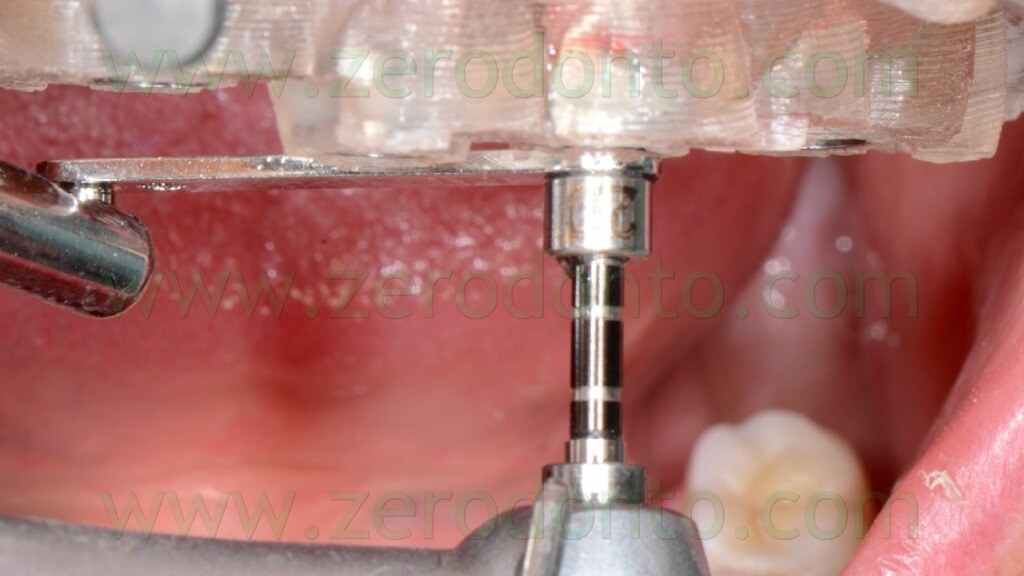
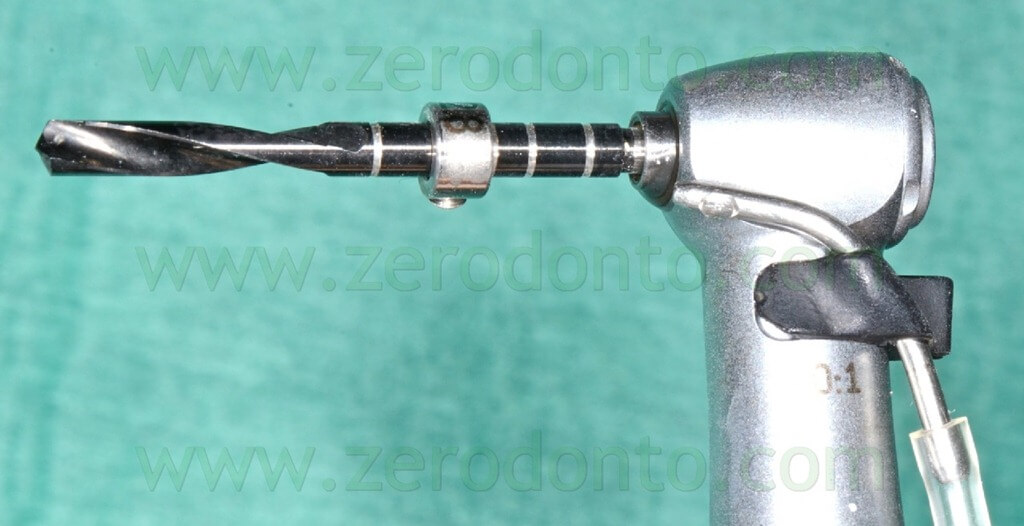
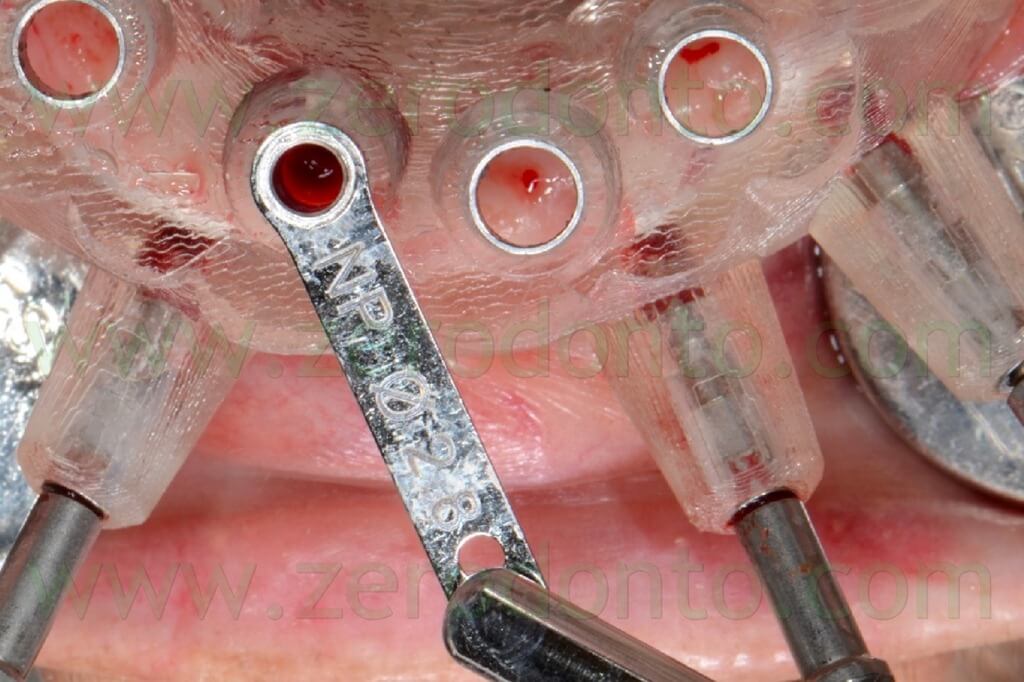
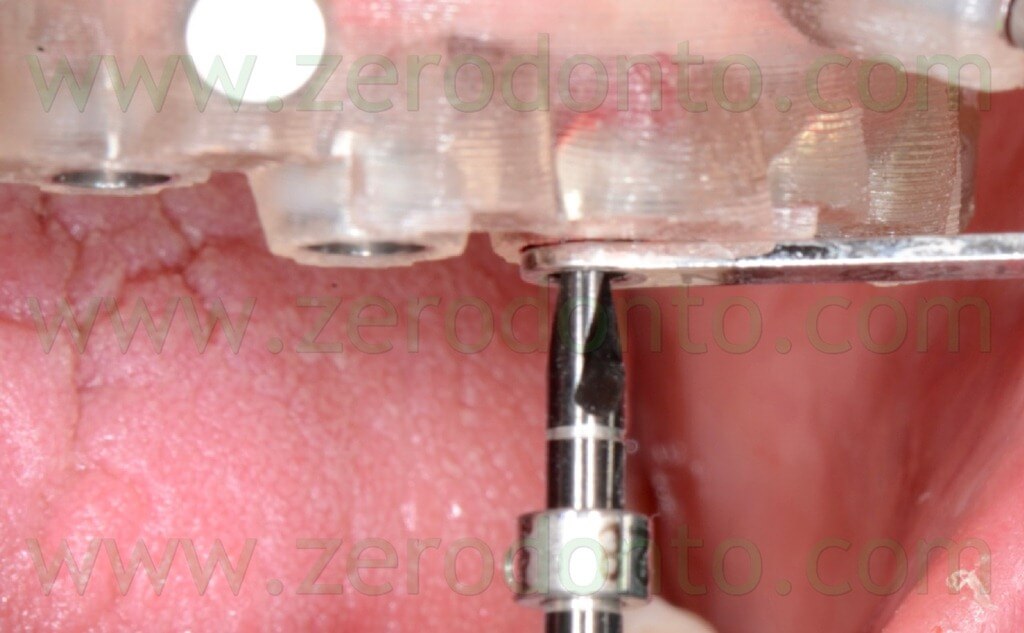
The implant sites were prepared using the dedicated guided drill guides with handles of the Nobel Guide protocol, accordingly to the diameters and lengths chosen during the virtual planning (figg. 77-84).
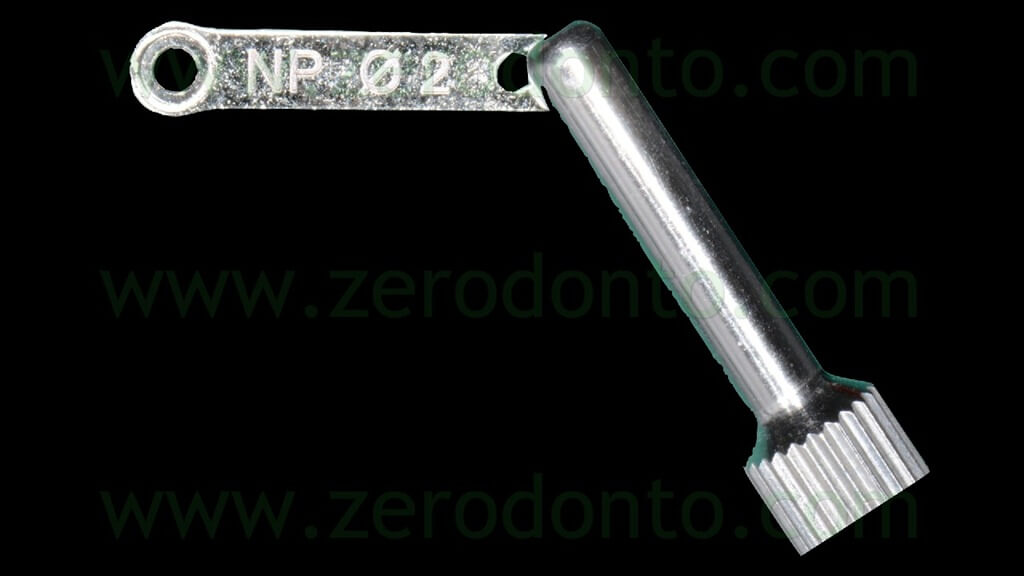
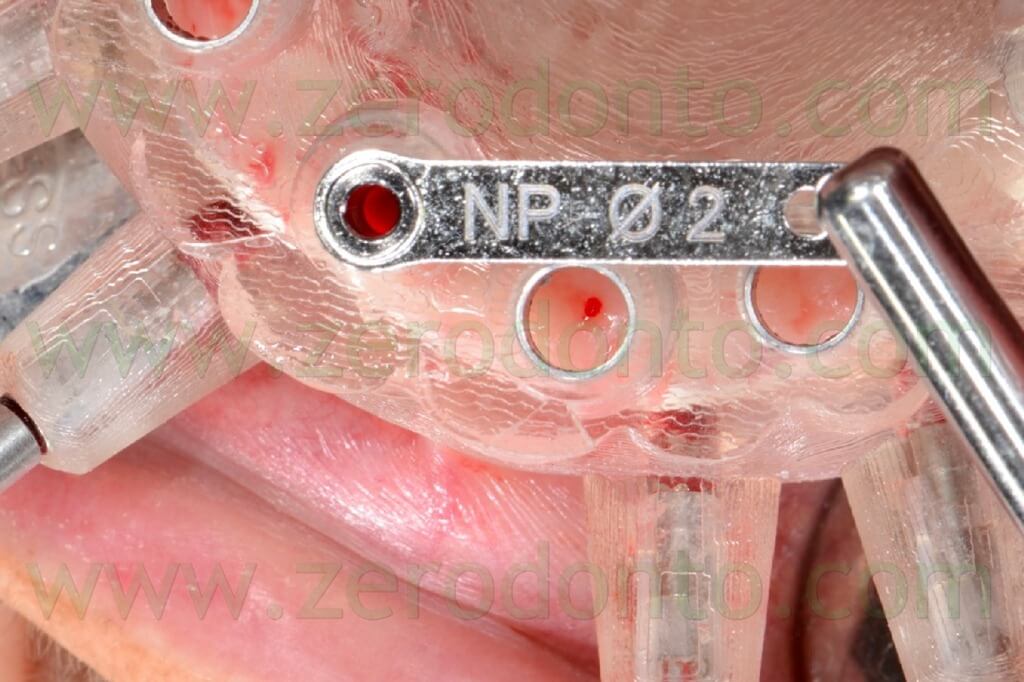
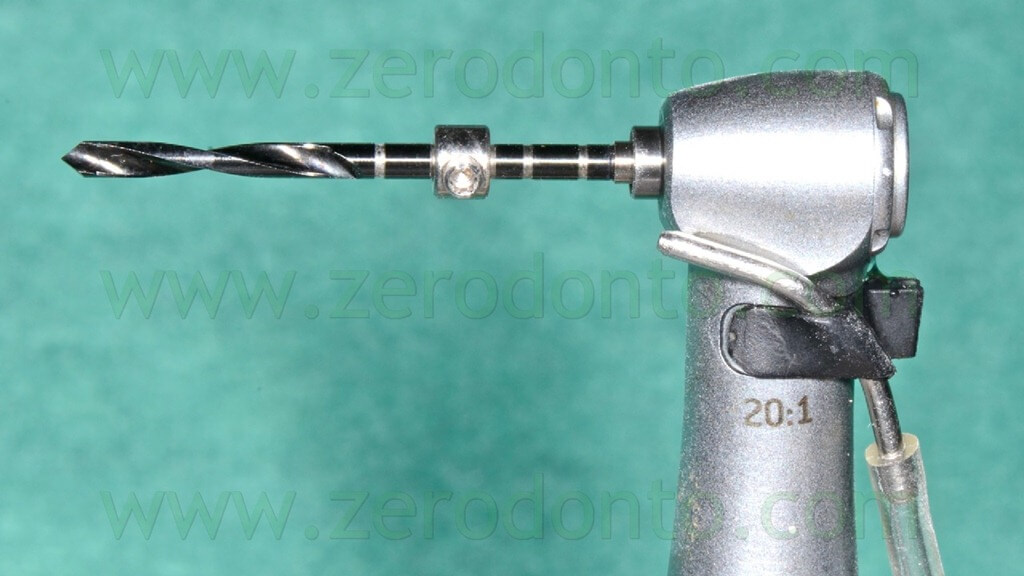
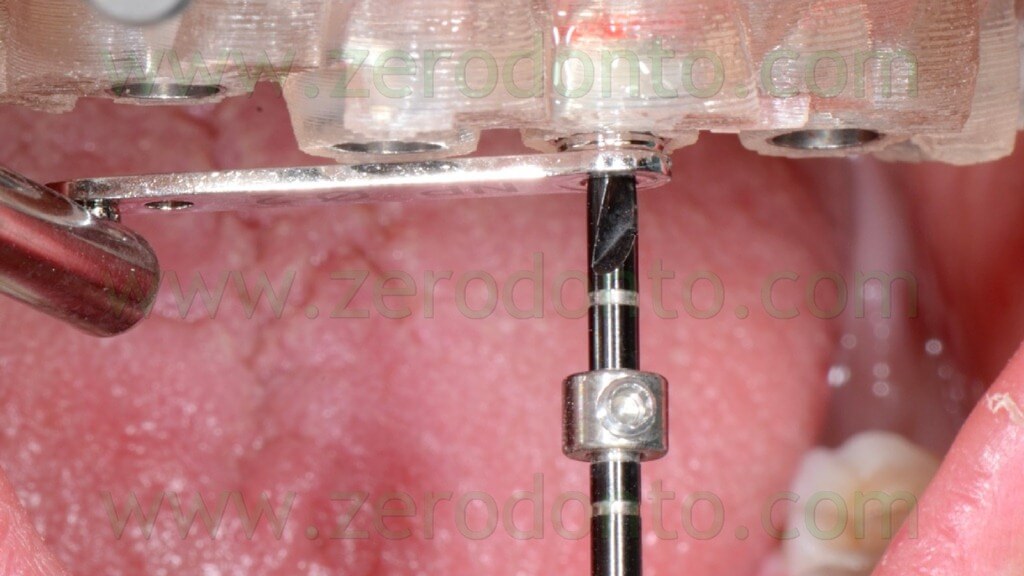
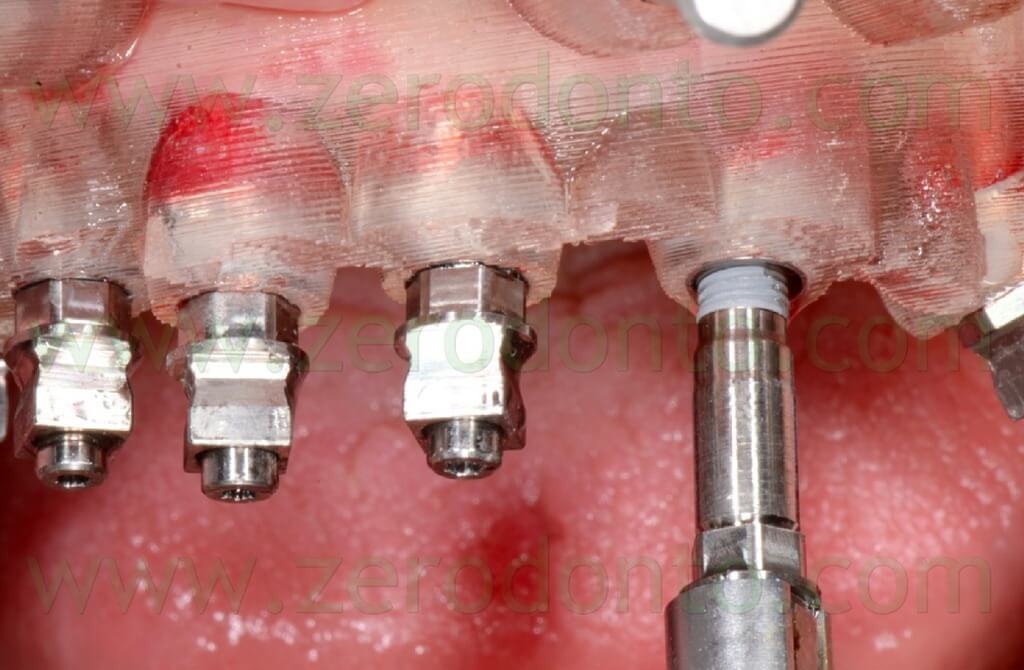
The fixtures were inserted in the bone using the dedicated guided mounters on an implant hand piece with controlled torque (figg. 85-90).
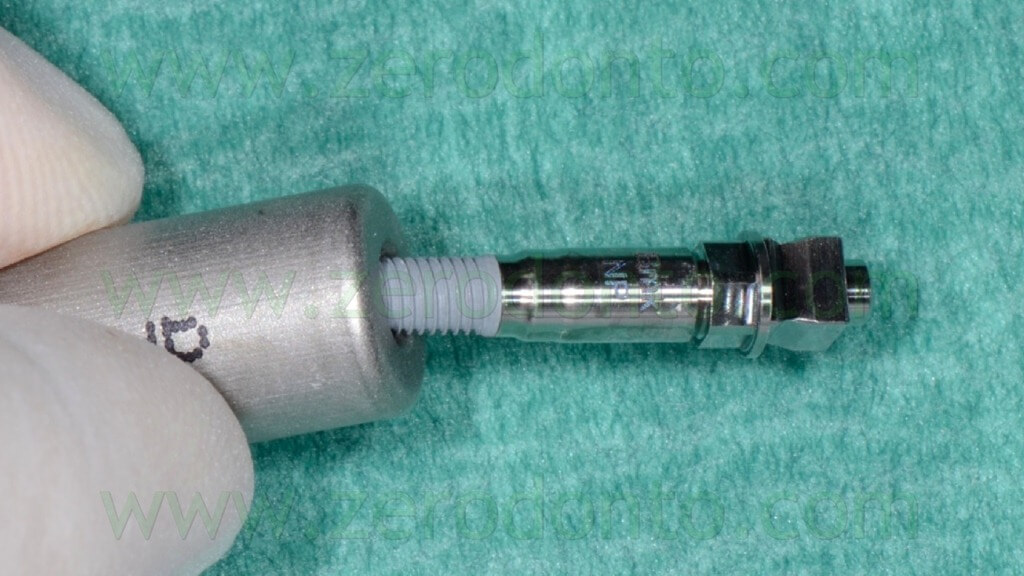
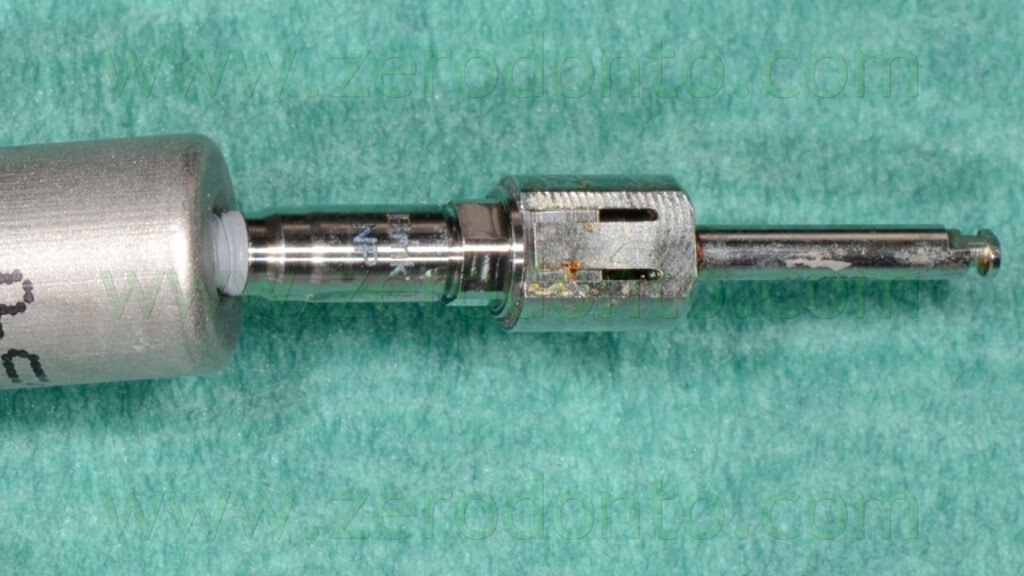
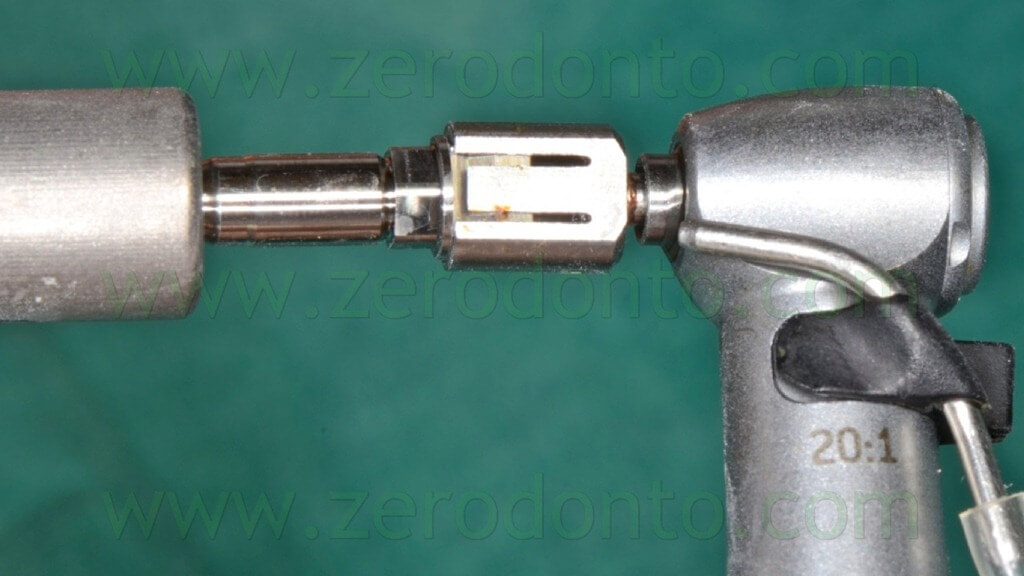
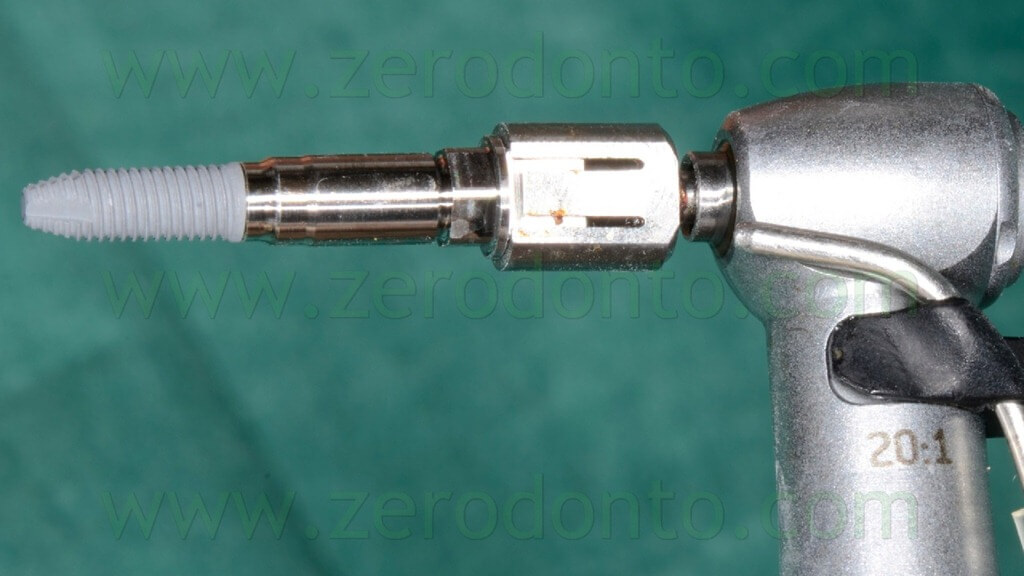
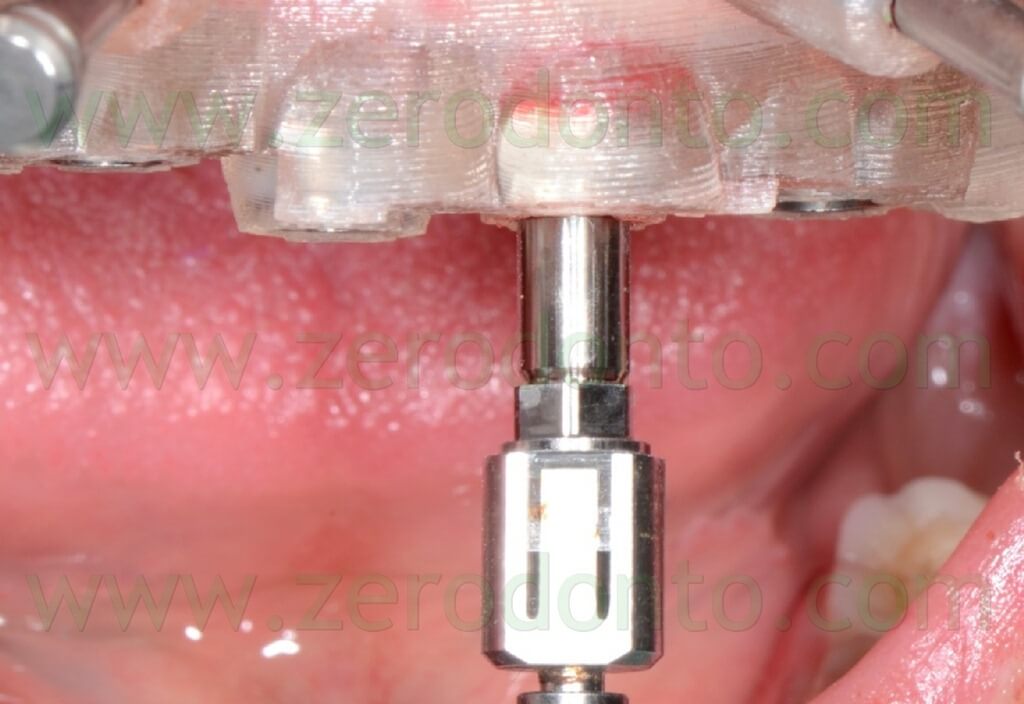
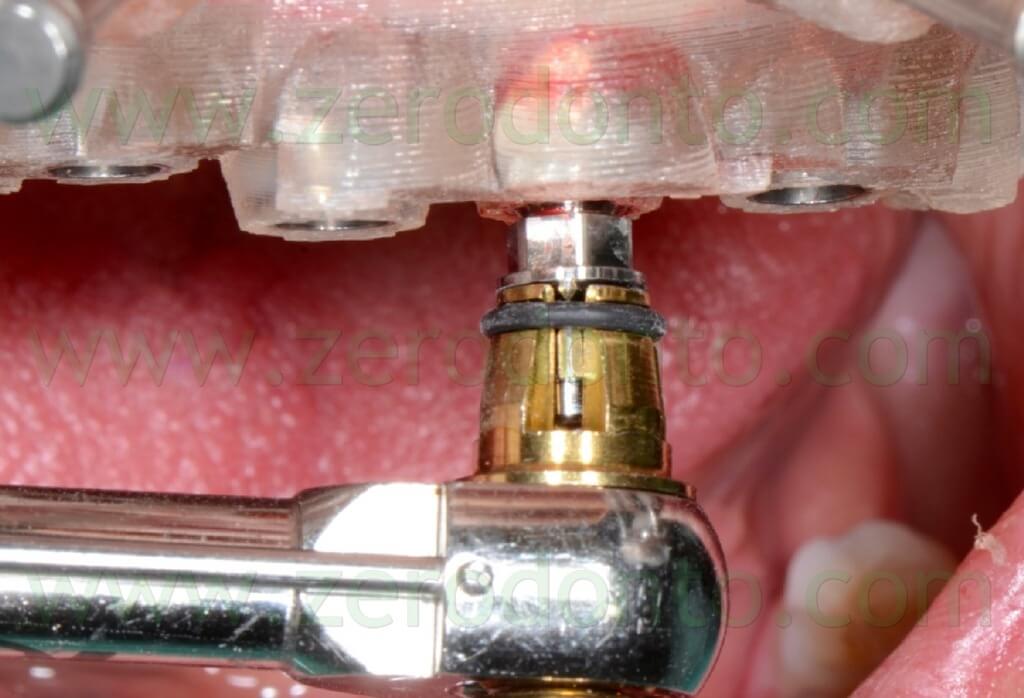
The primary stability was verified manually screwing the implants at least at 35 Ncm using a torque wrench adapter prosthetic (figg. 91-93).
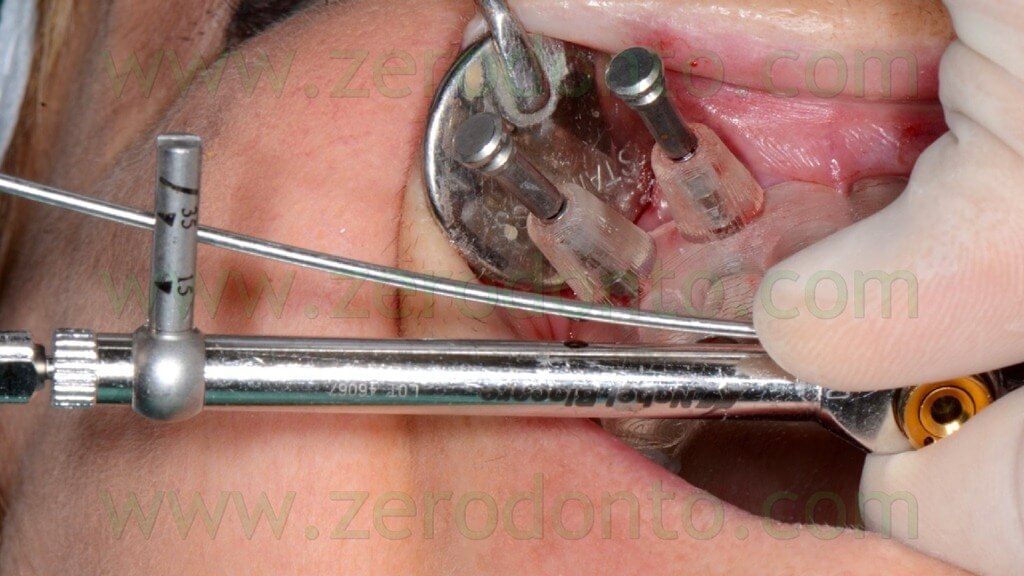
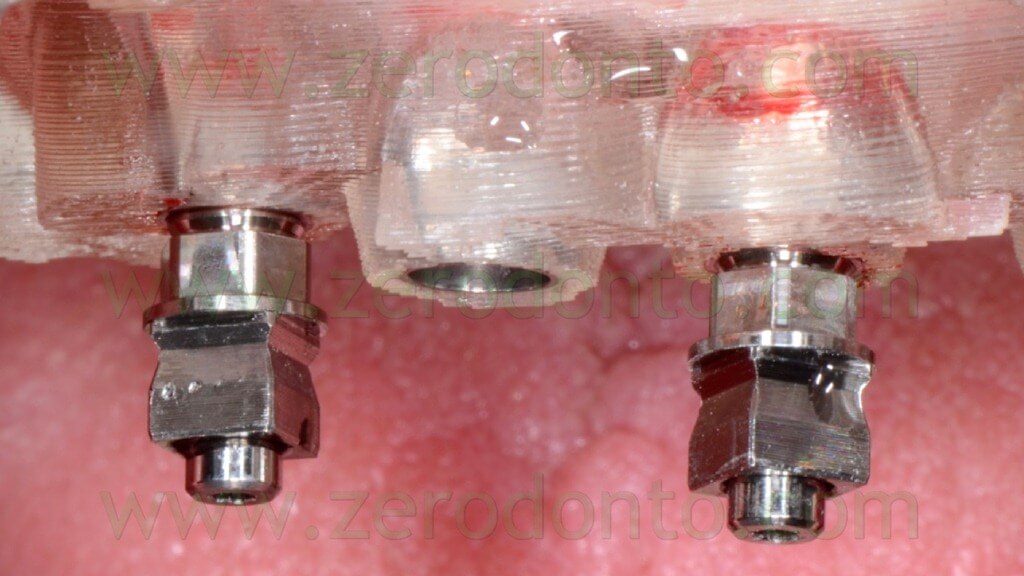
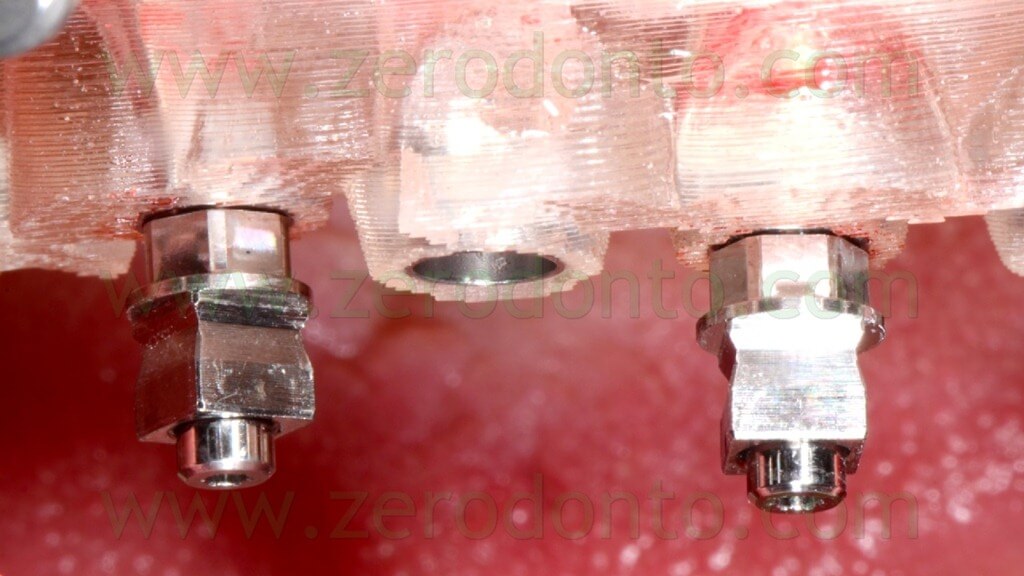
Particular care was dedicated to the surgical access to the tilted implants, since intraoral anatomy could interfere with the correct positioning of surgical and prosthetic components (figg. 94-99).
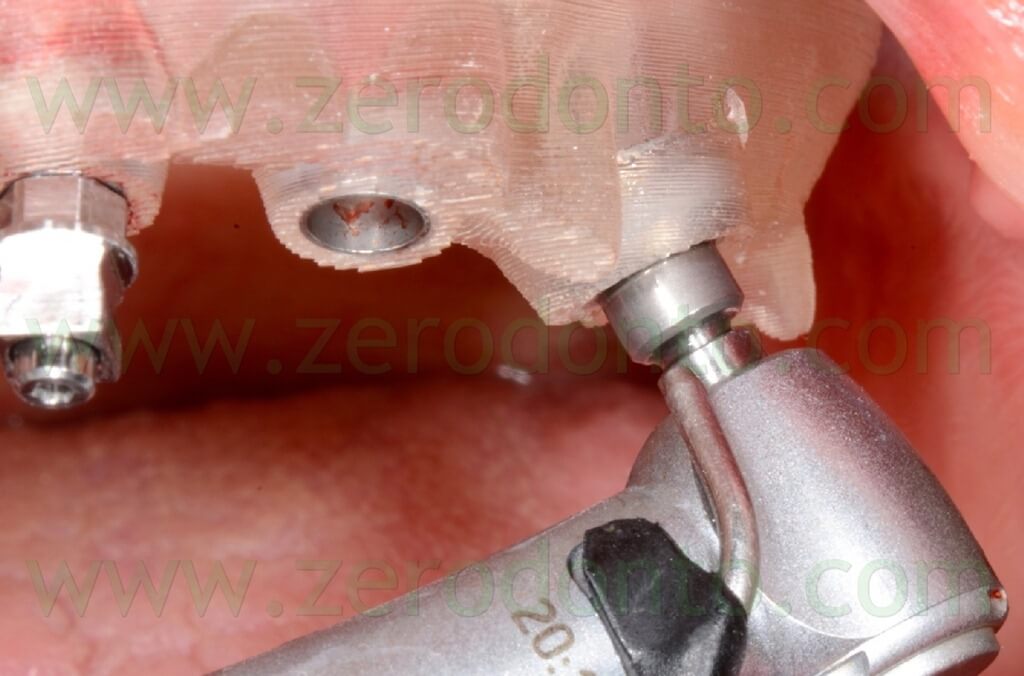
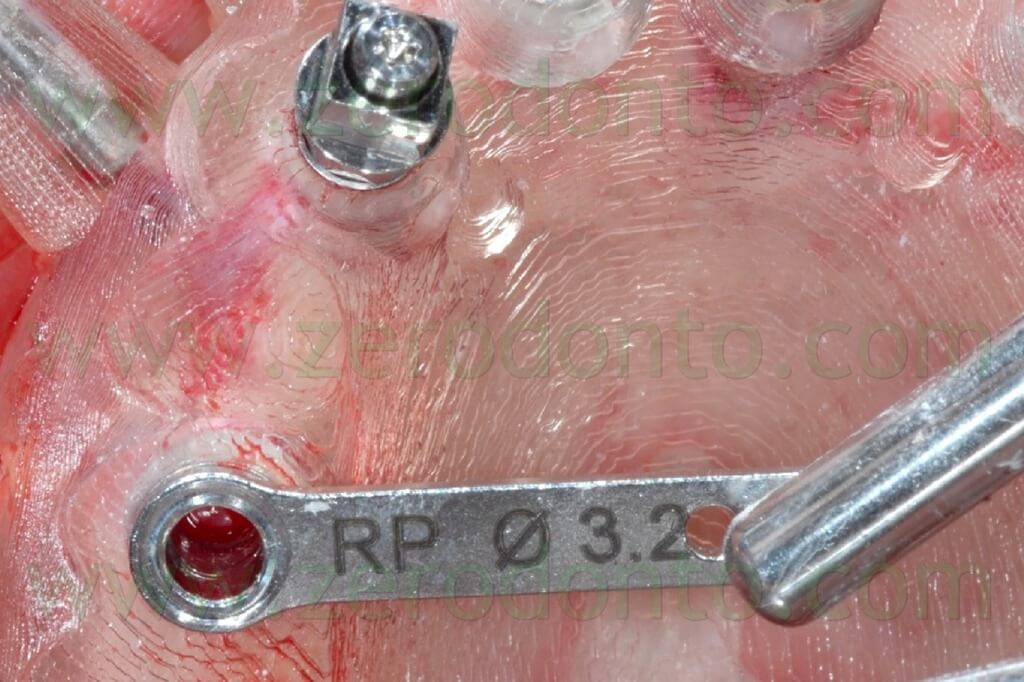
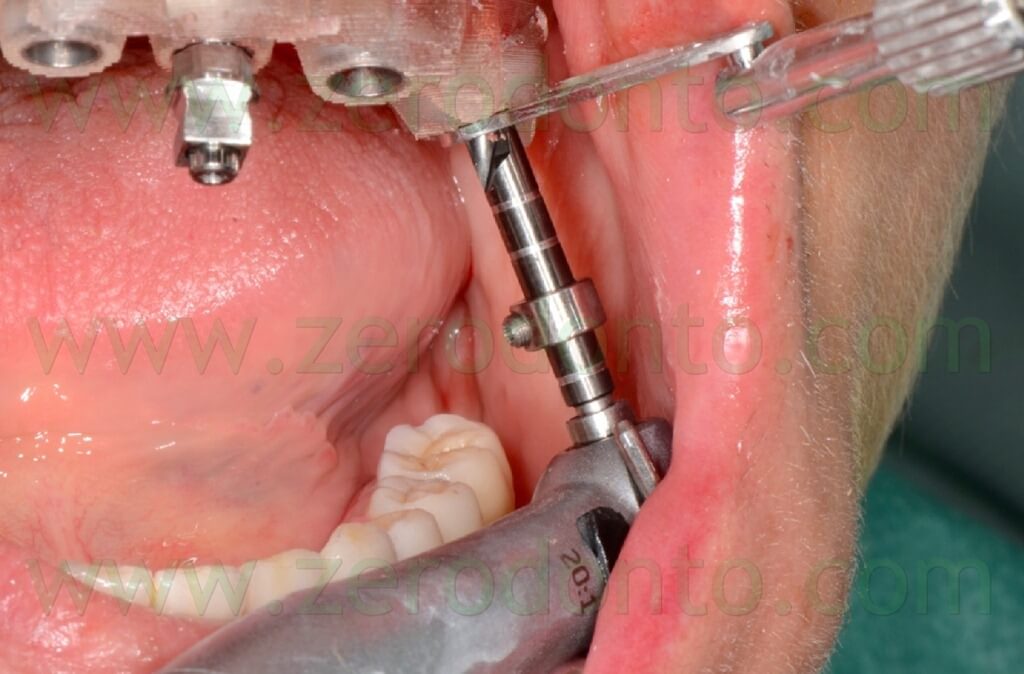
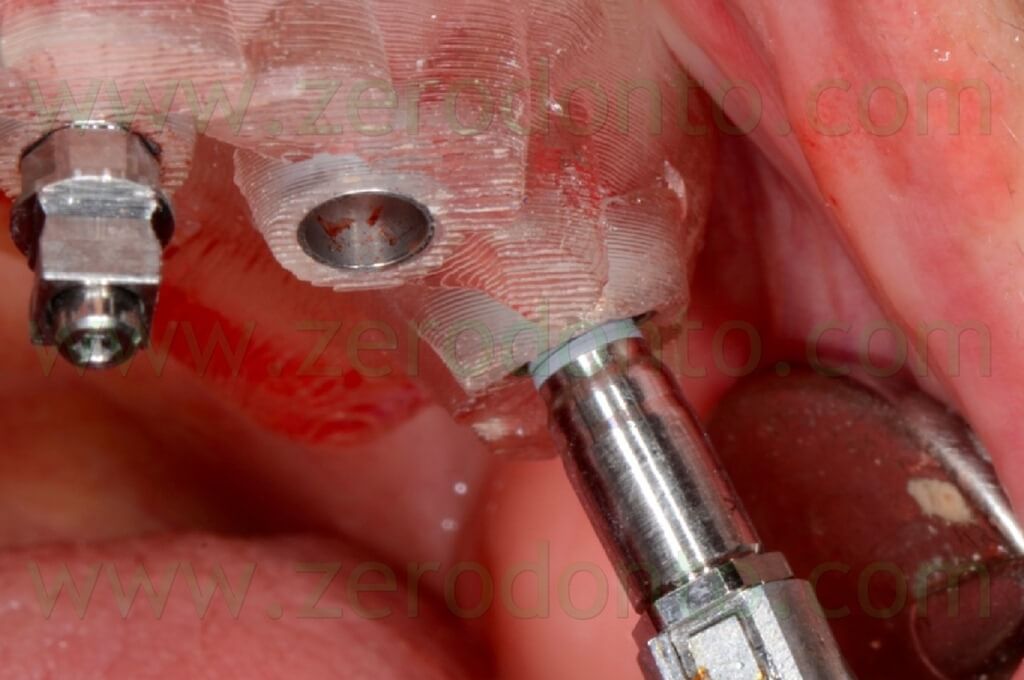
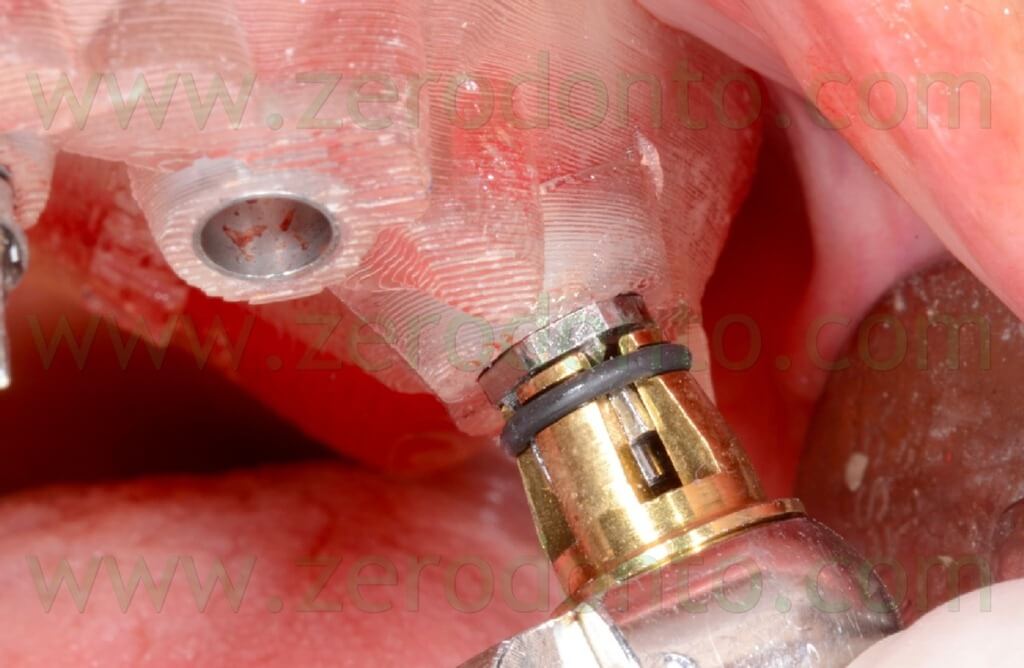
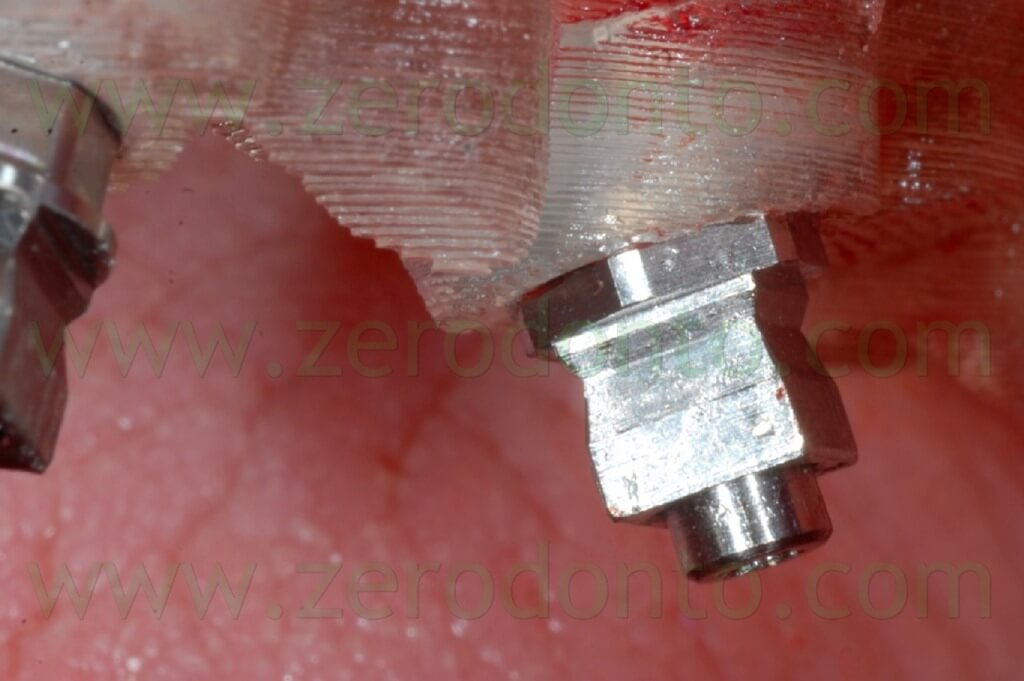
Before placing the axial implant in the left semi arch, the anchor pin was removed as their mutual close position evidenced during the virtual planning could have affected negatively the precision of the surgery, causing undesired bone compression at level of the fixture (figg. 100-103).
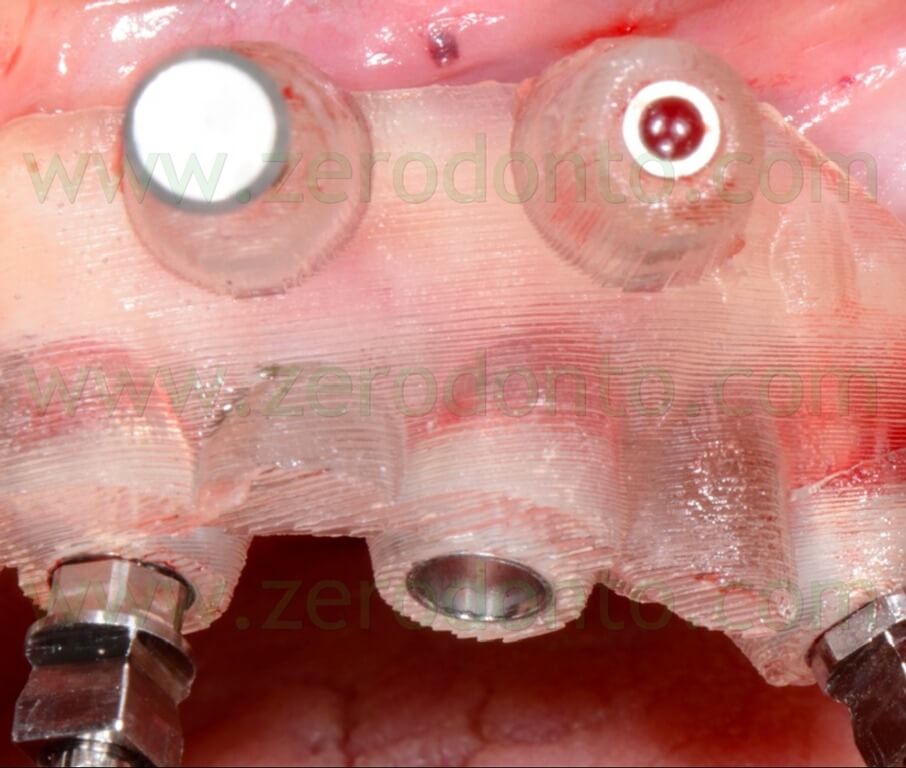
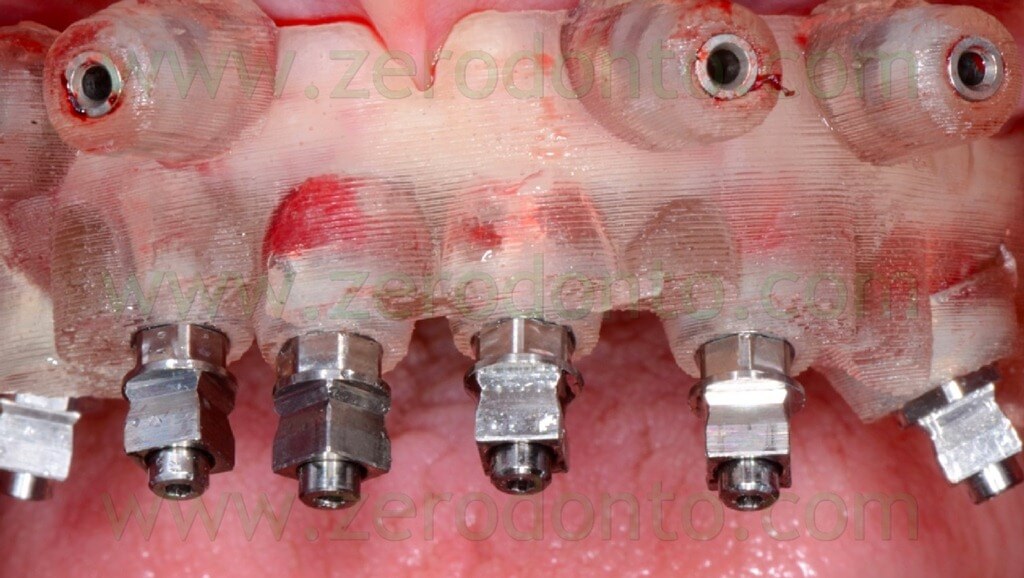
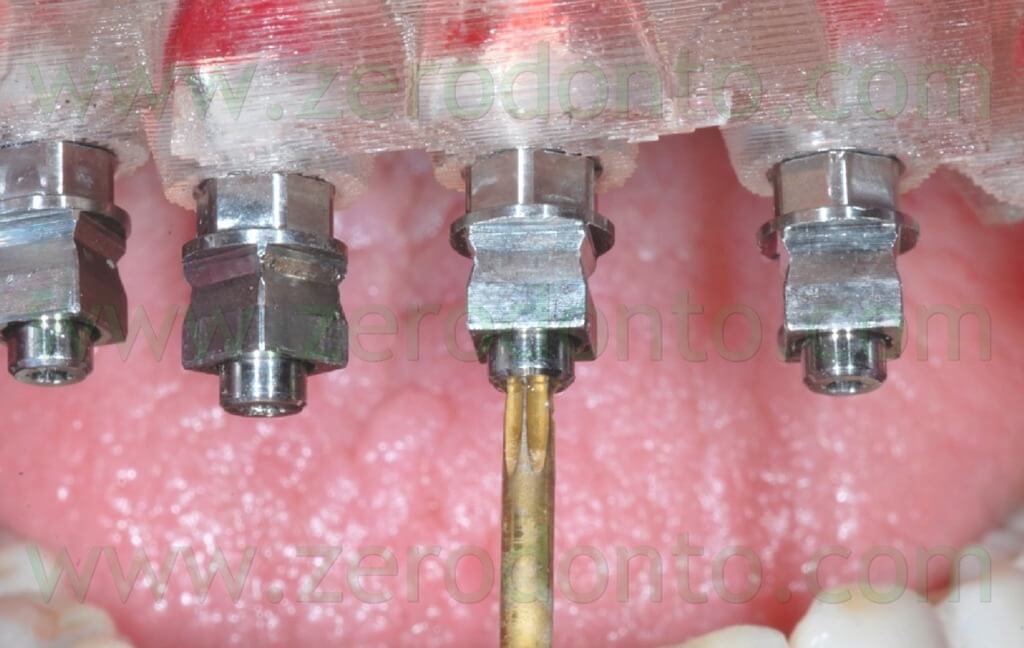
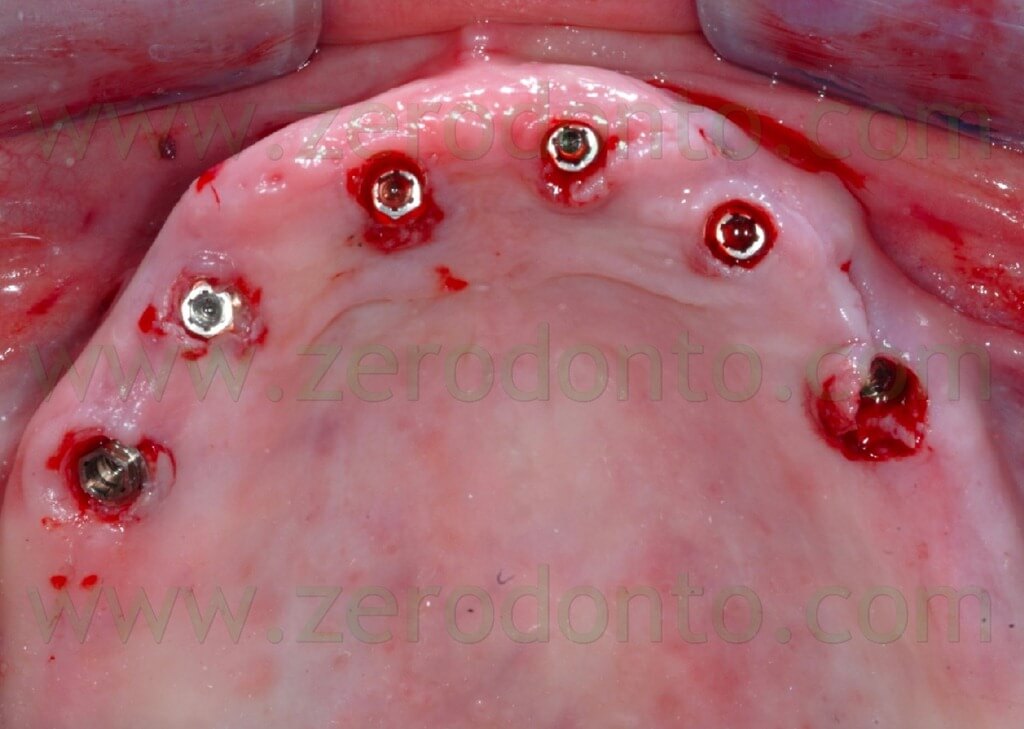
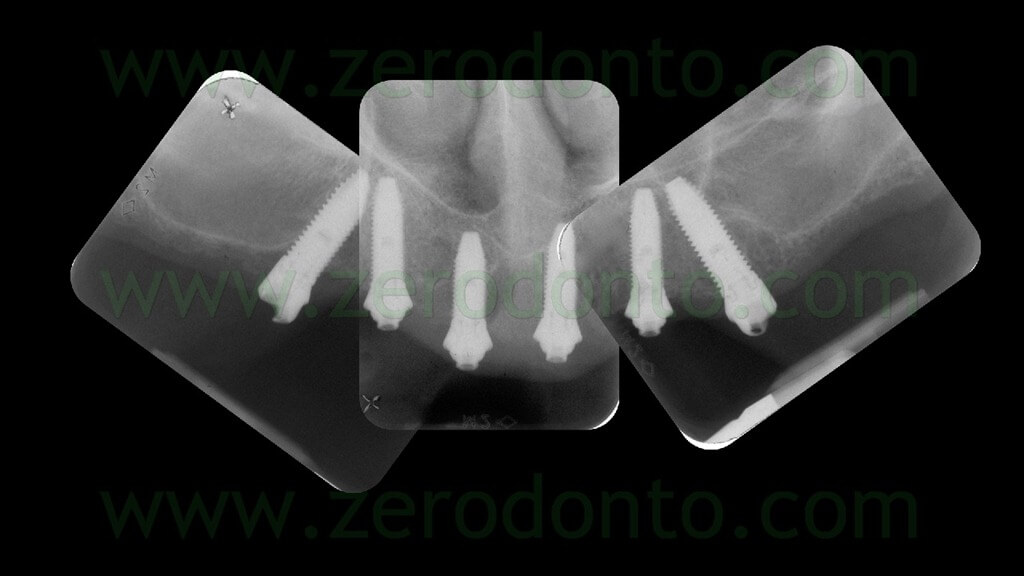
After completing the placement of the implants, the surgical template was removed and standardized radiographs were made to check the correct position of each fixture (figg. 104-106).
PROSTHODONTIC PROCEDURES
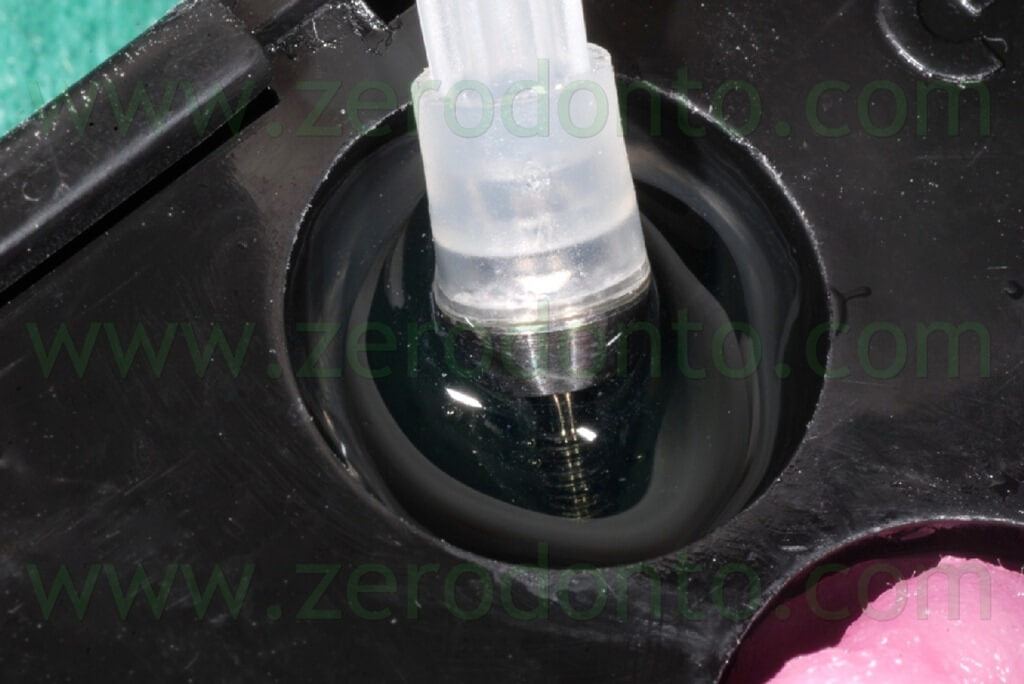
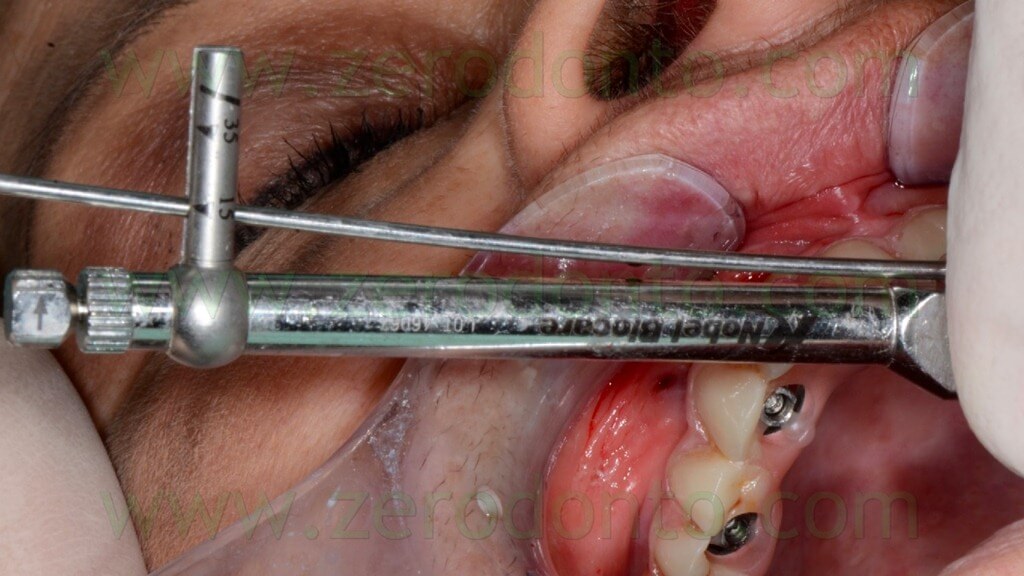
The axial MUAs were cleaned with 0.2% chlorhexidine and screwed onto the implants at 35 Ncm (fig. 107); the correct mechanical adaptation was verified radiographically.
The angulated MUAs were screwed by means of the above mentioned resin check fabricated on the master model, so as to achieve the same position (figg. 108-113).
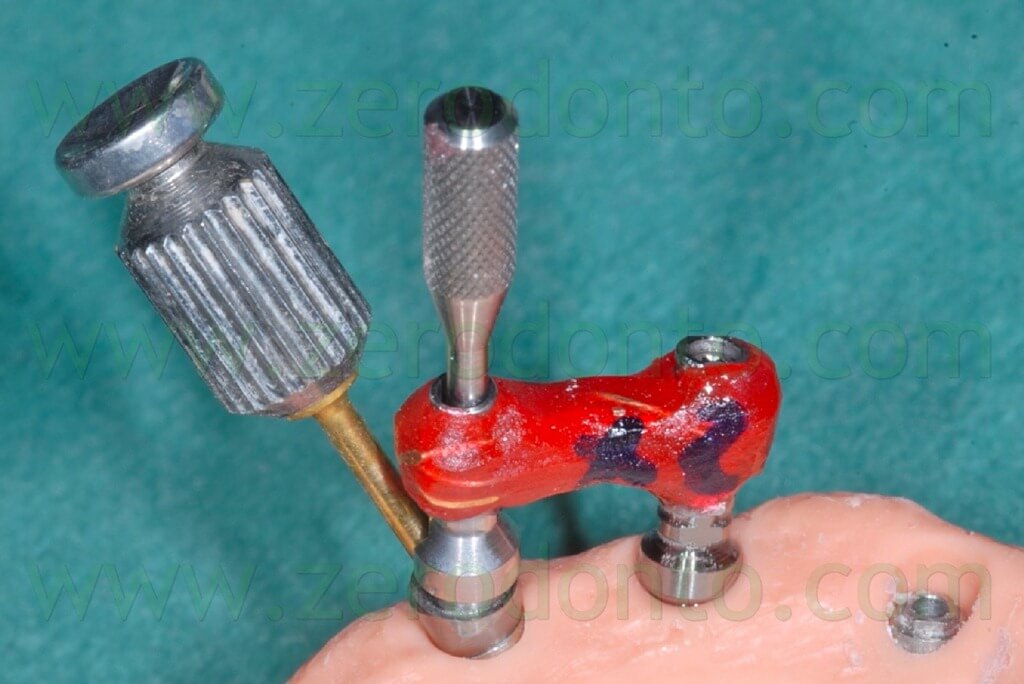
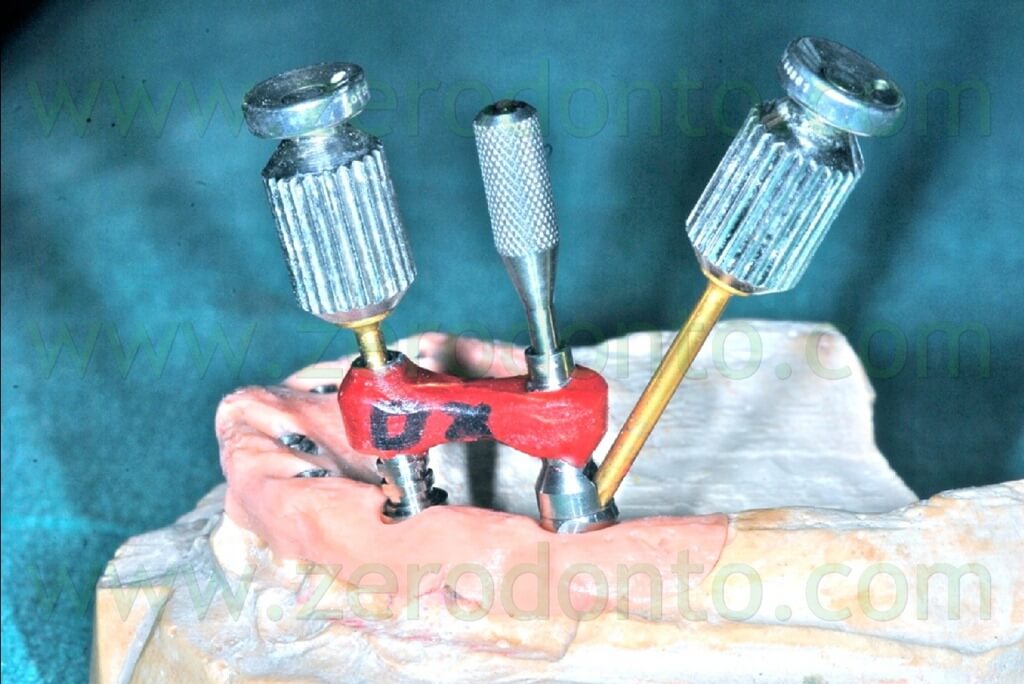
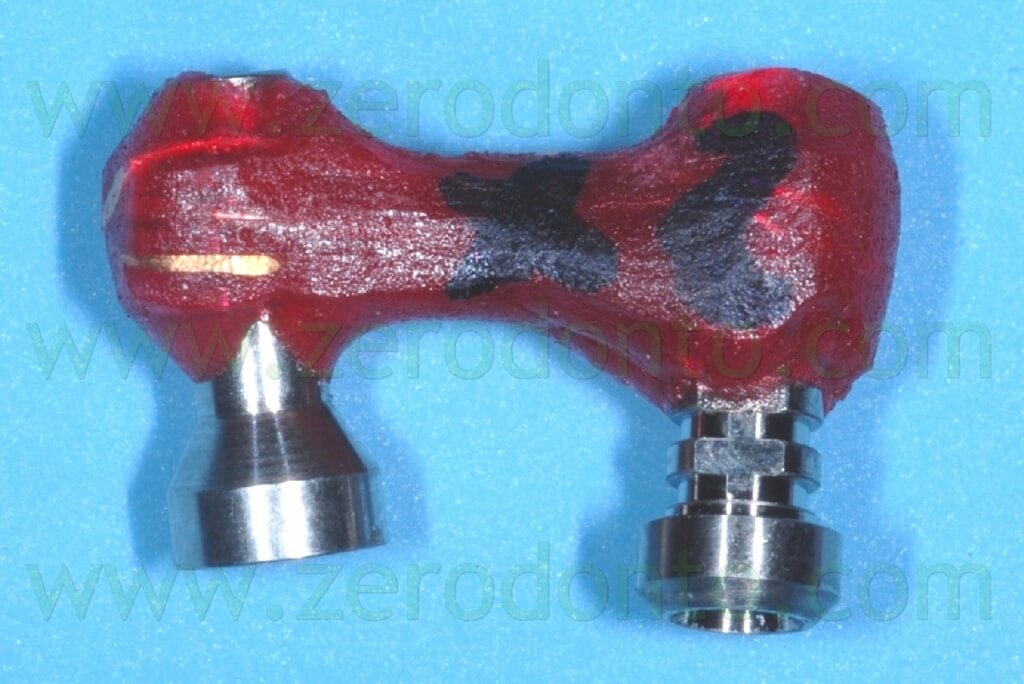
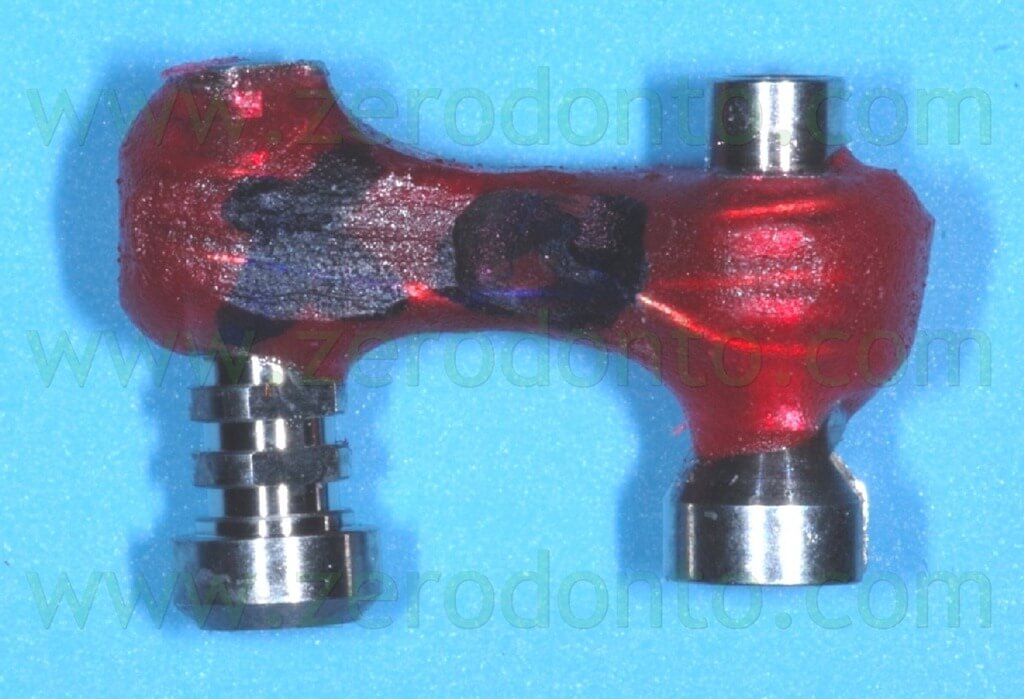
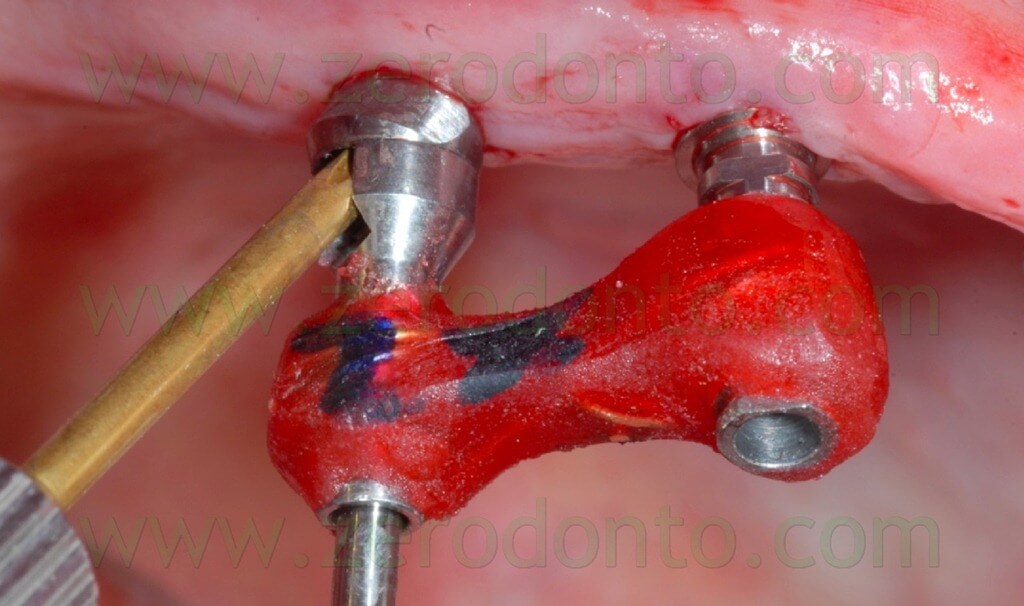
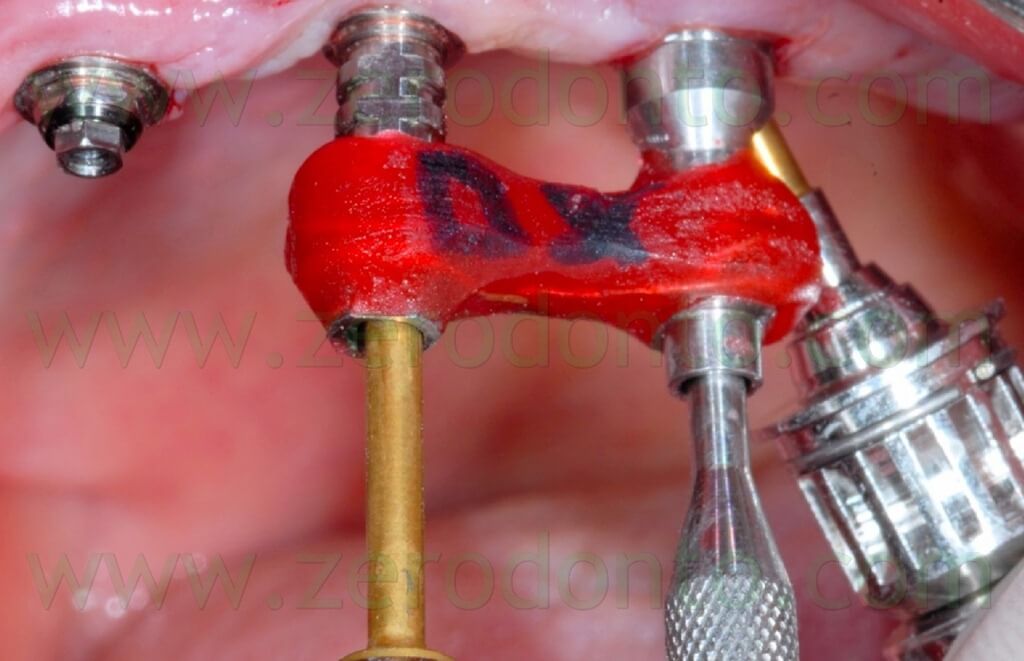
The angulated MUAs were cleaned with 0.2% chlorhexidine and screwed onto the implants at 15 Ncm (fig. 114); the correct mechanical adaptation was verified radiographically.
The temporary full-arch prosthesis was carefully screwed intraorally. The screwing was performed manually, in order not to create undesired static loads on the fixtures. The indirect flowable composite resin cracked only at level of implant 23; once the crack was evidenced, the screwing was interrupted (figg. 115-116).
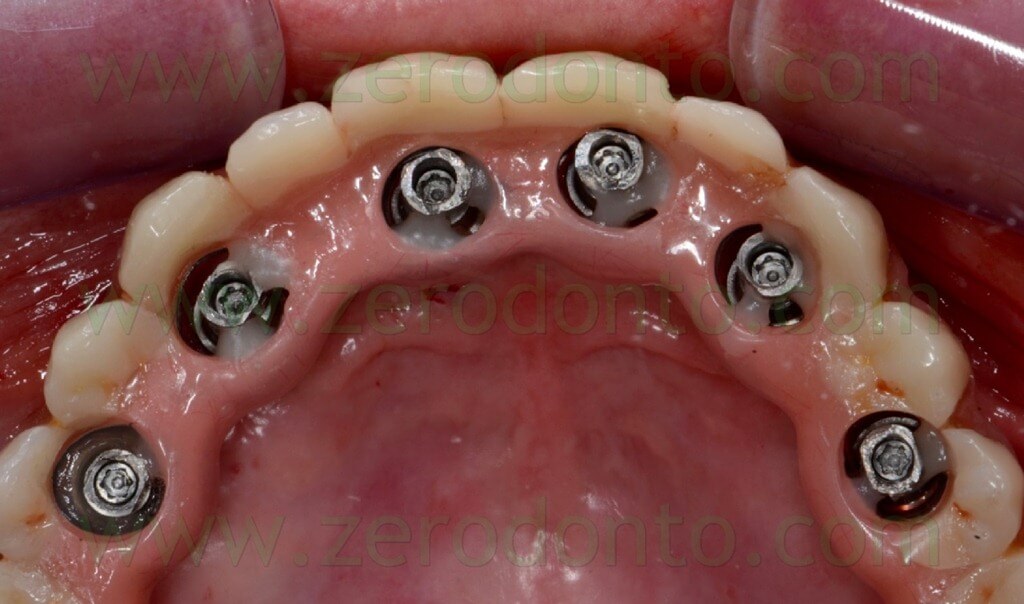
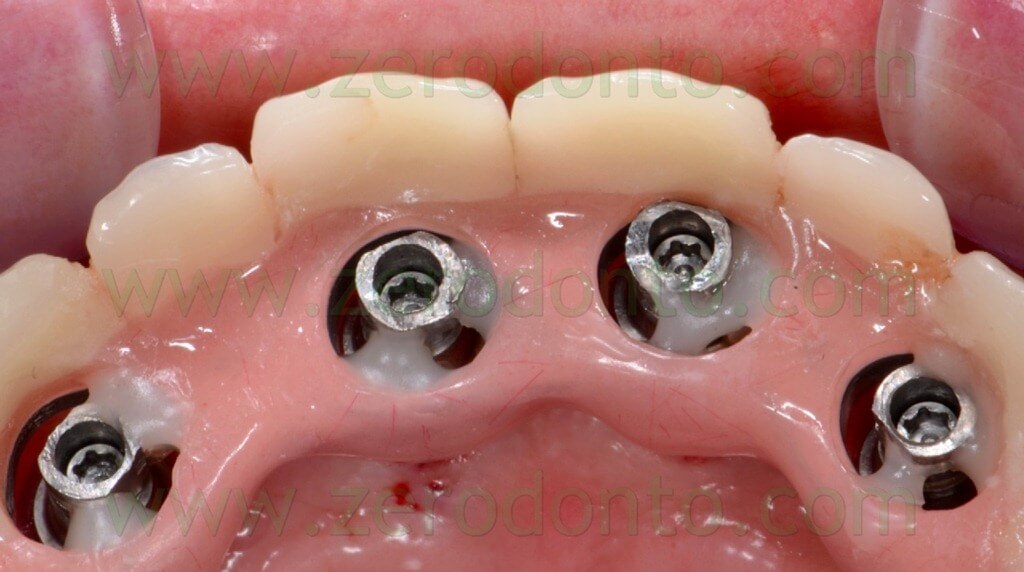
The mechanical misfit was verified radiographically; then, the screwing was completed manually at 15 Ncm and the correct mechanical adaptation verified by means of radiographs as previously described (figg. 117-118).
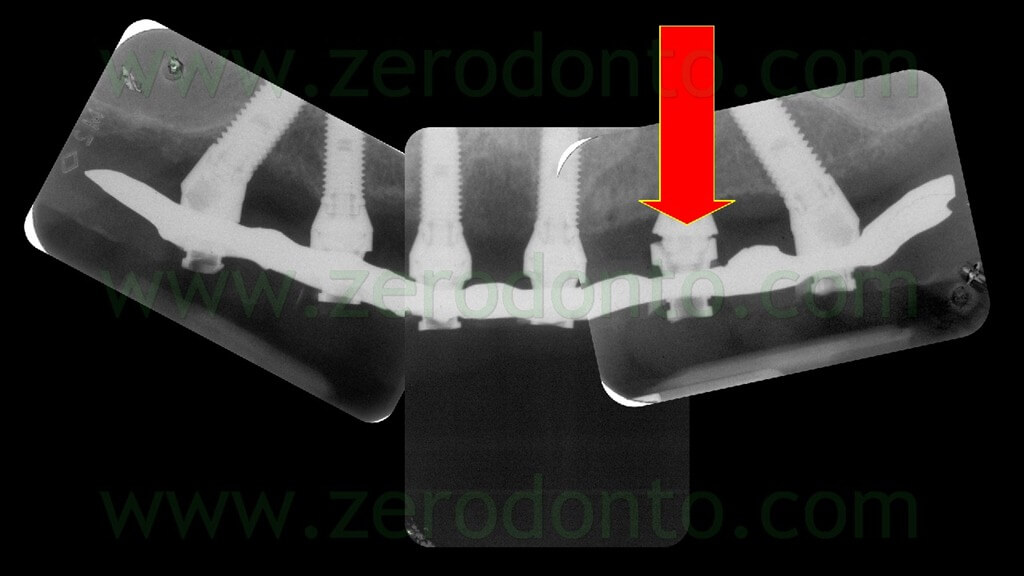
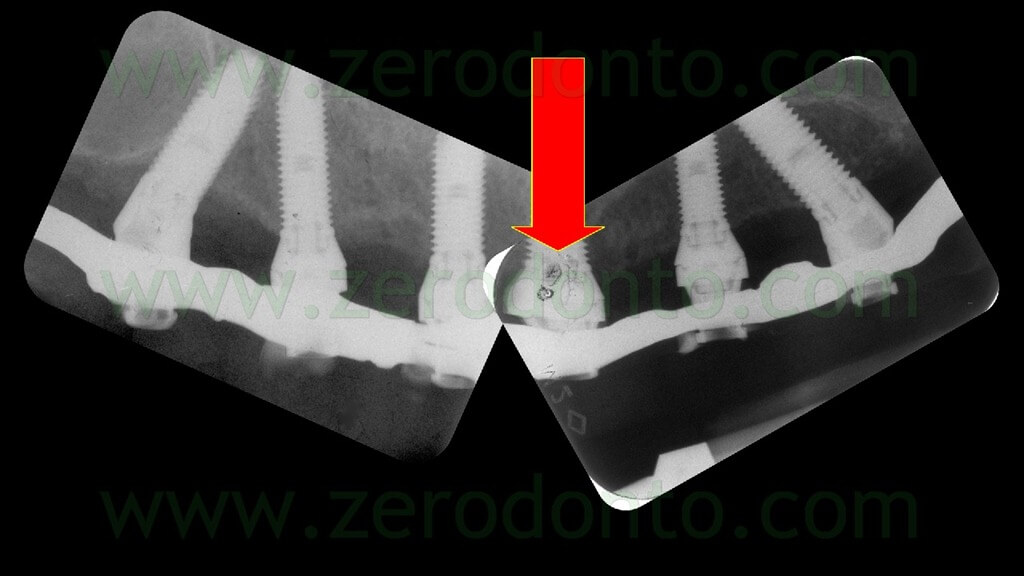
Once the proper adaptation was verified onto all the implants, the screw access holes were filled with an inert material and the blocking of the temporary abutments was completed by means of an intraoral direct relining using the same flowable composite resin used in the dental laboratory. Finally, the temporary full-arch prosthesis was finished and polished (figg. 119-121).
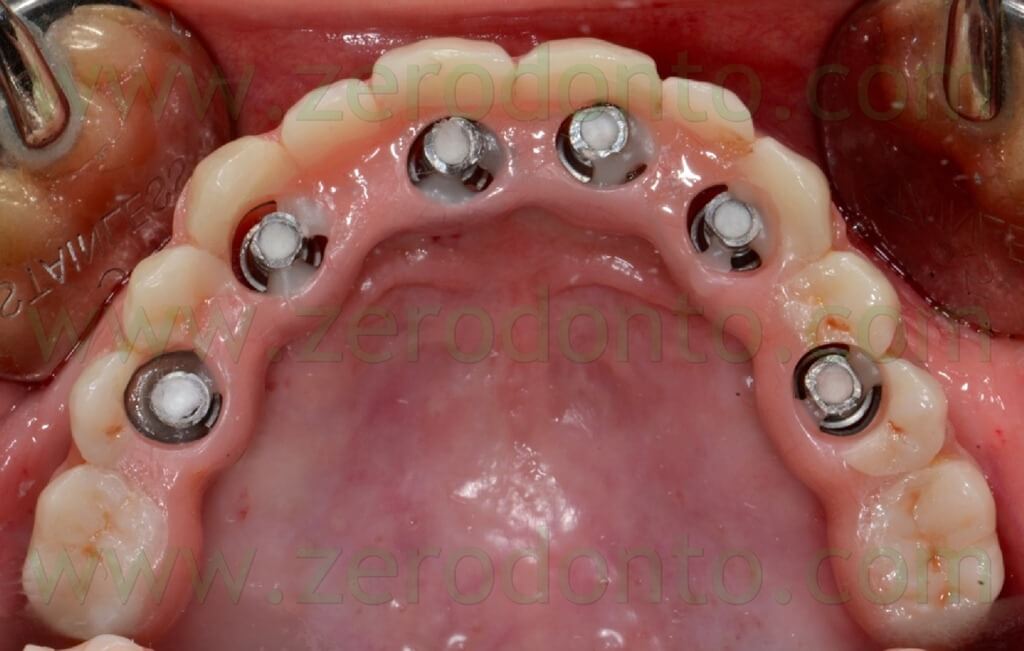
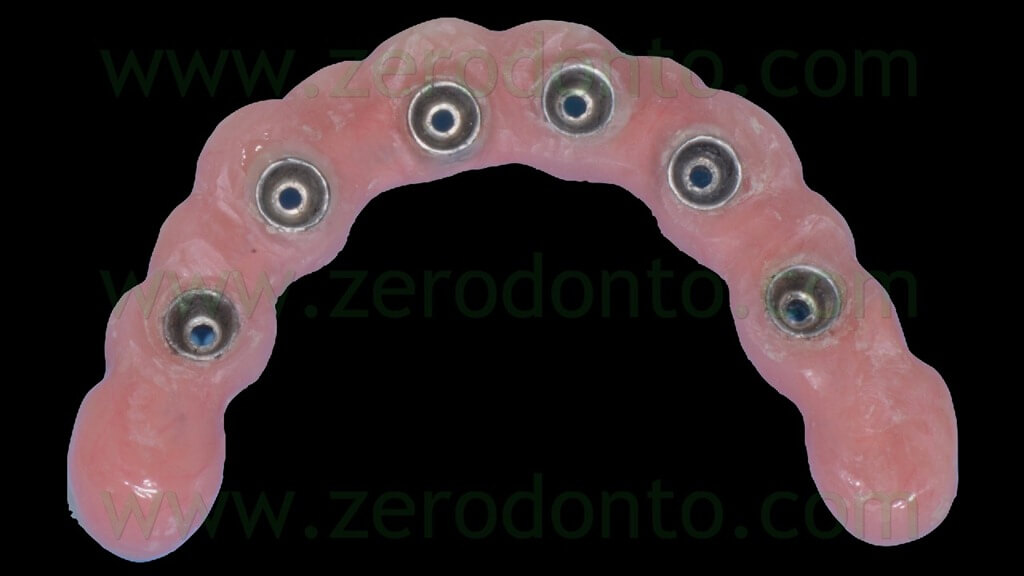
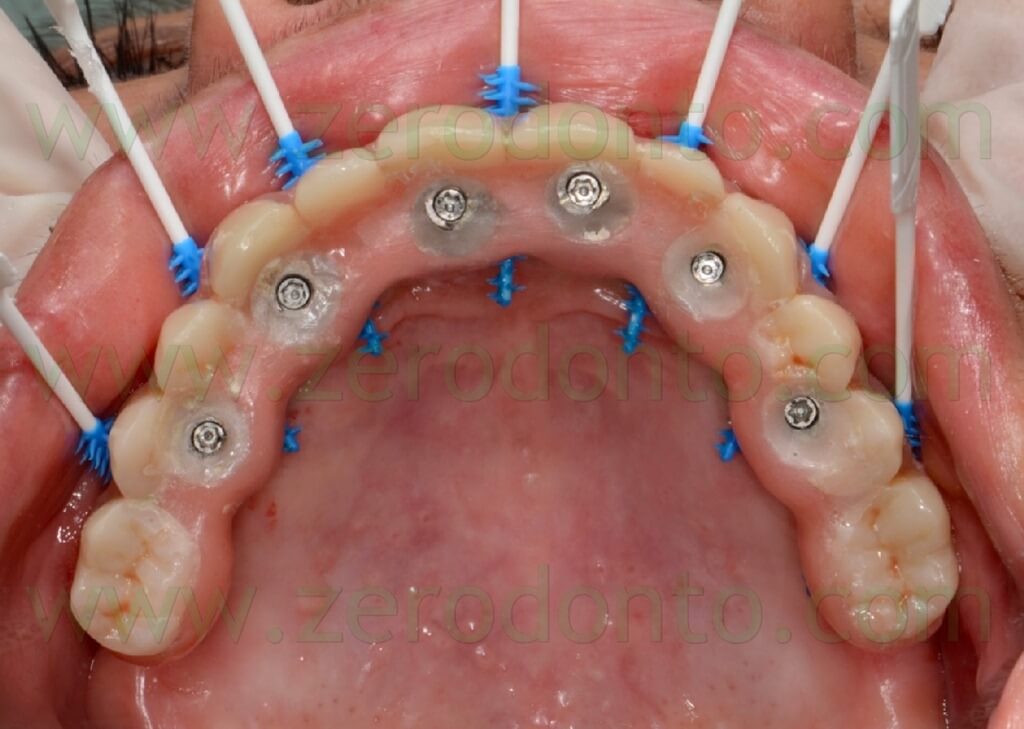
The access to the implant necks for oral hygiene maintenance was carefully verified by means of plastic brushes (fig. 122).
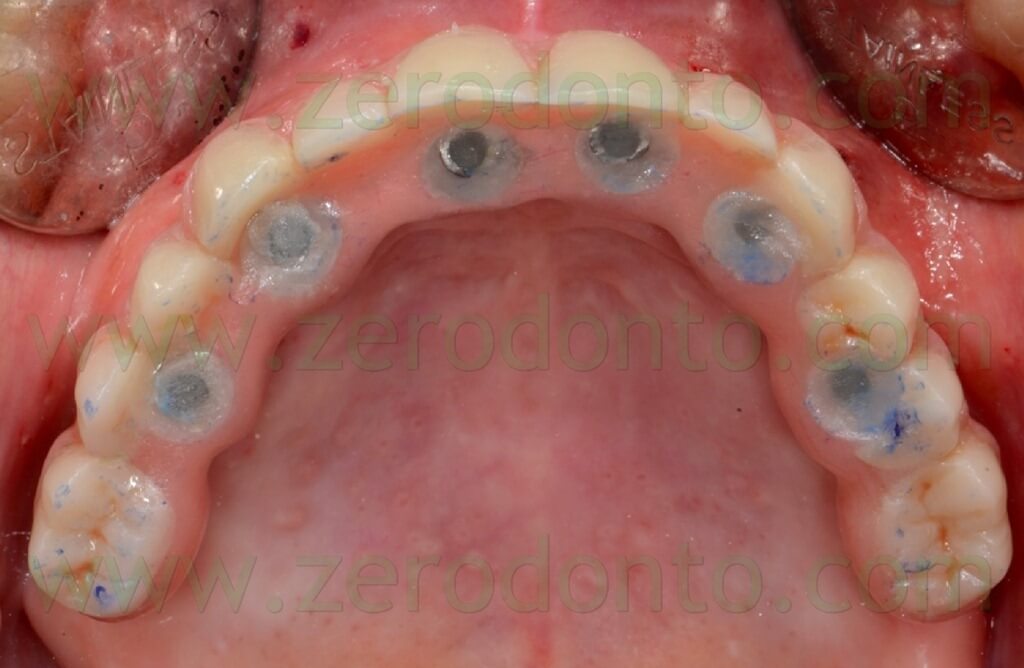
The screw access holes were protected with cotton pellets and filled with a light-curing resin composite material (fig. 123).
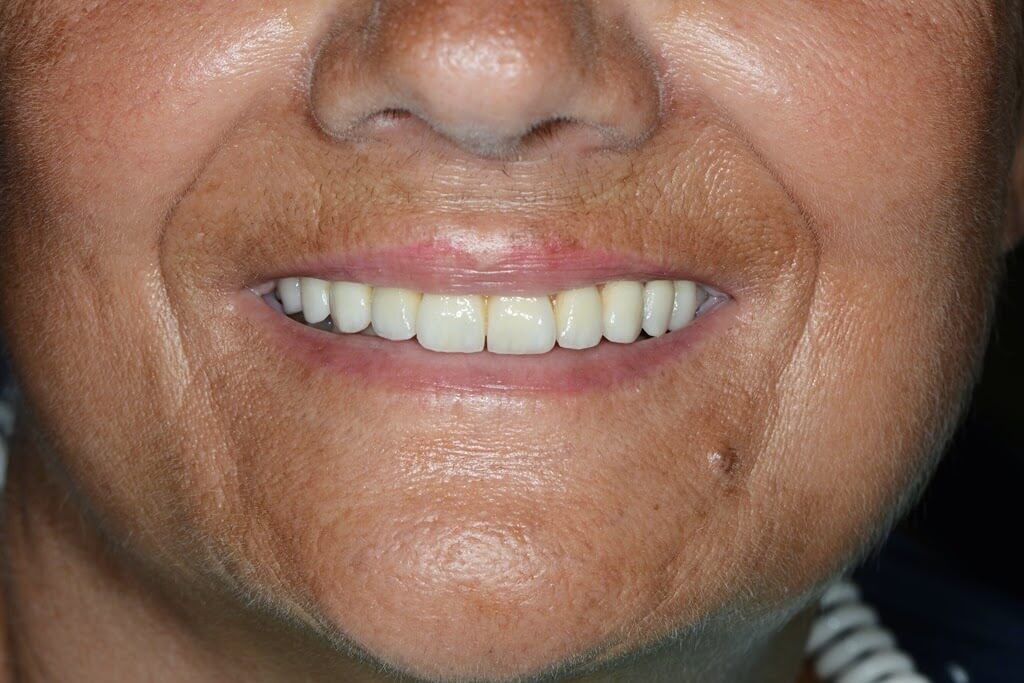
The occlusal contacts were checked and balanced, in order to avoid implant overload. The aesthetic integration of the prosthesis was considered satisfactory (fig. 124).
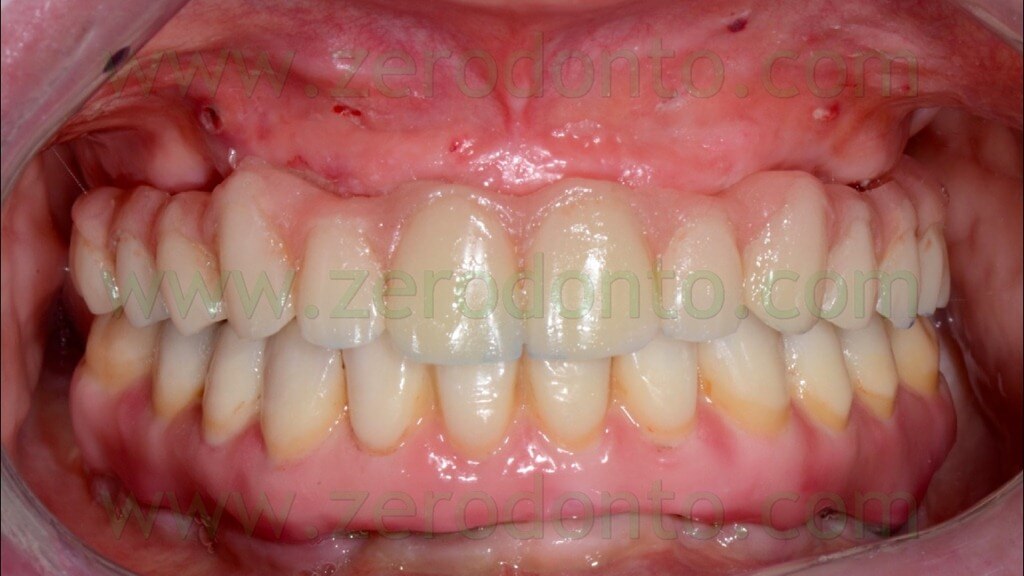
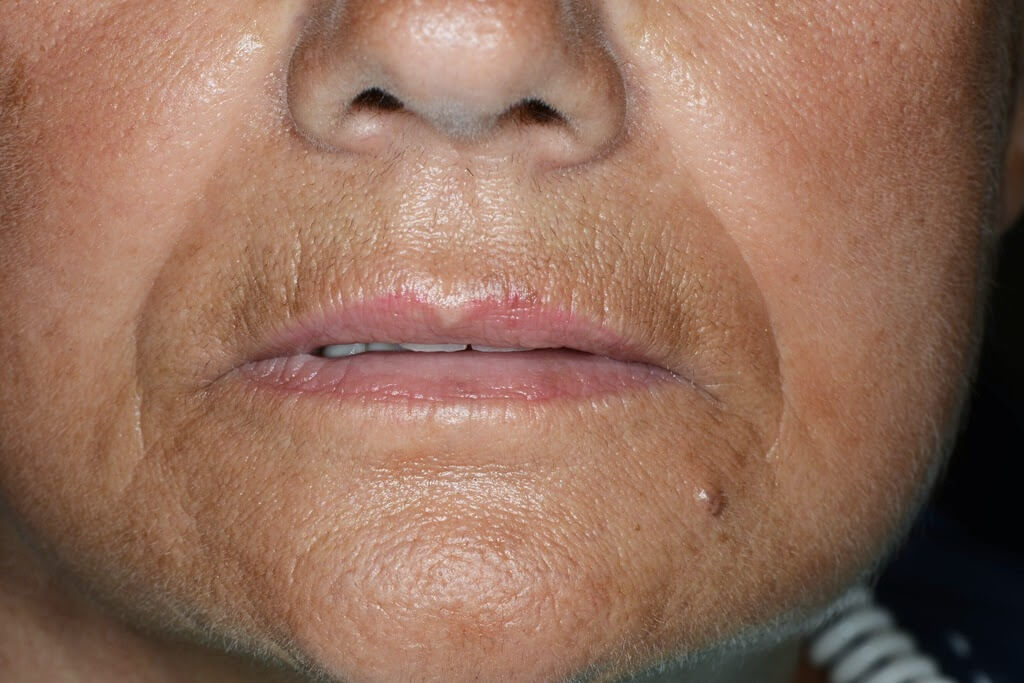
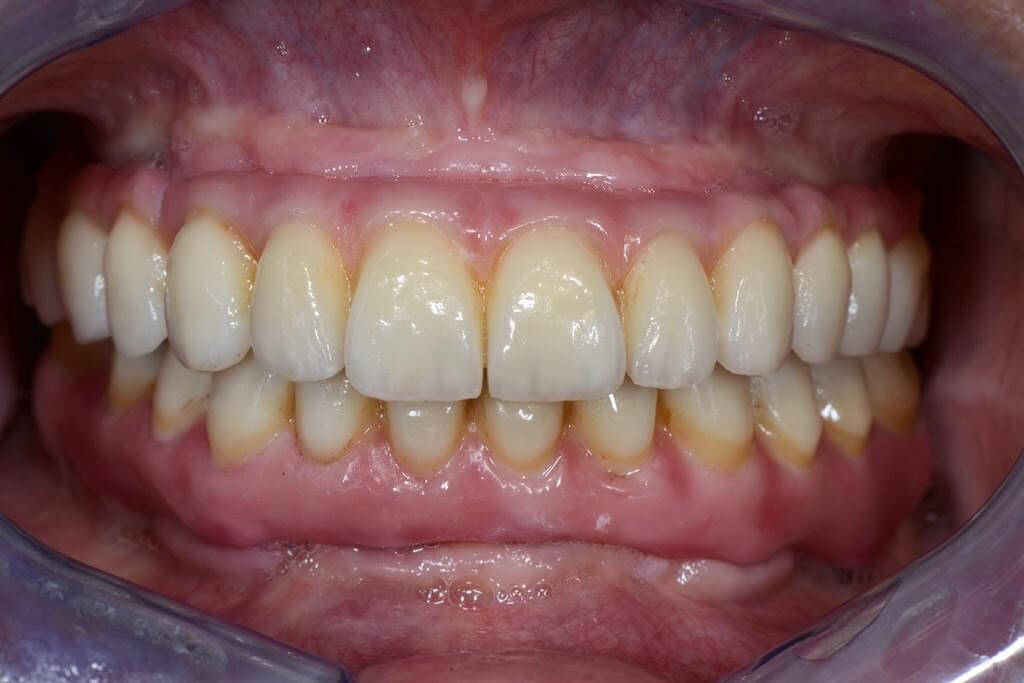
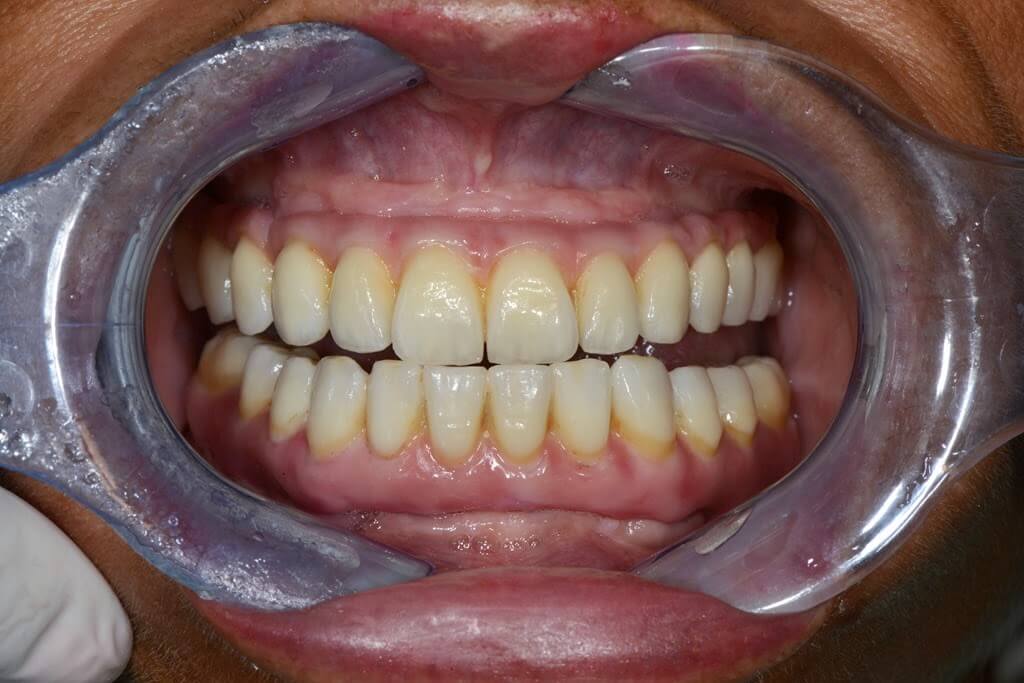
One month after the immediate loading, both function and aesthetic were considered excellent by the patient and the clinicians (figg.- 125-128).
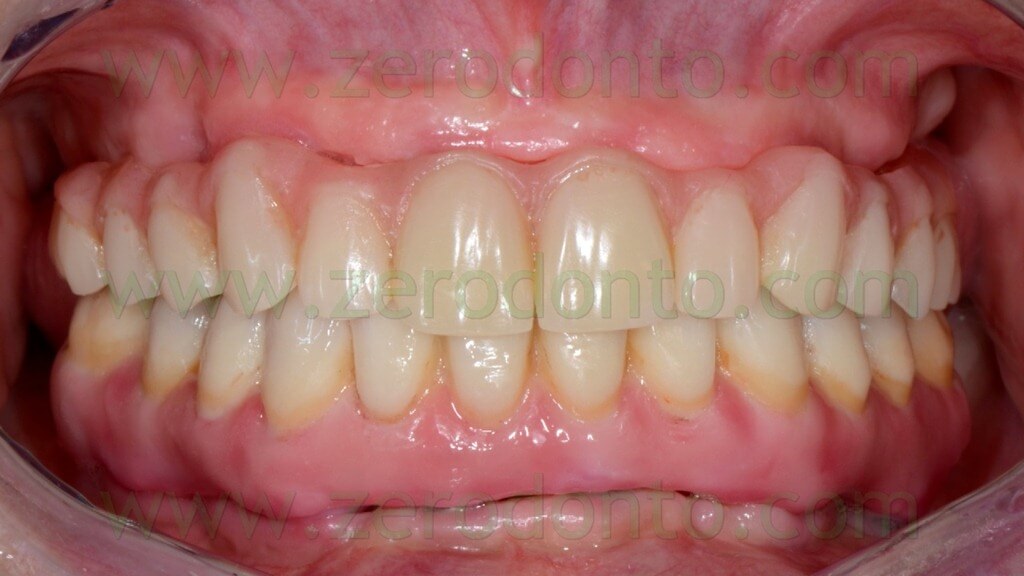
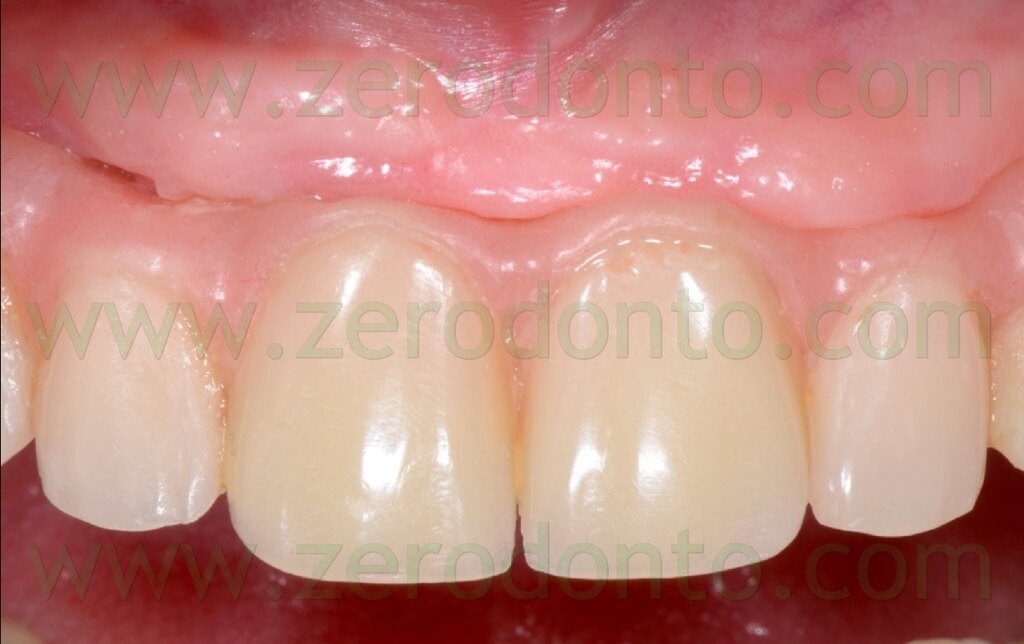
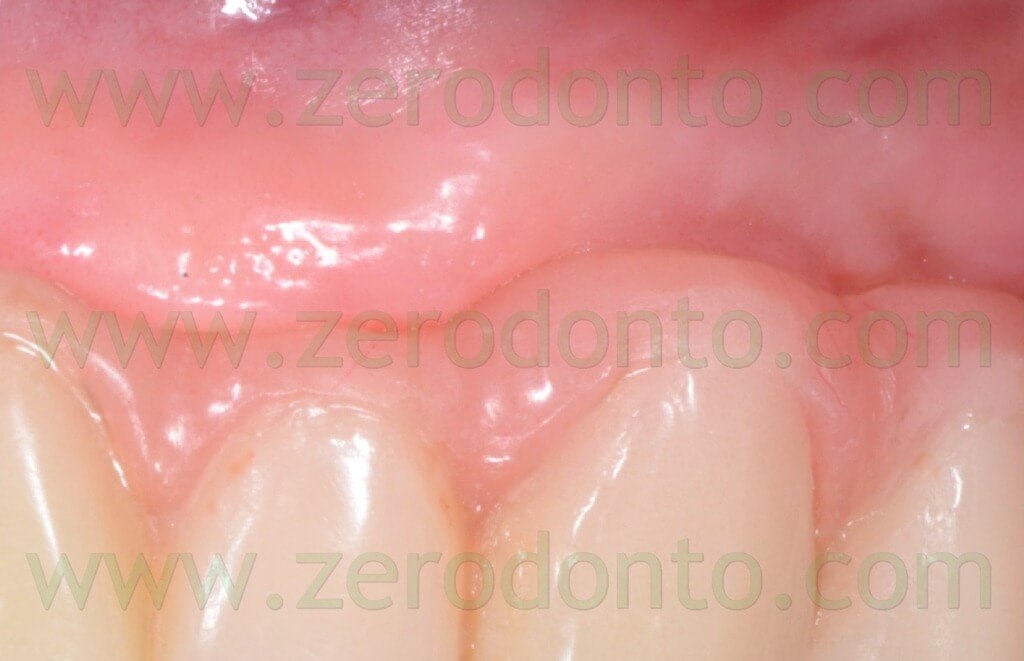
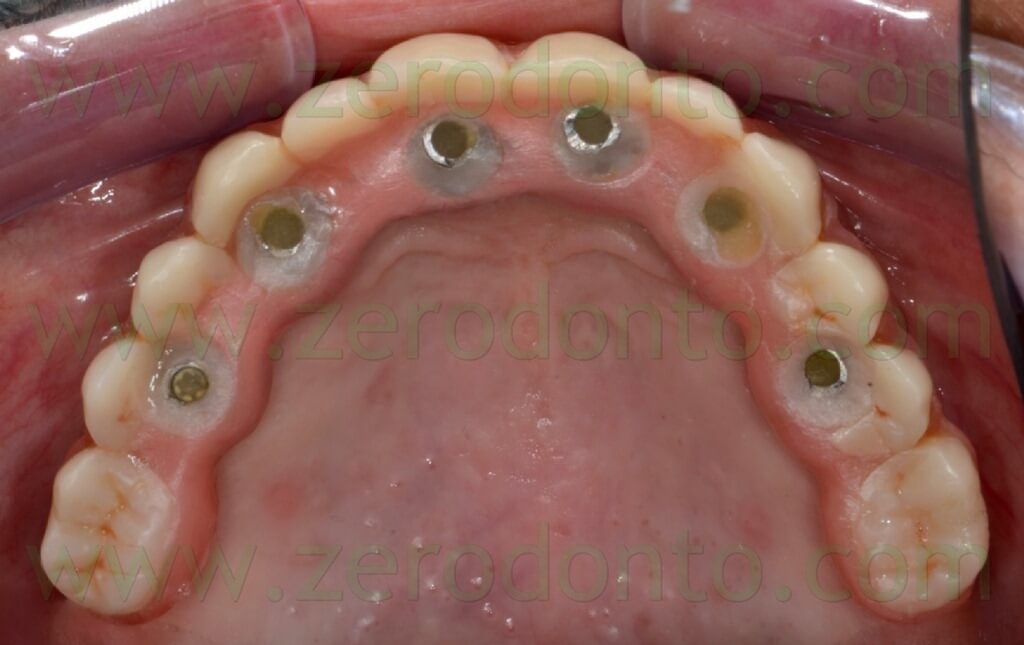
The case was finalized by means of implant-supported zirconia-ceramic full-arch restoration at the maxillary arch.
CONCLUSIONS
The virtual planning procedures by means of the Nobel Clinician software were considered easy and very user friendly by the operators, allowing to evaluate the precision of both the surgical and prosthetic components.
The Nobel Guide surgical procedures proved to be easy and reliable, although a specific training is required to achieve the best clinical results, as in conventional surgery.
The time necessary for the surgery was very limited if compared with traditional flap surgery procedures; moreover, the patient reported the post-operative early phases as very comfortable.
A careful study of the clinical case as well as a team approach between the clinicians and the dental laboratory are strictly required to achieve the best clinical results.
The patient will be carefully followed-up, in order to monitor bone level changes, biological and mechanical complications over time.
ACKNOWLEDGEMENTS
The authors kindly thank Dr. Francesco Bellucci for his help during the surgical proceudres.
REFERENCES
- De Almeida EO, Pellizzer EP, Goiatto MC, Margonar R, Rocha EP, Freitas AC Jr, Anchieta RB. Computer-guided surgery in implantology: review of basic concepts. J Craniofac Surg. 2010 Nov;21(6):1917-21.
- Lindeboom JA, van Wijk AJ. A comparison of two implant techniques on patient-based outcome measures: a report of flapless vs. conventional flapped implant placement. Clin Oral Implants Res. 2010 Apr 1;21(4):366-70.
- Komiyama A, Pettersson A, Hultin M, Näsström K, Klinge B. Virtually planned and template-guided implant surgery: an experimental model matching approach. Clin Oral Implants Res. 2011 Mar;22(3):308-13
- Oyama K, Kan JY, Kleinman AS, Runcharassaeng K, Lozada JL, Goodacre CJ. Misfit of implant fixed complete denture following computer-guided surgery. Int J Oral Maxillofac Implants. 2009 Jan-Feb;24(1):124-30.
- Bedrossian E. Laboratory and prosthetic considerations in computer-guided surgery and immediate loading. J Oral Maxillofac Surg. 2007 Jul;65(7 Suppl 1):47-52.
- Maló P, Nobre M, Lopes A. The rehabilitation of completely edentulous maxillae with different degrees of resorption with four or more immediately loaded implants: a 5-year retrospective study and a new classification. Eur J Oral Implantol. 2011 Autumn;4(3):227-43.
- Maló P, de Araújo Nobre M, Lopes A, Francischone C, Rigolizzo M. “All-on-4” Immediate-Function Concept for Completely Edentulous Maxillae: A Clinical Report on the Medium (3 Years) and Long-Term (5 Years) Outcomes.
- Testori T, Del Fabbro M, Capelli M, Zuffetti F, Francetti L, Weinstein RL. Immediate occlusal loading and tilted implants for the rehabilitation of the atrophic edentulous maxilla: 1-year interim results of a multicenter prospective study. Clin Oral Implants Res. 2008 Mar;19(3):227-32. Epub 2008 Jan 3.
For information:
zerodonto@gmail.com

