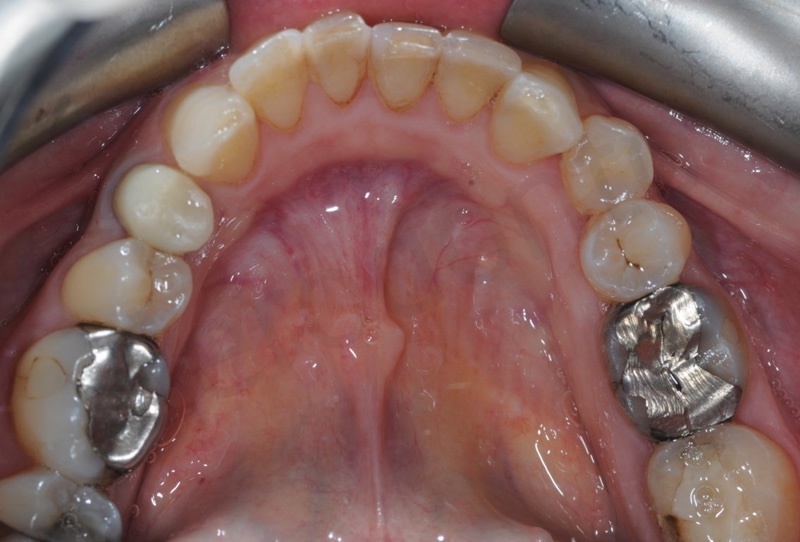
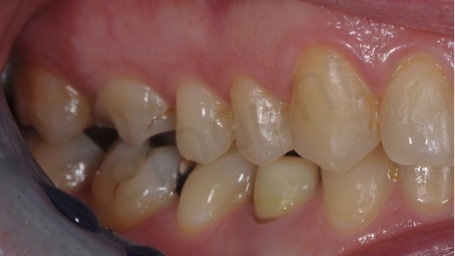
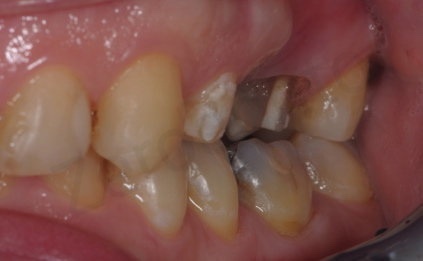
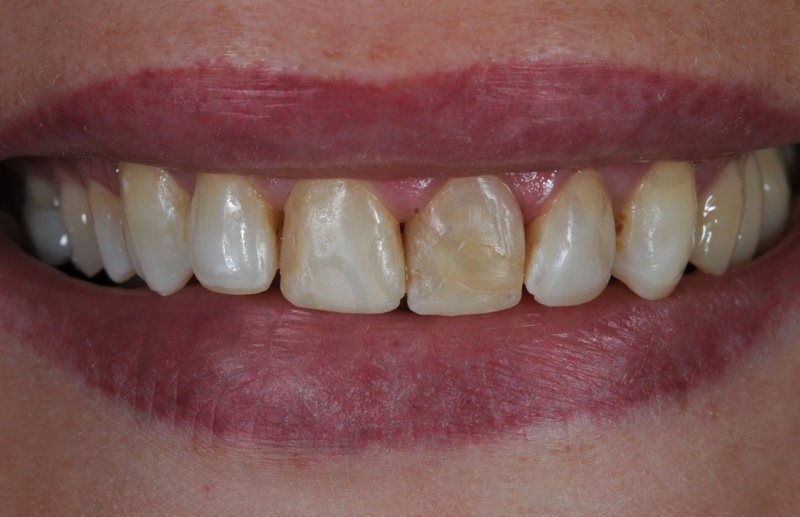
A 38-year-old female presented to observation for pain in quadrant 2 and to improve the aesthetics of her smile (Fig. 1). Caries and erosion were present as existing stained restorations and old incongruous crowns. A fractured tooth was present under an old bridge in quadrant 2. There were no pathological findings during musculoskeletal evaluation. After initial preparation and hygienic maintenance improvement, a complete radiographic examination was performed, highlighting the need to extract the upper left first molar due to the presence of a vertical fracture (Fig. 2 a-g). The patient refused categorically the use of implants, precluding the application of any implant supported prosthesis. Initially two impressions for study casts, waxes for recording centric relation and face bow were taken (Fig. 3). The study casts were mounted in a semi-adjustable articulator (Artex, Amann Girrbach AG, Koblack, Austria). At this stage, we also decided to increase the vertical dimension and the length of upper incisors, planned with a mock-up in the mounted study casts and after a direct mock up in the patient with non-bonded direct composite restorations.

Pre-operative facial photograph.

Complete series of pictures of the patient. Smile, incisal area, occlusal views, lateral views.



Face bow.
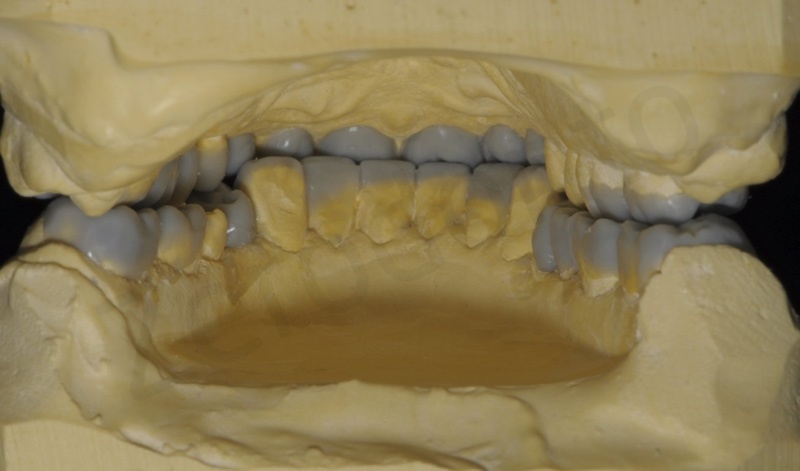
In the laboratory, dental technician waxed a complete rehabilitation project (Fig.4 a-d) based on the recorded data and the aesthetic indications of the patient after direct mock- -up and interview.

The project. Diagnostic wax-up according to the esthetic and functional analysis.


A jig (Fig. 5) was built to be positioned between the front teeth (before their preparation), with the aim of positioning the two arches to the previously determined vertical dimension (in articulator) in order to check inter-arches clearance after preparation of posterior teeth. After the duplication of the final wax-up, two silicon indexes (Fig.6) (Zetalabor, Zhermack, Badia Polesine, Italy) were created in order to preview the final rehabilitation. The mock up was then pressed and printed in the mouth using the indexes and a dual-cure resin (Luxatemp, DMG Chemisch-Pharmazeutische, Hamburg, Germany) (Fig. 7). Aesthetic, occlusion and the new vertical dimension were evaluated and finally the acceptance of the project was obtained from the patient.

Anterior jig. The vertical dimension of occlusion is kept increased in order to check inter-arches clearance after preparation of posterior teeth at the new vertical dimension.

Silicon indexes from the diagnostic wax-up.

The mock-up. The mock-up is pressed and printed in the mouth of the patient to preview and accept the final project.


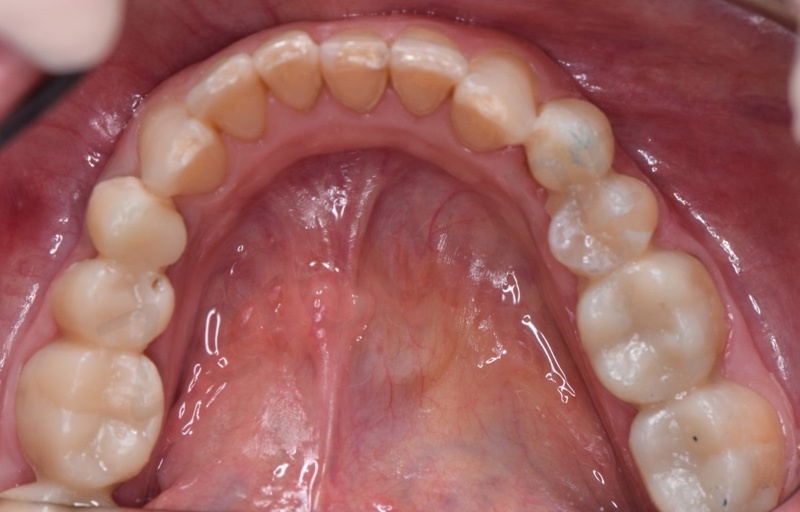

Preparations of posterior teeth for overlays and crowns.

Registration of the interarch relationship with the use of jig and waxes.
The first step of the prosthetic therapy was the preparation of posterior regions, molars and premolars (Fig.8). Overlays were prepared in all posterior teeth with the exception of the lower right first premolar, the upper left first premolar and the upper left second molar, that were prepared for crowns with vertical finishing line. An inlab temporary crown was placed in the lower right first premolar while a temporary bridge between the upper left first premolar and the upper left second molar was applied with the new vertical dimension, checking the interarch relations with the jig. At this point it was possible to check also the clearance between teeth in the opposite arches after overlay preparations. Centric relation and vertical dimension were recorded with a hard wax (Hard Beauty Wax, Moyco Ltd) with the jig inserted. (Fig. 9)
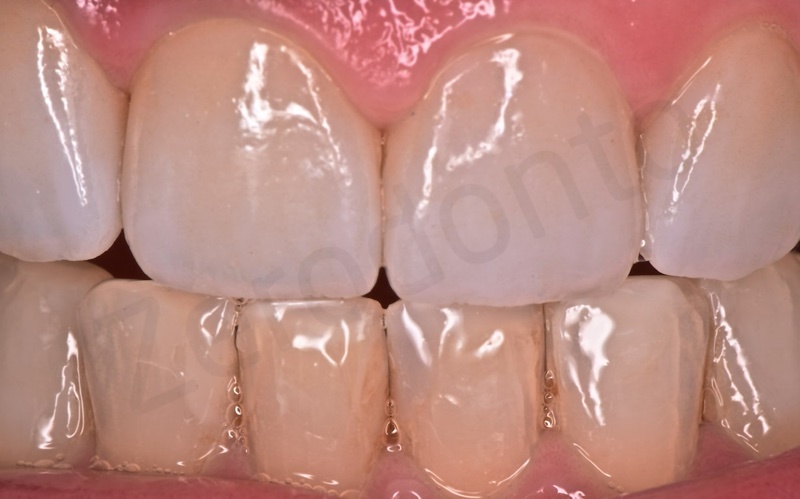
After these procedures, palatine veneers for upper incisors and canines were performed to achieve a proper relationship and disclusion at the level of anterior sextants (Fig. 10).

Preparation of the maxillary anterior palatal sides.
All the prepared teeth were treated with IDS protocol. Final impressions of all the overlays and palatal veneers with custom impression trays were taken using polyether impression material using a monophasic bicomponent technique (Impregum and Permadyne L, 3M ESPE, Seefeld, Germany) (Fig. 11). No retraction cords were placed, due to the extra-sulcular preparations. A face bow was finally recorded.

Impressions of maxillary and mandibular arches.

By means of the silicon index, it was possible to press temporary overlays and palatine veneers as temporary restorations of prepared teeth. (Fig. 12)

Provisional restorations are delivered by means of the same silicon index used for the mock-up.
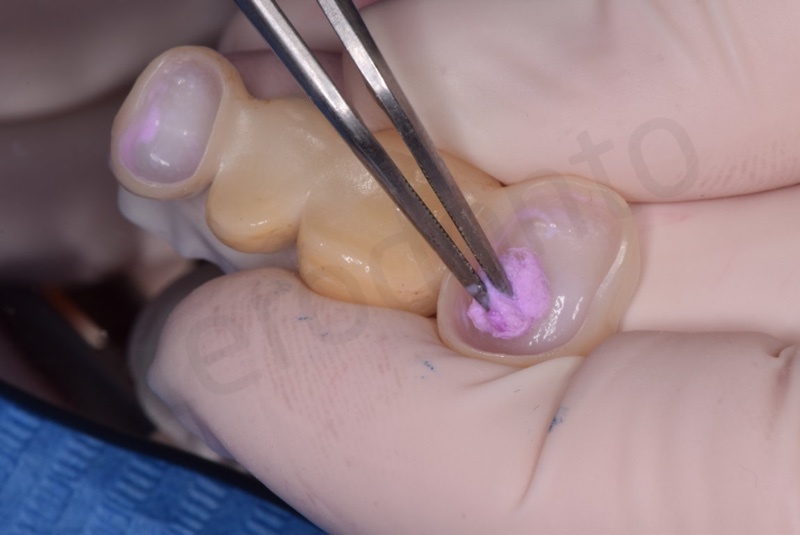
At the next clinical session, after rubber dam application, the palatine composite veneers (Estelite Asteria, Tokuyama, Tokyo, Japan) and all overlays lithium disilicate (E-Max, Ivoclar Vivadent, Schaan, Liechstein) were cemented adhesively following the procedures previously described (Figs 13 a-e, Figs 14 a-g).

Luting procedures.

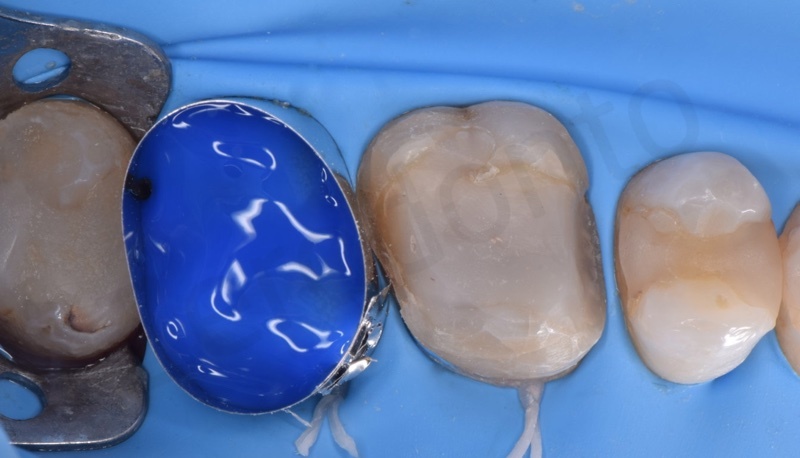
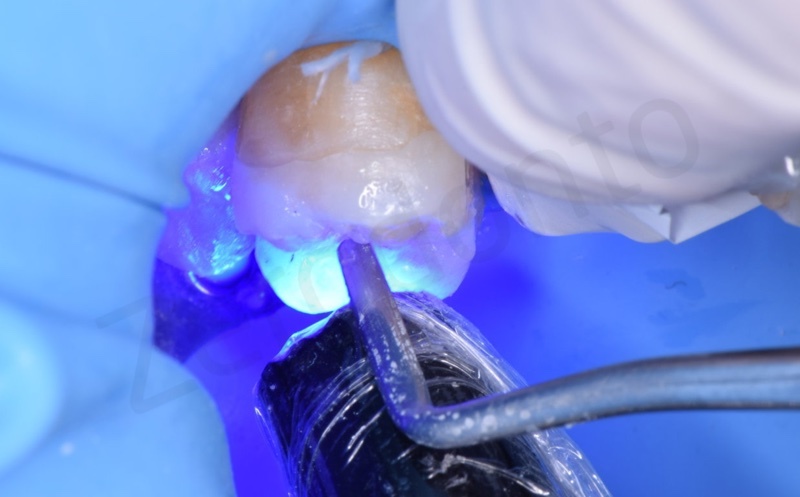
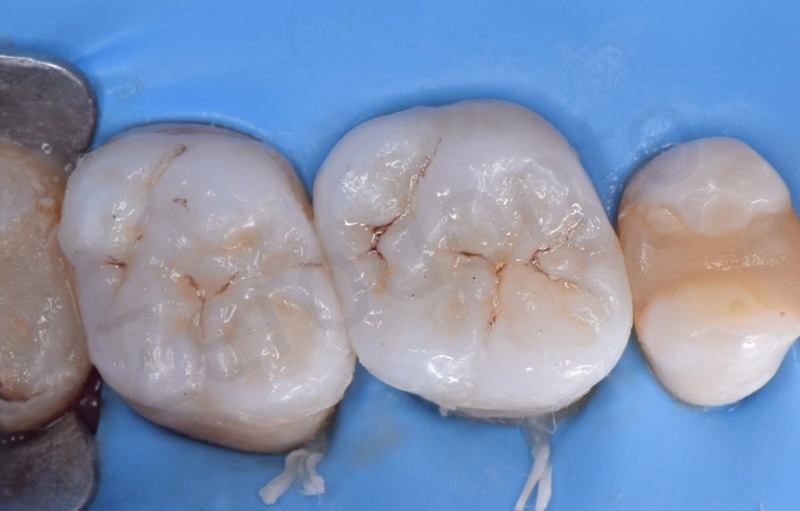

Clinical procedures to lute palatal veneers

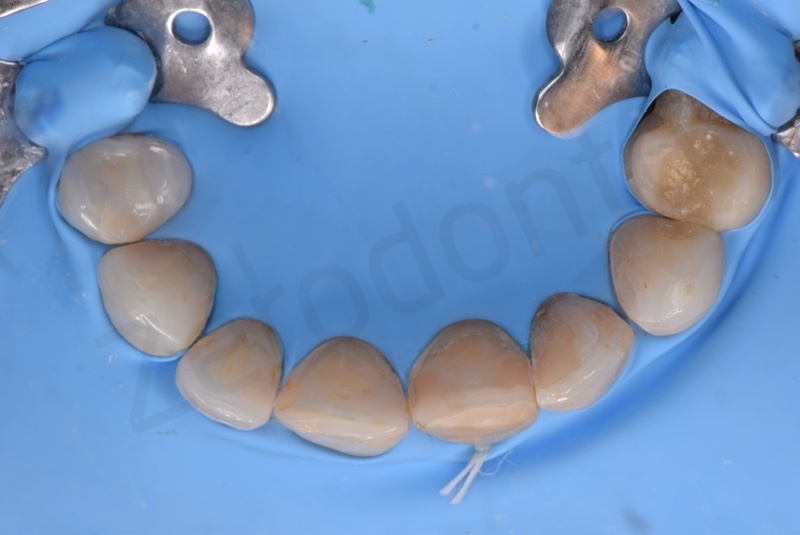
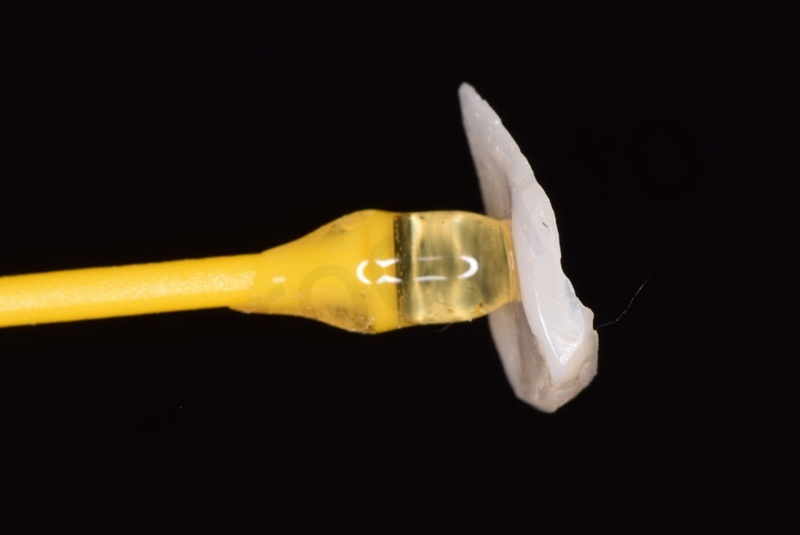
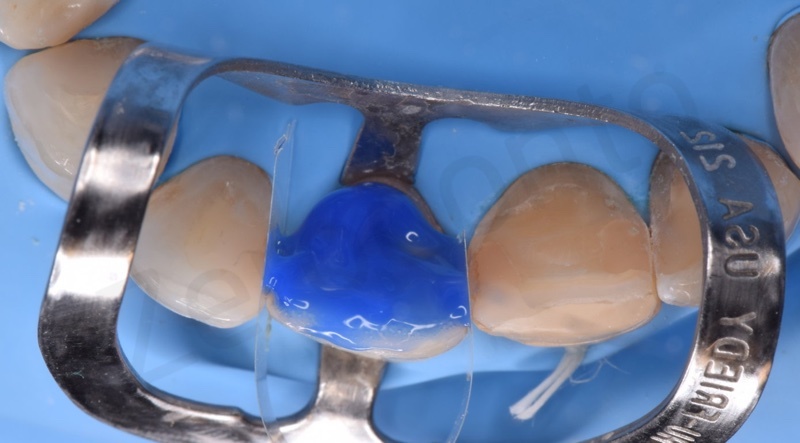
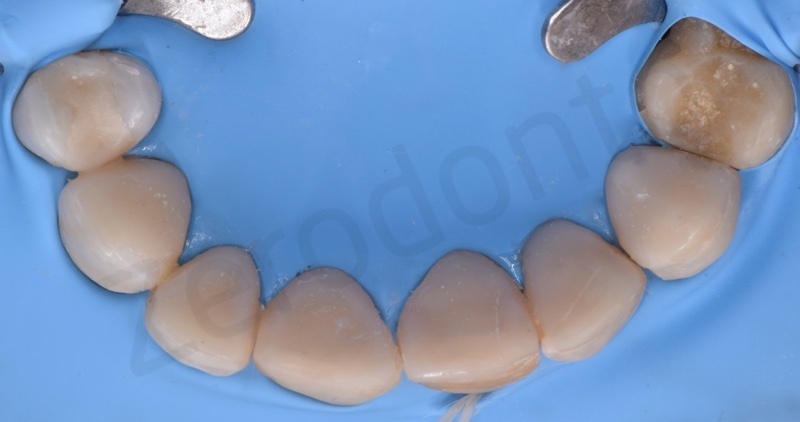
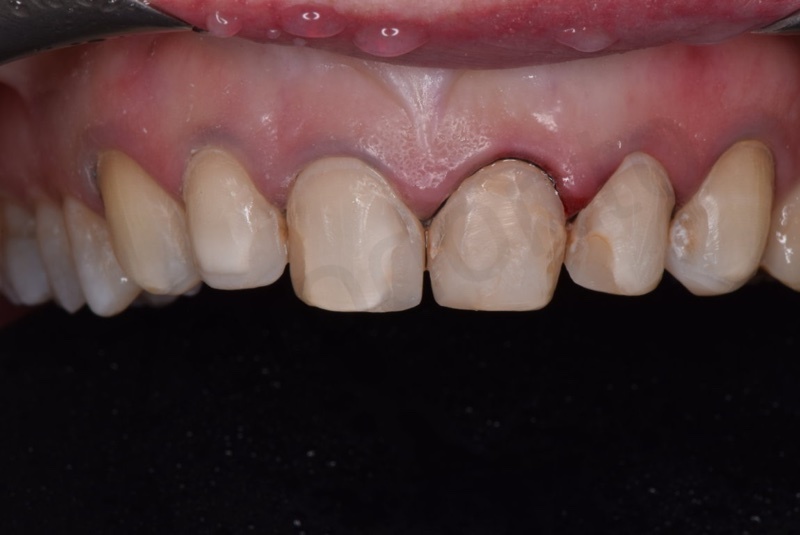
The composite veneers were sandblasted in their internal surface, silanized (Vitique Silane, DMG Chemisch-Pharmazeutische, Hamburg, Germany) and treated with bonding, while the teeth were etched with orthophosphoric acid at 36% and treated with a three-steps DBA (AllBond-2, Bisco, Schaumburg, IL, USA). A dual-cement (Estecem, Tokuyama, Tokyo, Japan) was employed to cement both overlays and veneers. After this luting step, vestibular veneers between the upper right canine and the upper left canine were prepared (Fig. 15 a-c) according to the Vailati’s technique and a new impression after placing vestibular cords was taken with a new custom tray and using the same impression material (Fig. 16). An aesthetic face bow (Ditramax, Ditramax S.A.R.L., Marseille, France) was recorded to increase the collection of aesthetic information for the dental technician (Fig. 17). Even in this case temporary veneers were printed with the silicon index on the prepared teeth (Fig. 18).

Clinical procedures for facial veneers. Silicon index for the analysis of the amount of tooth structure removed, preparations and cord packing.


Impression for maxillary facial veneers

Aesthetic face bow.


Temporary veneers are printed with the usual silicon index and a self-cure temporary composite
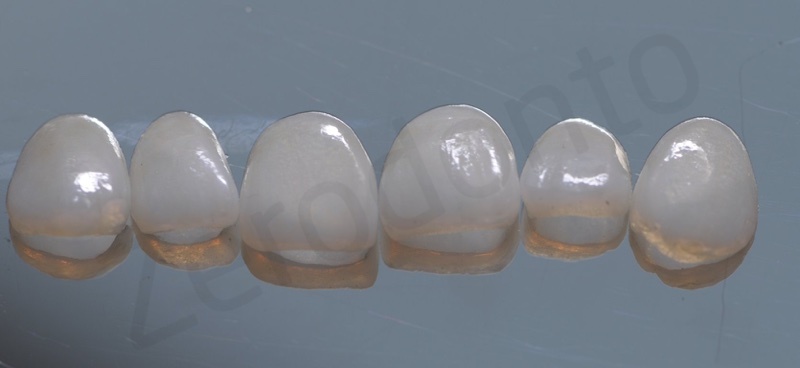
In the next appointment, the veneers were checked for marginal adaptation and aesthetic performances with a try-in inert cement (Try-In Vitique, DMG Chemisch-Pharmazeutische, Hamburg, Germany) (Fig. 19 a-d).

Waxed veneers waxed as they come from laboratory

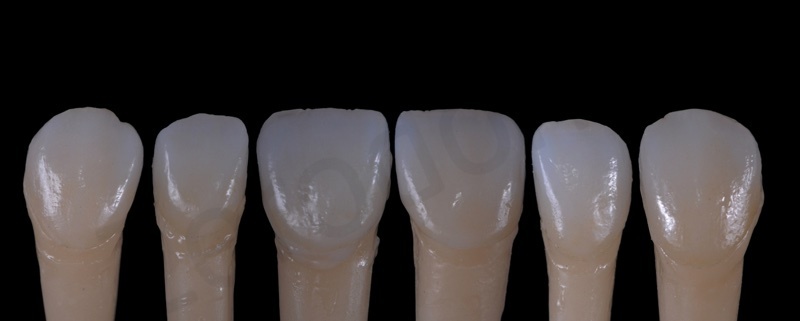
Once obtained the approval of the patient, rubber dam was applied and all the adhesive procedures were employed starting with the treatment with 9% hydrofluoric acid gel (Ultradent, South Jordan, UT, USA) to in the inner part of the veneers for 60 s, due to the different ceramic (i.e., feldspathic ceramic) used. Veneers were subsequently washed for 30 s, dried and silanated. Teeth were treated with 36% phosphoric acid gel and then a 4th generation bonding agent was applied (AllBond-2, Bisco, Schaumburg, IL, USA). A light-curing cement (Vitique, DMG Chemisch-Pharmazeutische, Hamburg, Germany) was used. After the removal of rubber dam, disclusion and guidances were checked, looking for a group guide (Fig. 20 a, b).

Facial veneers luted under rubber dam moisture control and just after rubber dam removal.

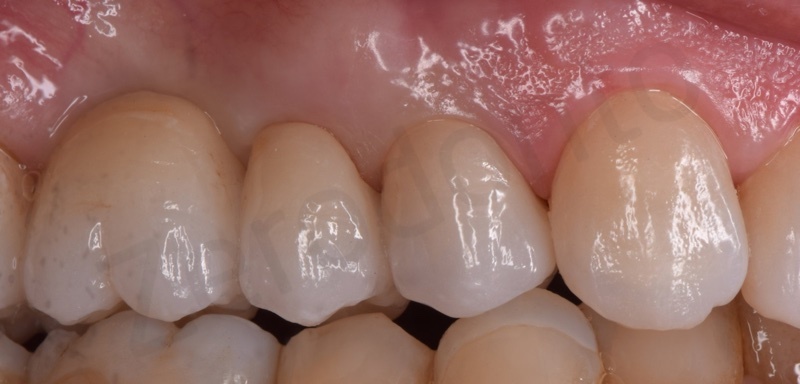
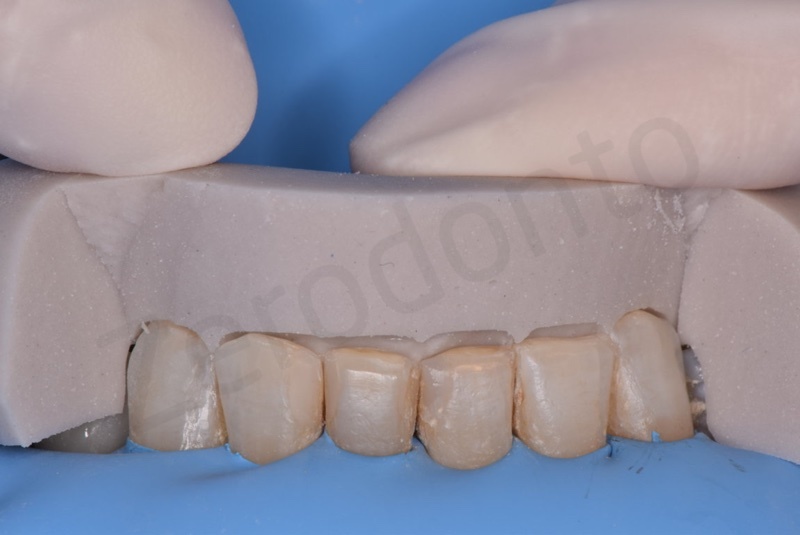
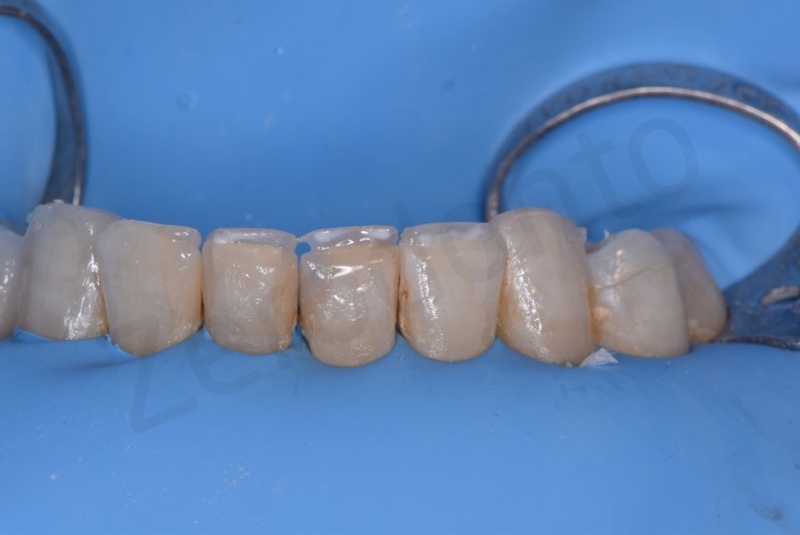
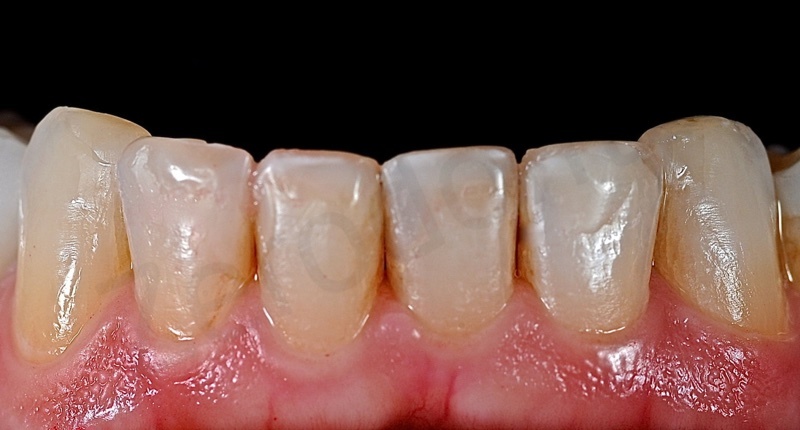
After 40 days from abutment preparations, impressions of the bridge and the single crown were taken (Fig. 21 a-e). A zirconia crown and a monolithic zirconia bridge were the prosthetic choices. After the paradigmatic steps (frame check, biscuit check, occlusion, aesthetic), the manufacts were luted adhesively with a simplified adhesive approach. A self-adhesive cement was used in order to achieve a sufficient bond strength to dental tissues and a chemical adhesion to zirconia via the presence of a chemically active molecule, 10-MDP, in the self-adhesive luting cement (Permacem 2.0, DMG, Chemisch-Pharmazeutische, Hamburg, Germany). Finally, direct class II composite restorations in upper right premolars were applied whilst direct resin margin reconstructions (Estelite Asteria, Tokuyama, Tokyo, Japan) were performed on lower incisors with the help of a silicon index, in order to obtain a better competence in the anterior region and improve aesthetic (Figs. 22-26). After one week, the patient was recalled for checking the status of the tissues, looking for any remaining cement or non-integrated profiles of manufacts and to control the occlusion. At this moment, a bite was given to the patient.

Procedures for zirconia bridge.


Direct resin margin reconstructions of lower incisors with the help of the silicon index.

Final extraoral view.

Final views: anterior, occlusal and lateral
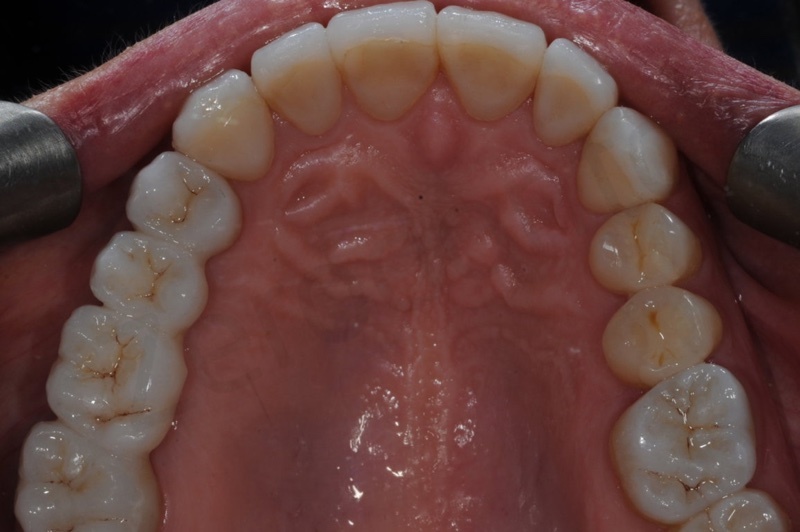
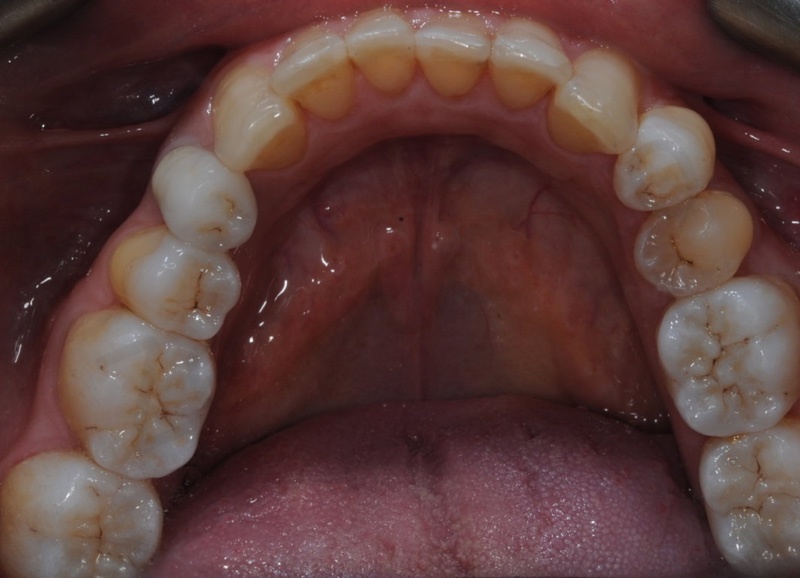
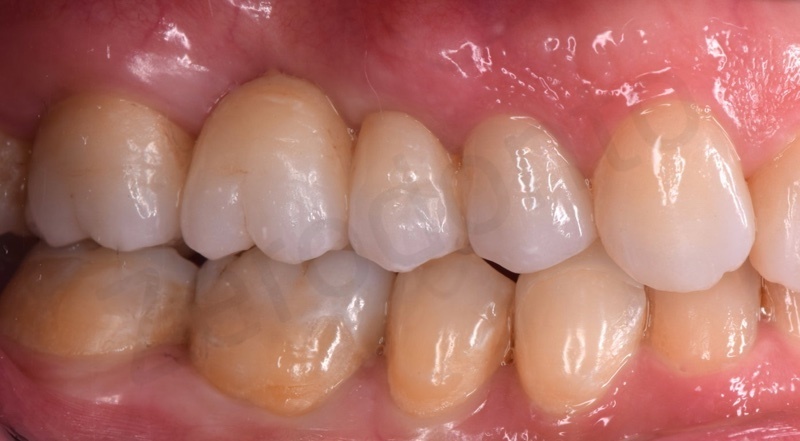
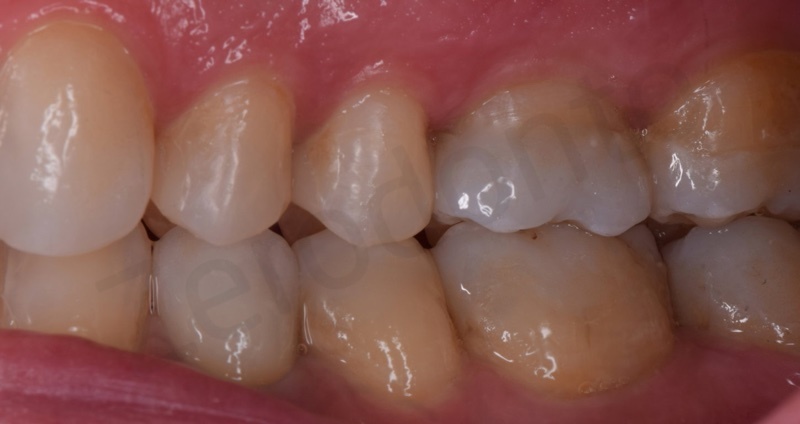

Optimal veneers integration.

Ultimate view of the ceramic restorations delivered to the patient.
Aknowledgements
Pasquale Casaburo, CDT
Federica Papacchini DDS, MSC, PhD

